Valerian Root Tincture

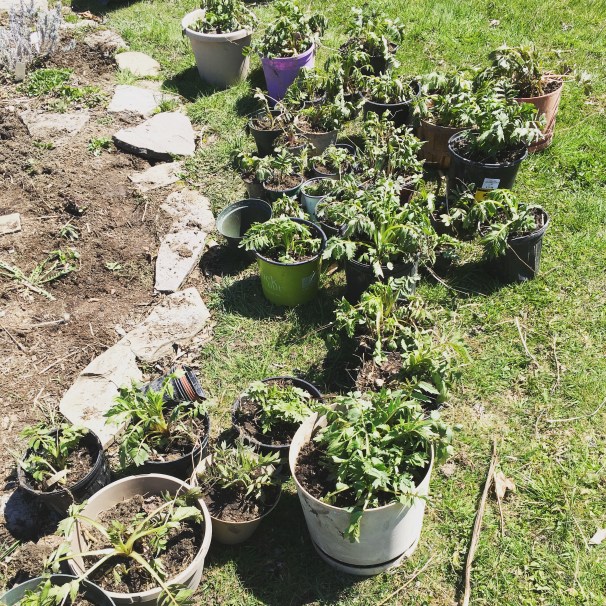
We’re currently potting up some of our young valerian and tincturing some of the older plants.  We’ve got plenty to share with you!  Small pots are $3, medium pots are $5 and large pots are $8.

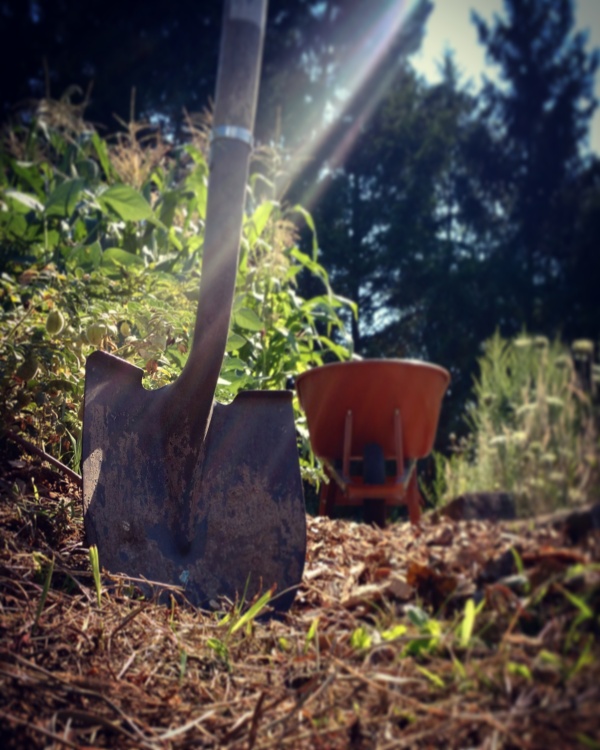
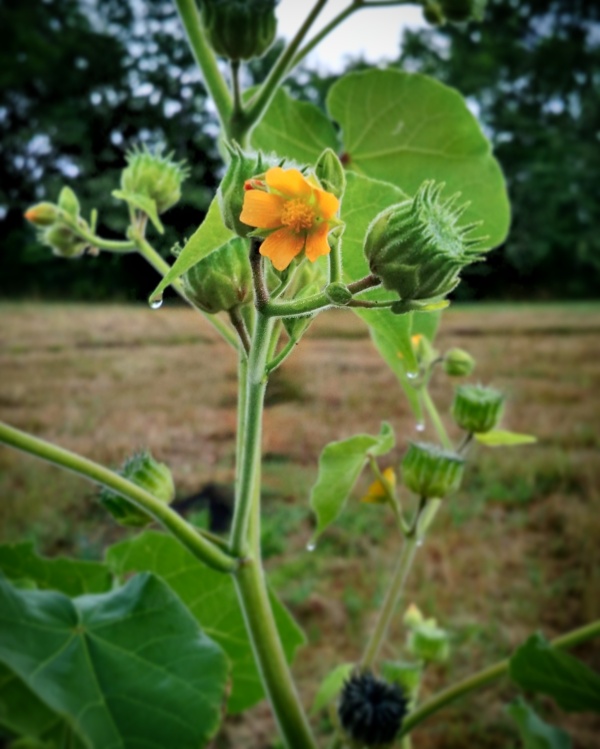
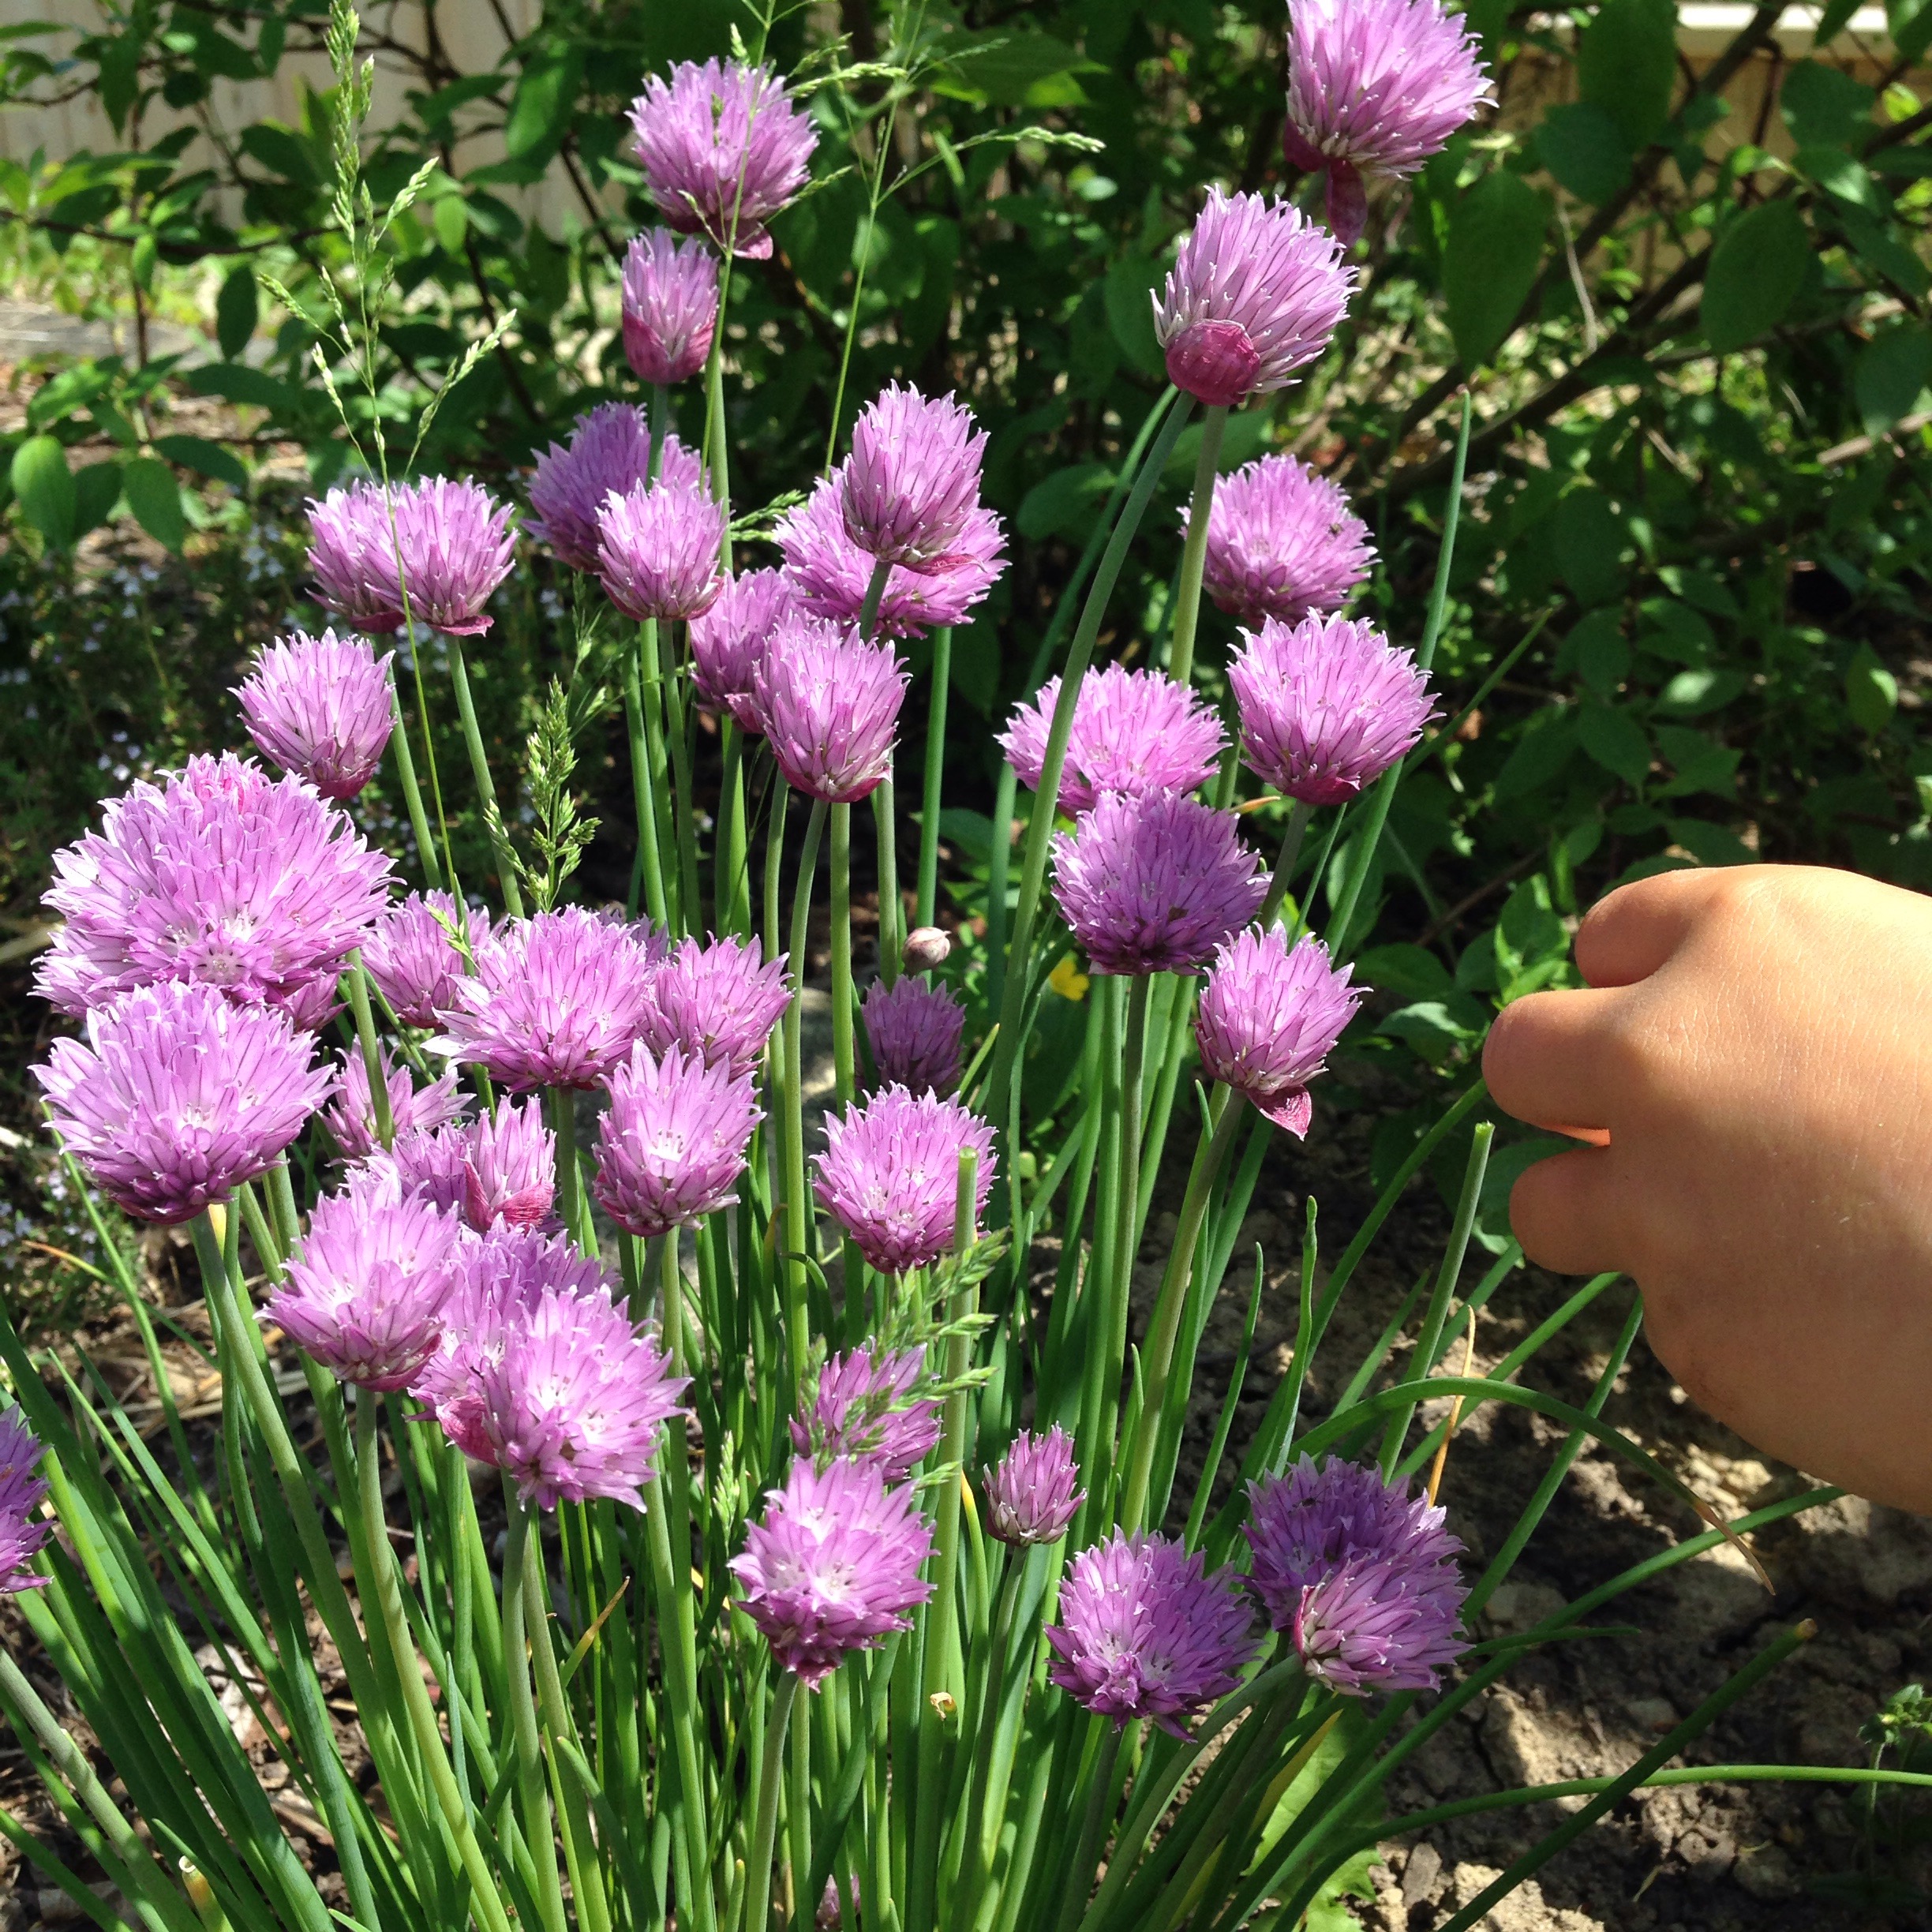
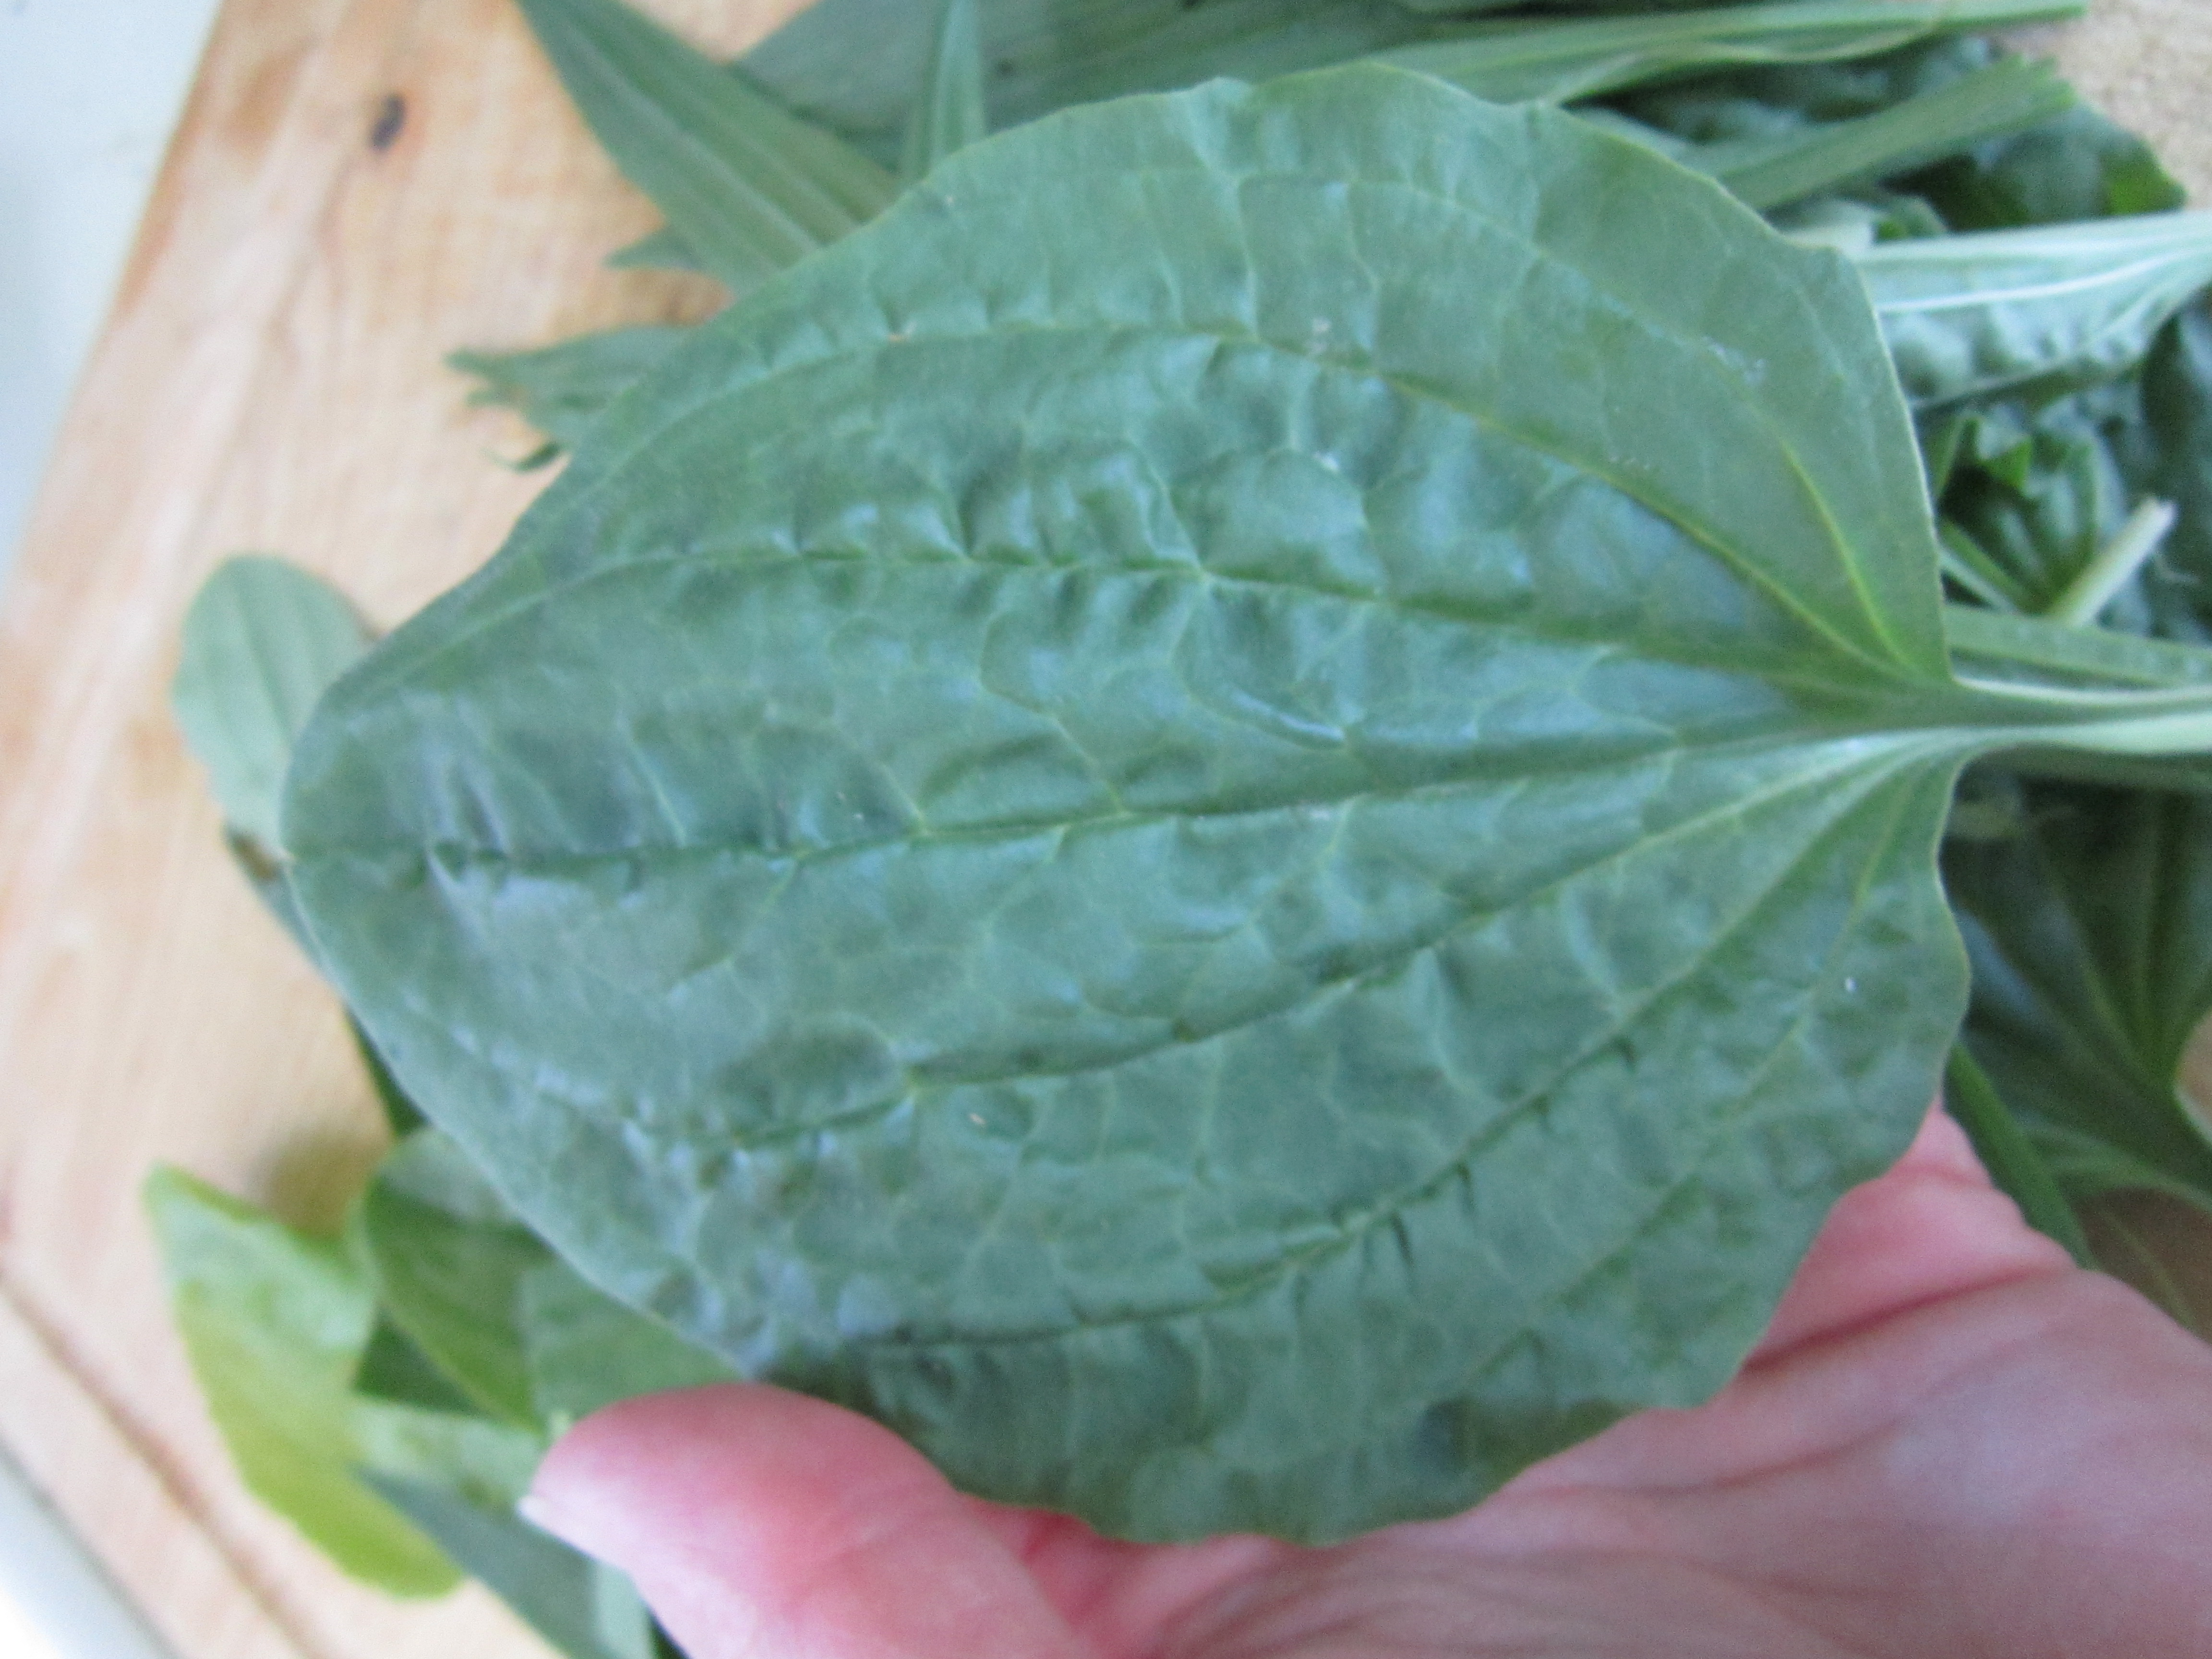
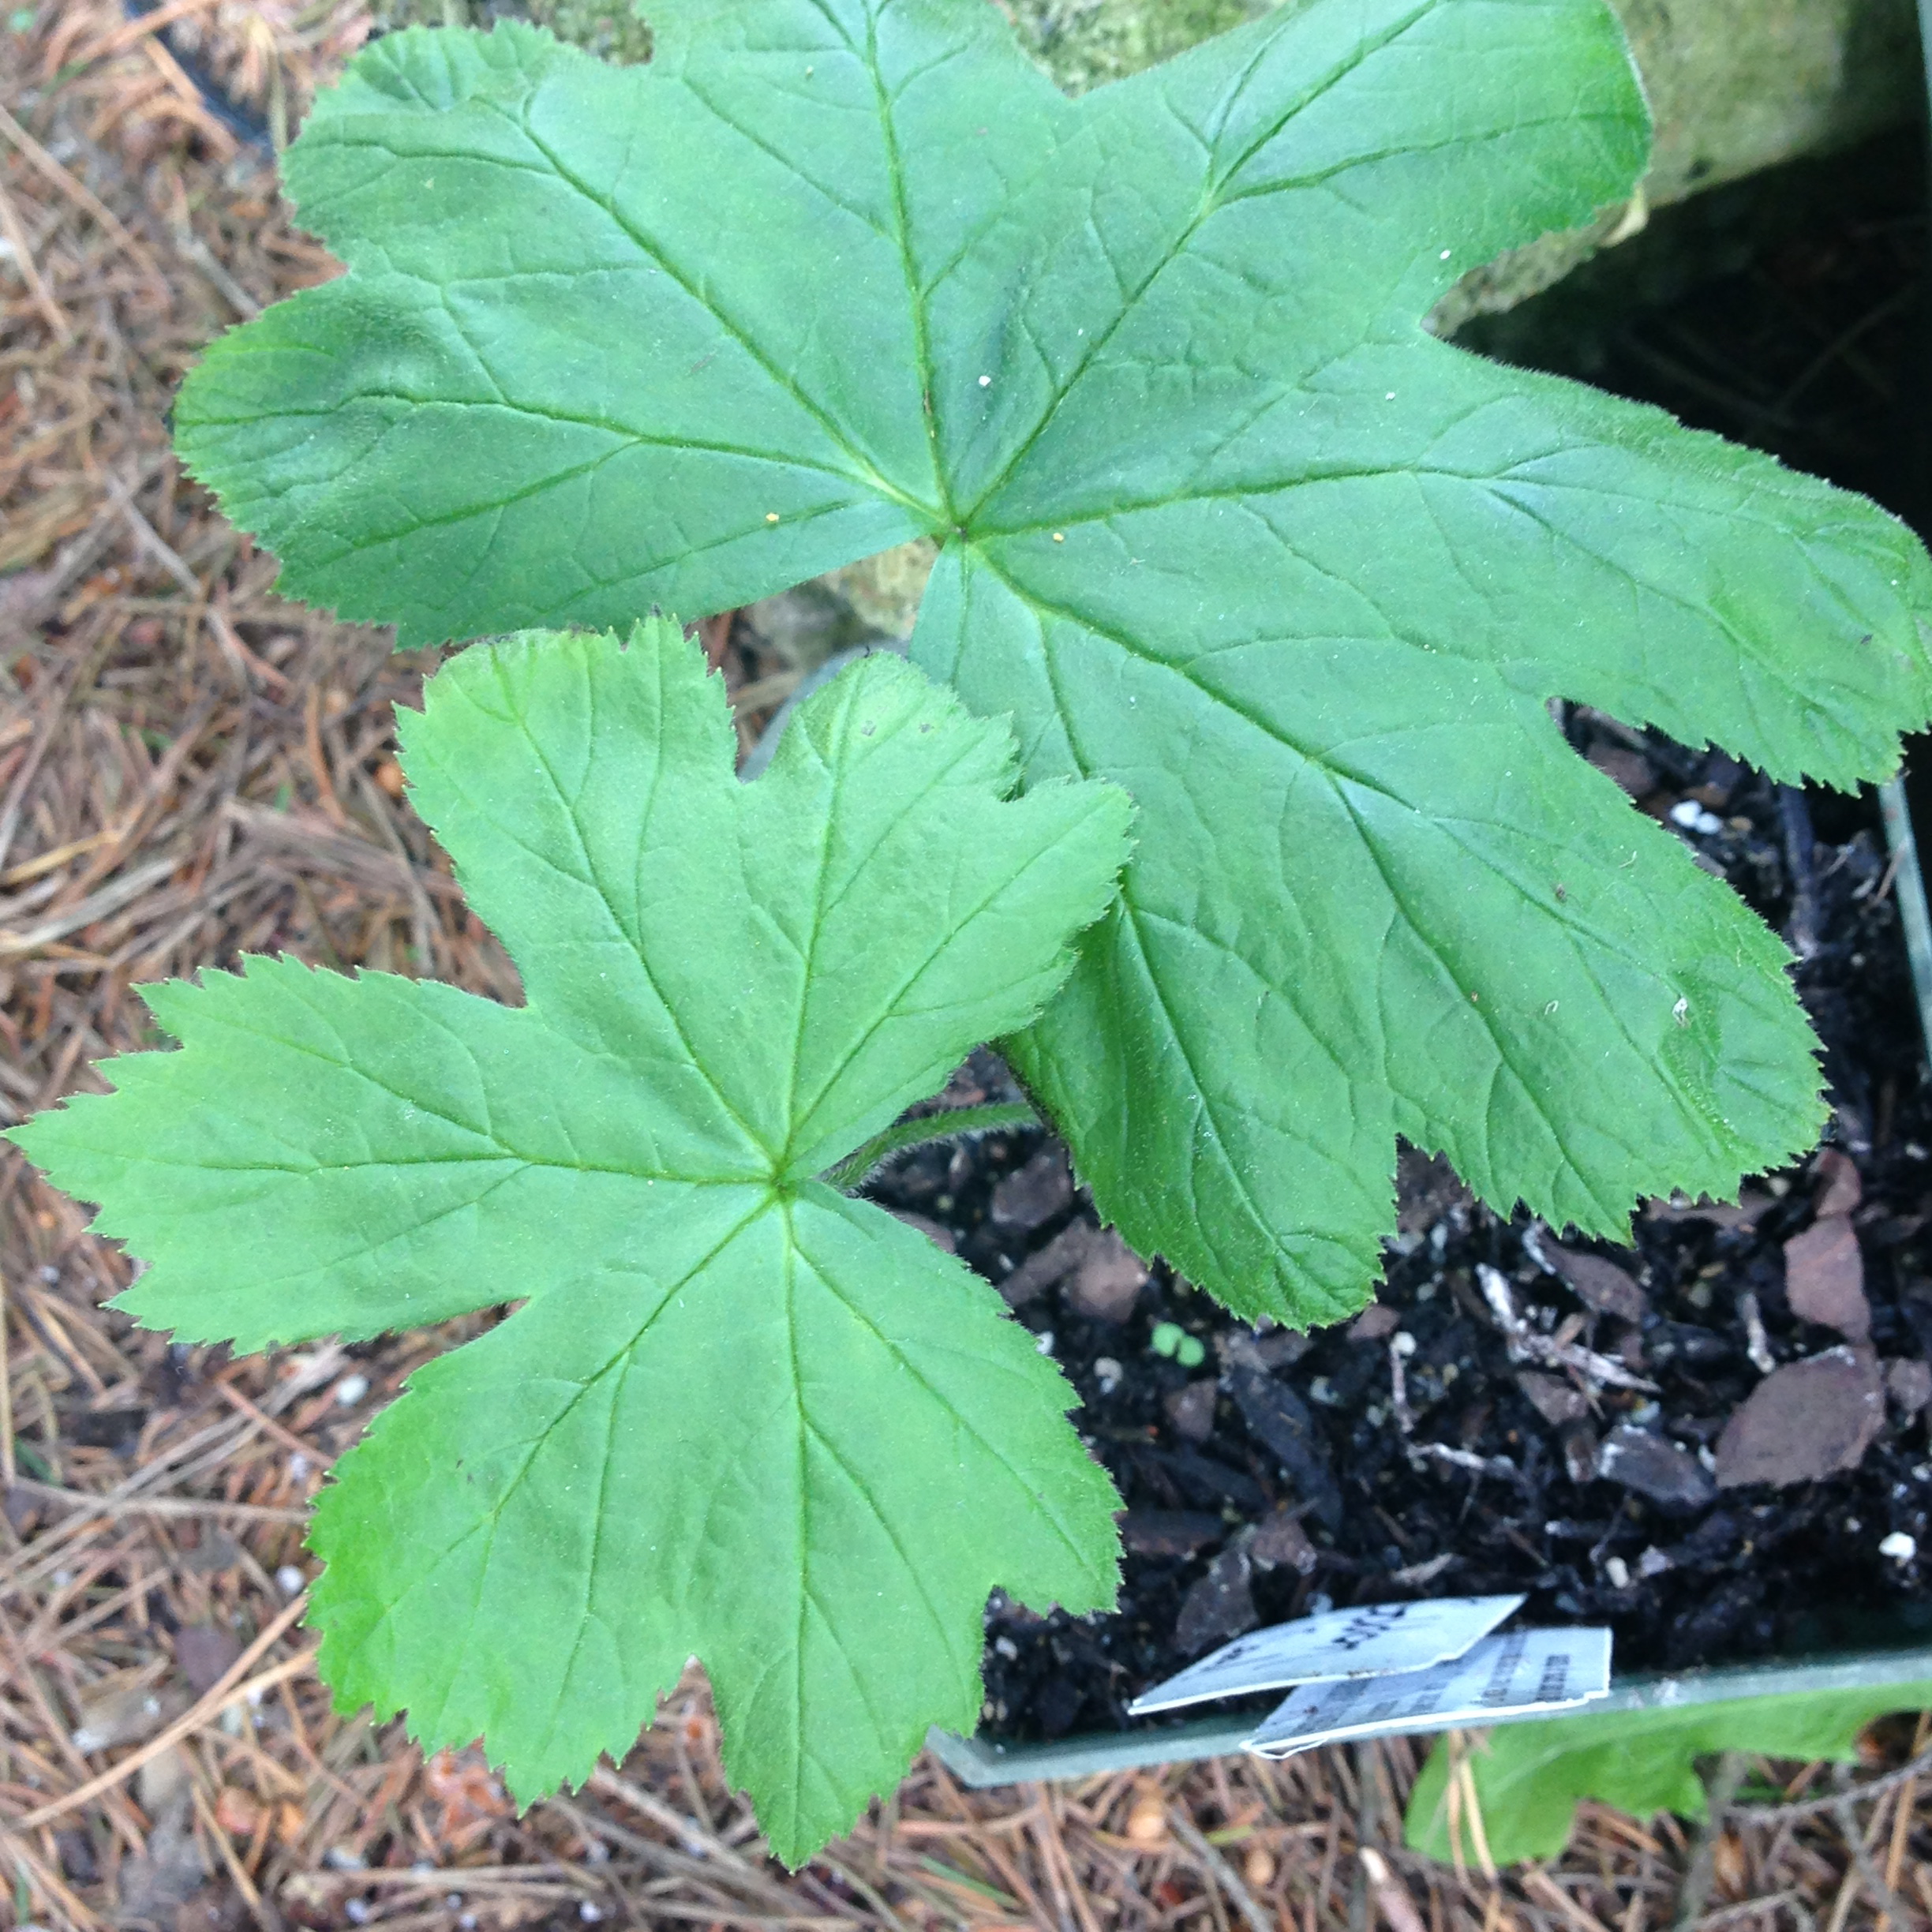
Valerian grows very tall with beautiful, showy flowers in the summer.

IMG_4555.JPG

Valerian is one of my favorite herbs to help bring on peaceful, deep slumber or to relieve anxiety.  I keep it by my bedside to use when I wake up in the middle of the night so I can go back to sleep more quickly.  I also have a blend of valerian mixed with hops and chamomile that is nice to take in preparation for sleep.

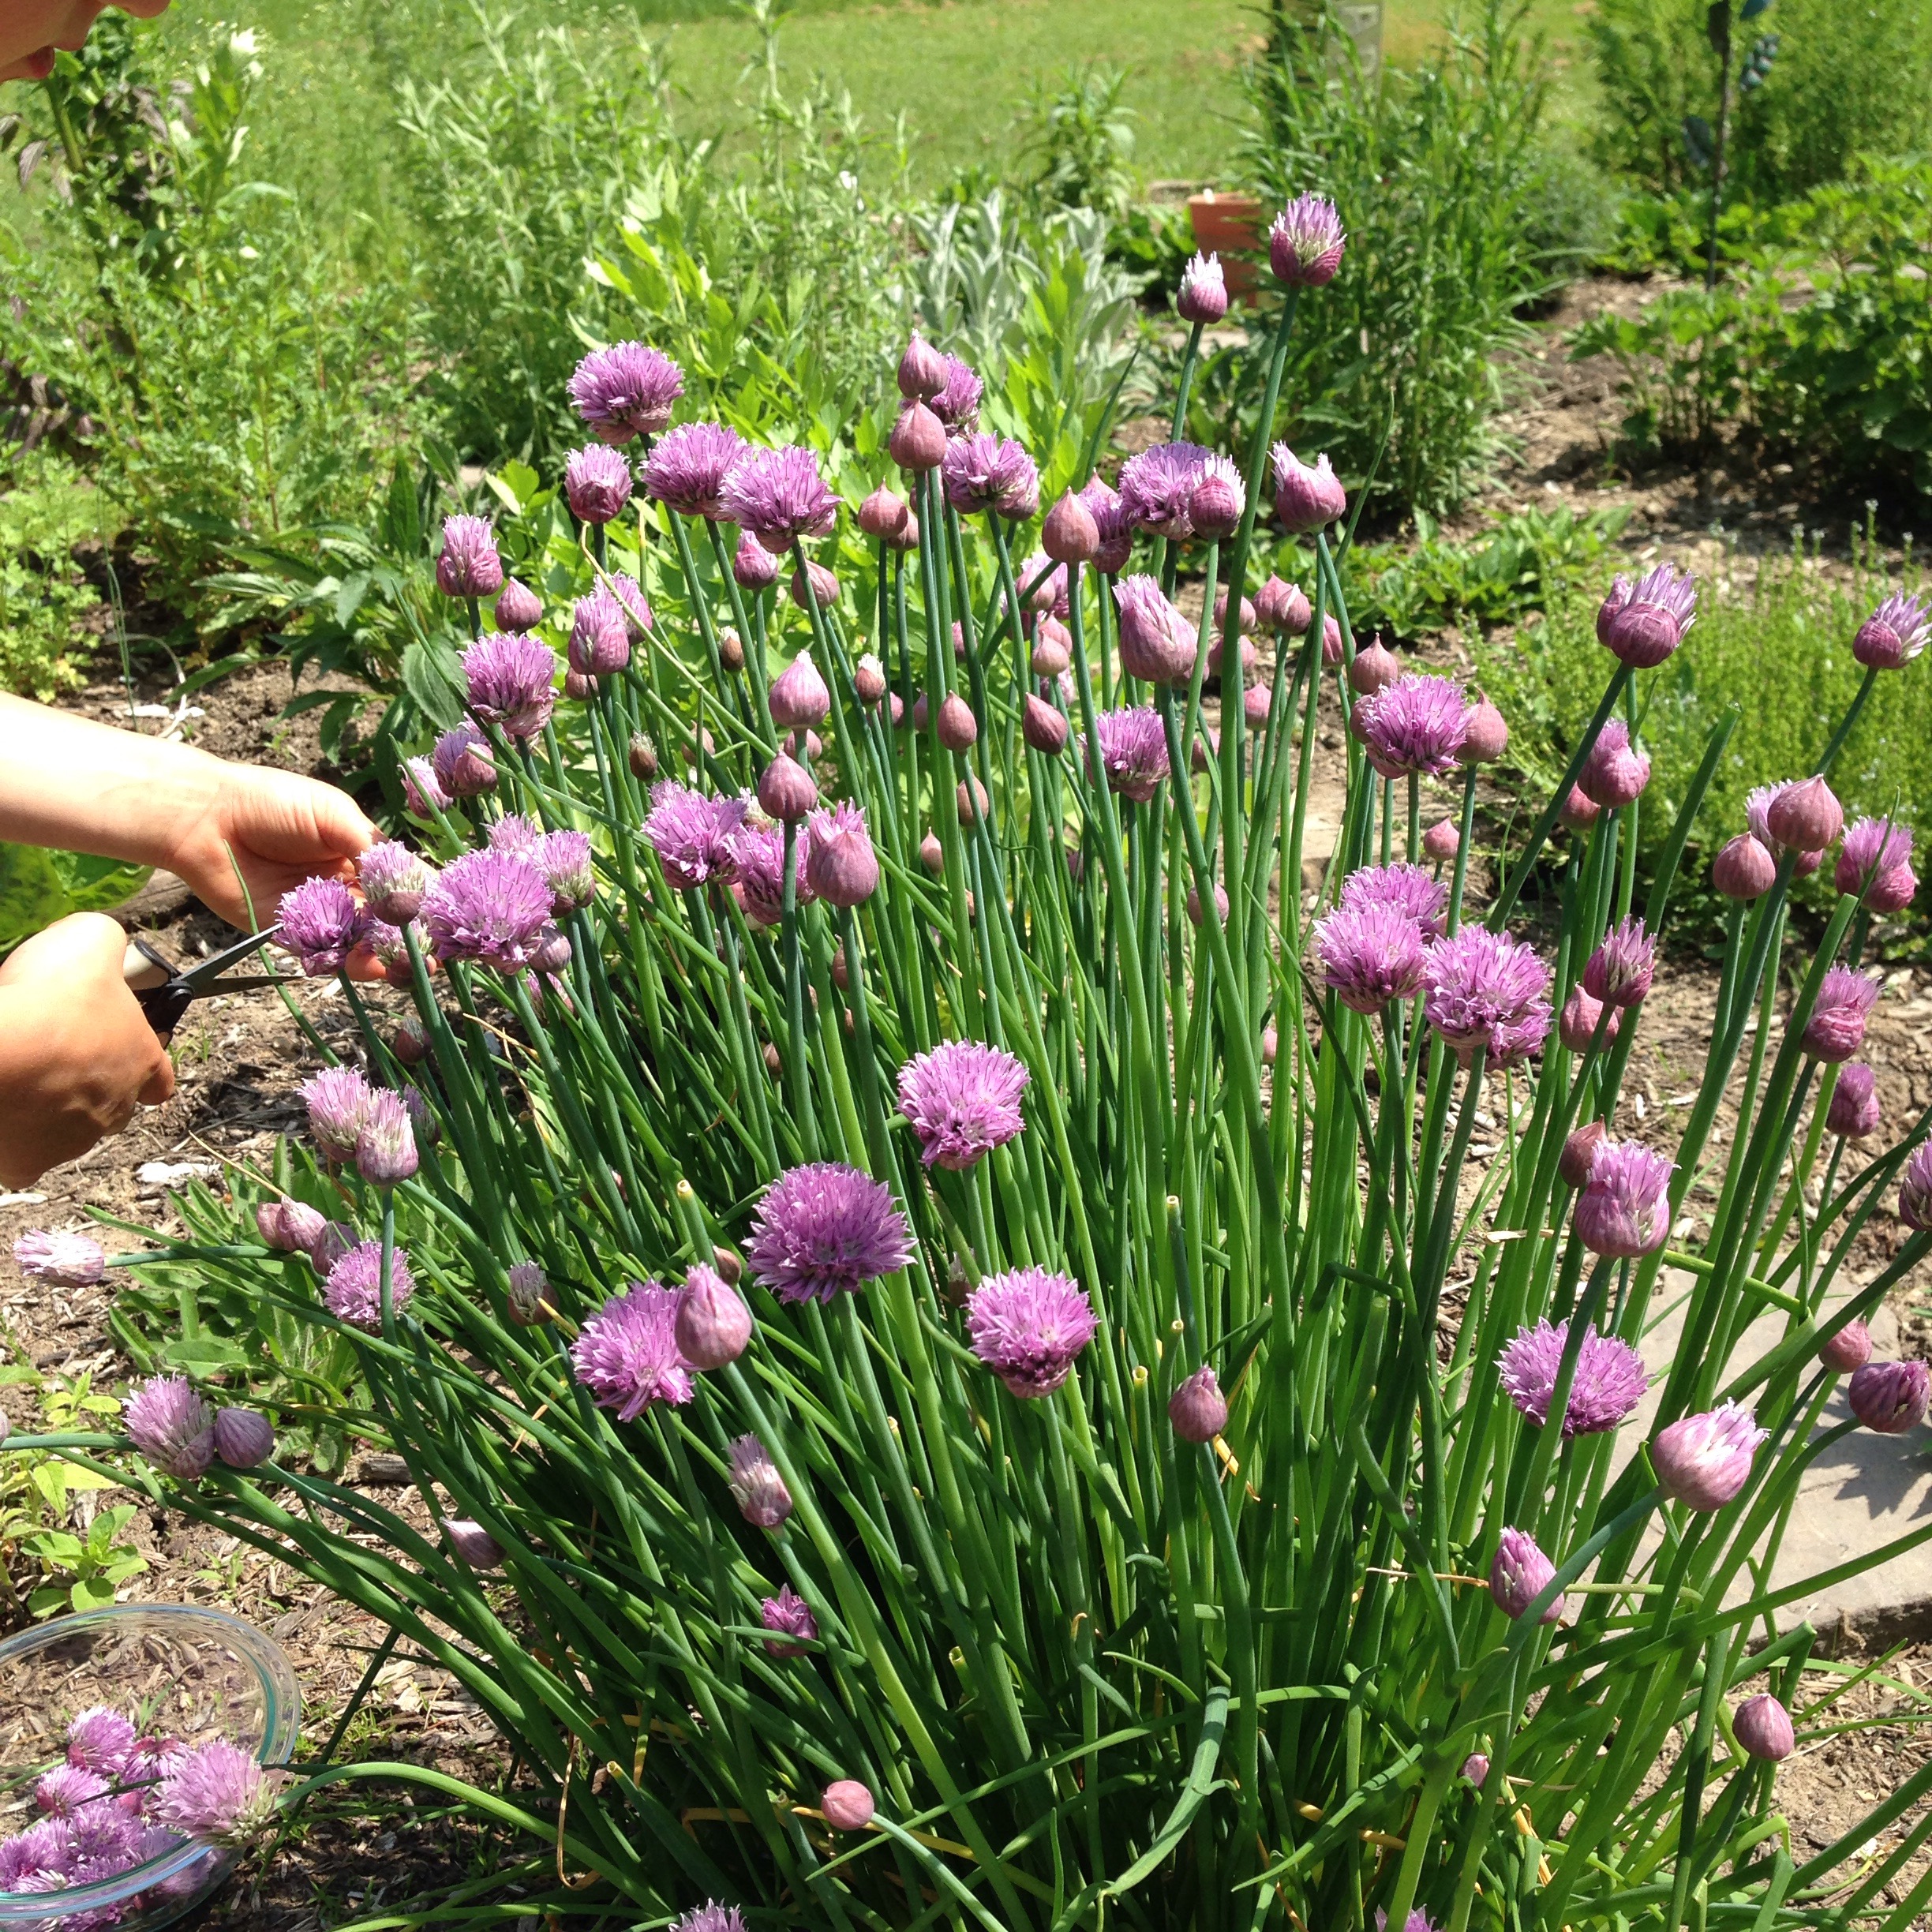
Some people say valerian flower can be used to make tincture  (I have made one, but have yet to try it out), but the root is used more traditionally.

We made some tincture today so I thought I would share the process.

In spring, before the plant flowers, dig up the roots of a plant that has been growing for at least a year.  Some people find the smell very unpleasant (like dirty socks), but others don’t seem to mind!

img_6149-e1525374785850.jpg

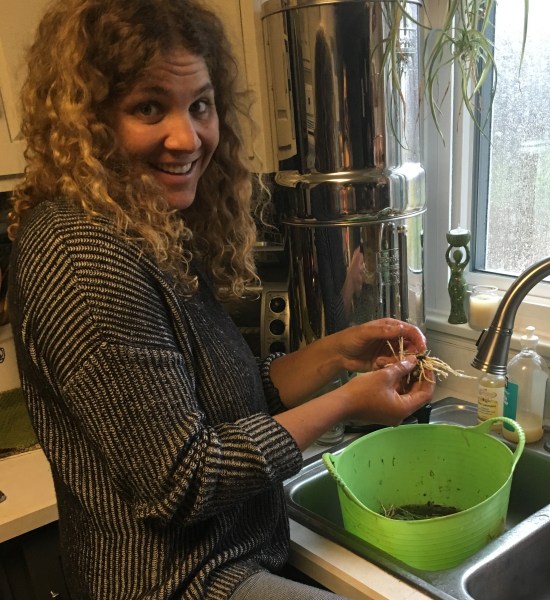
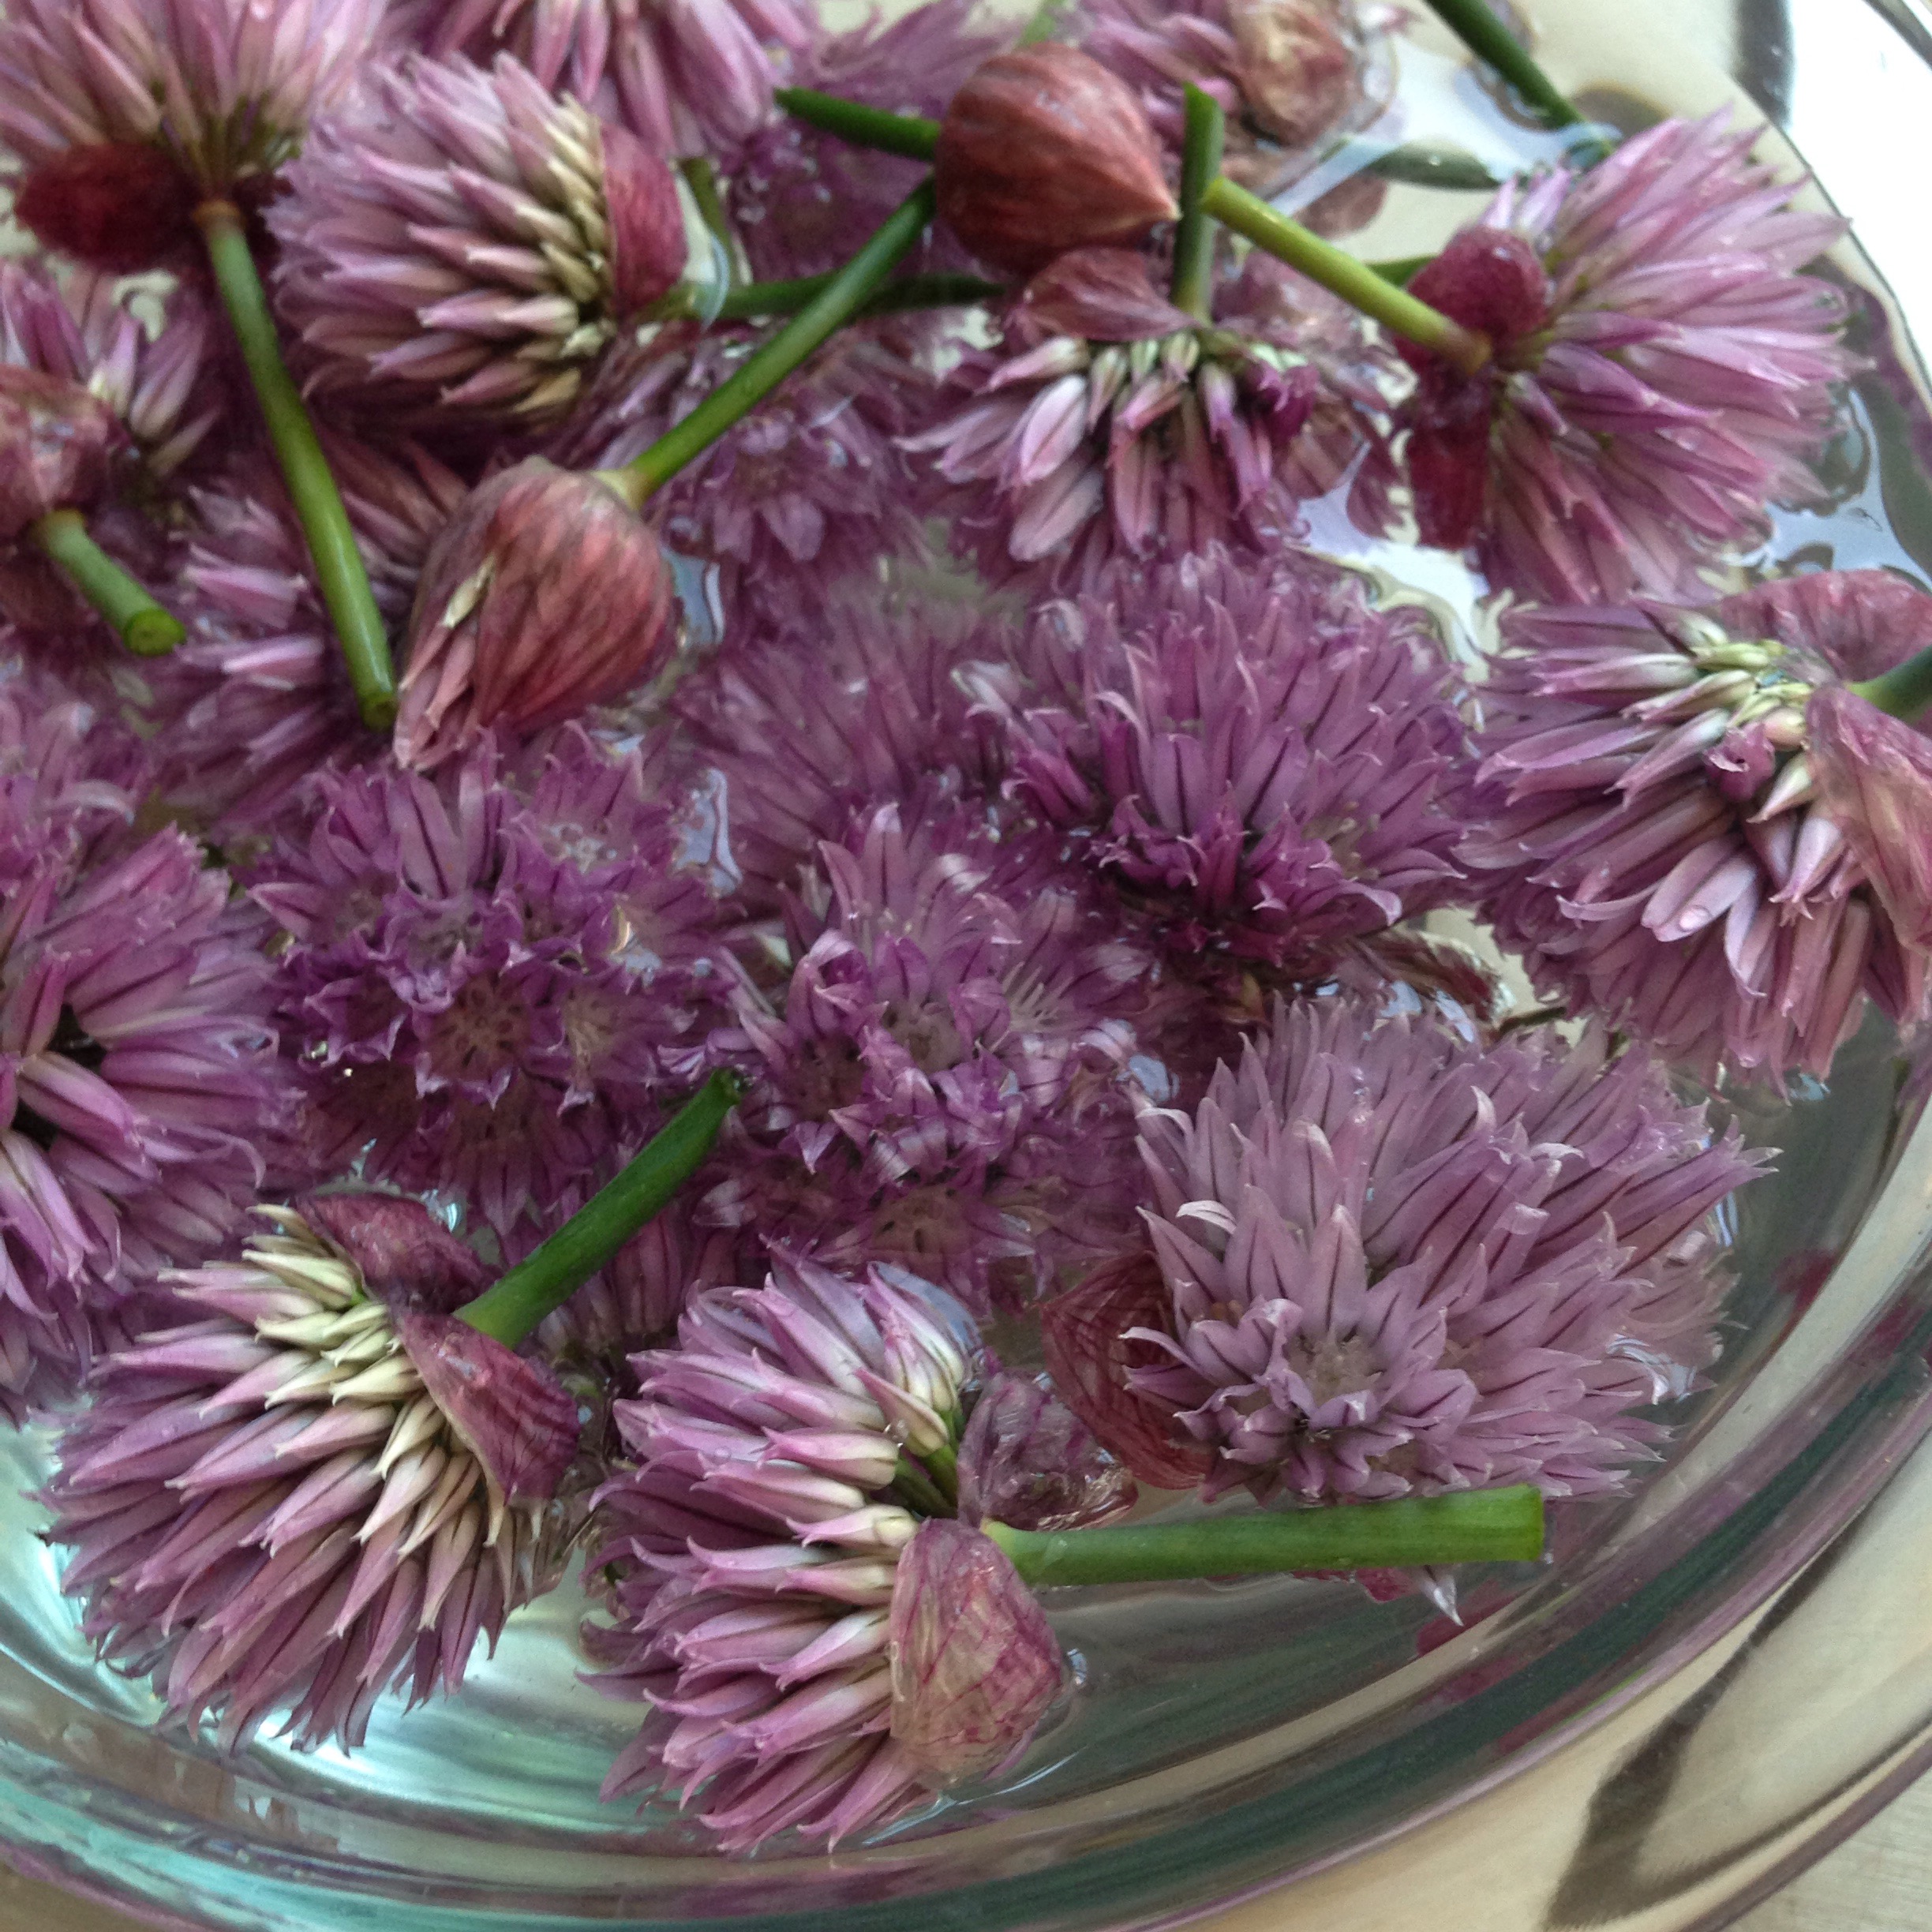
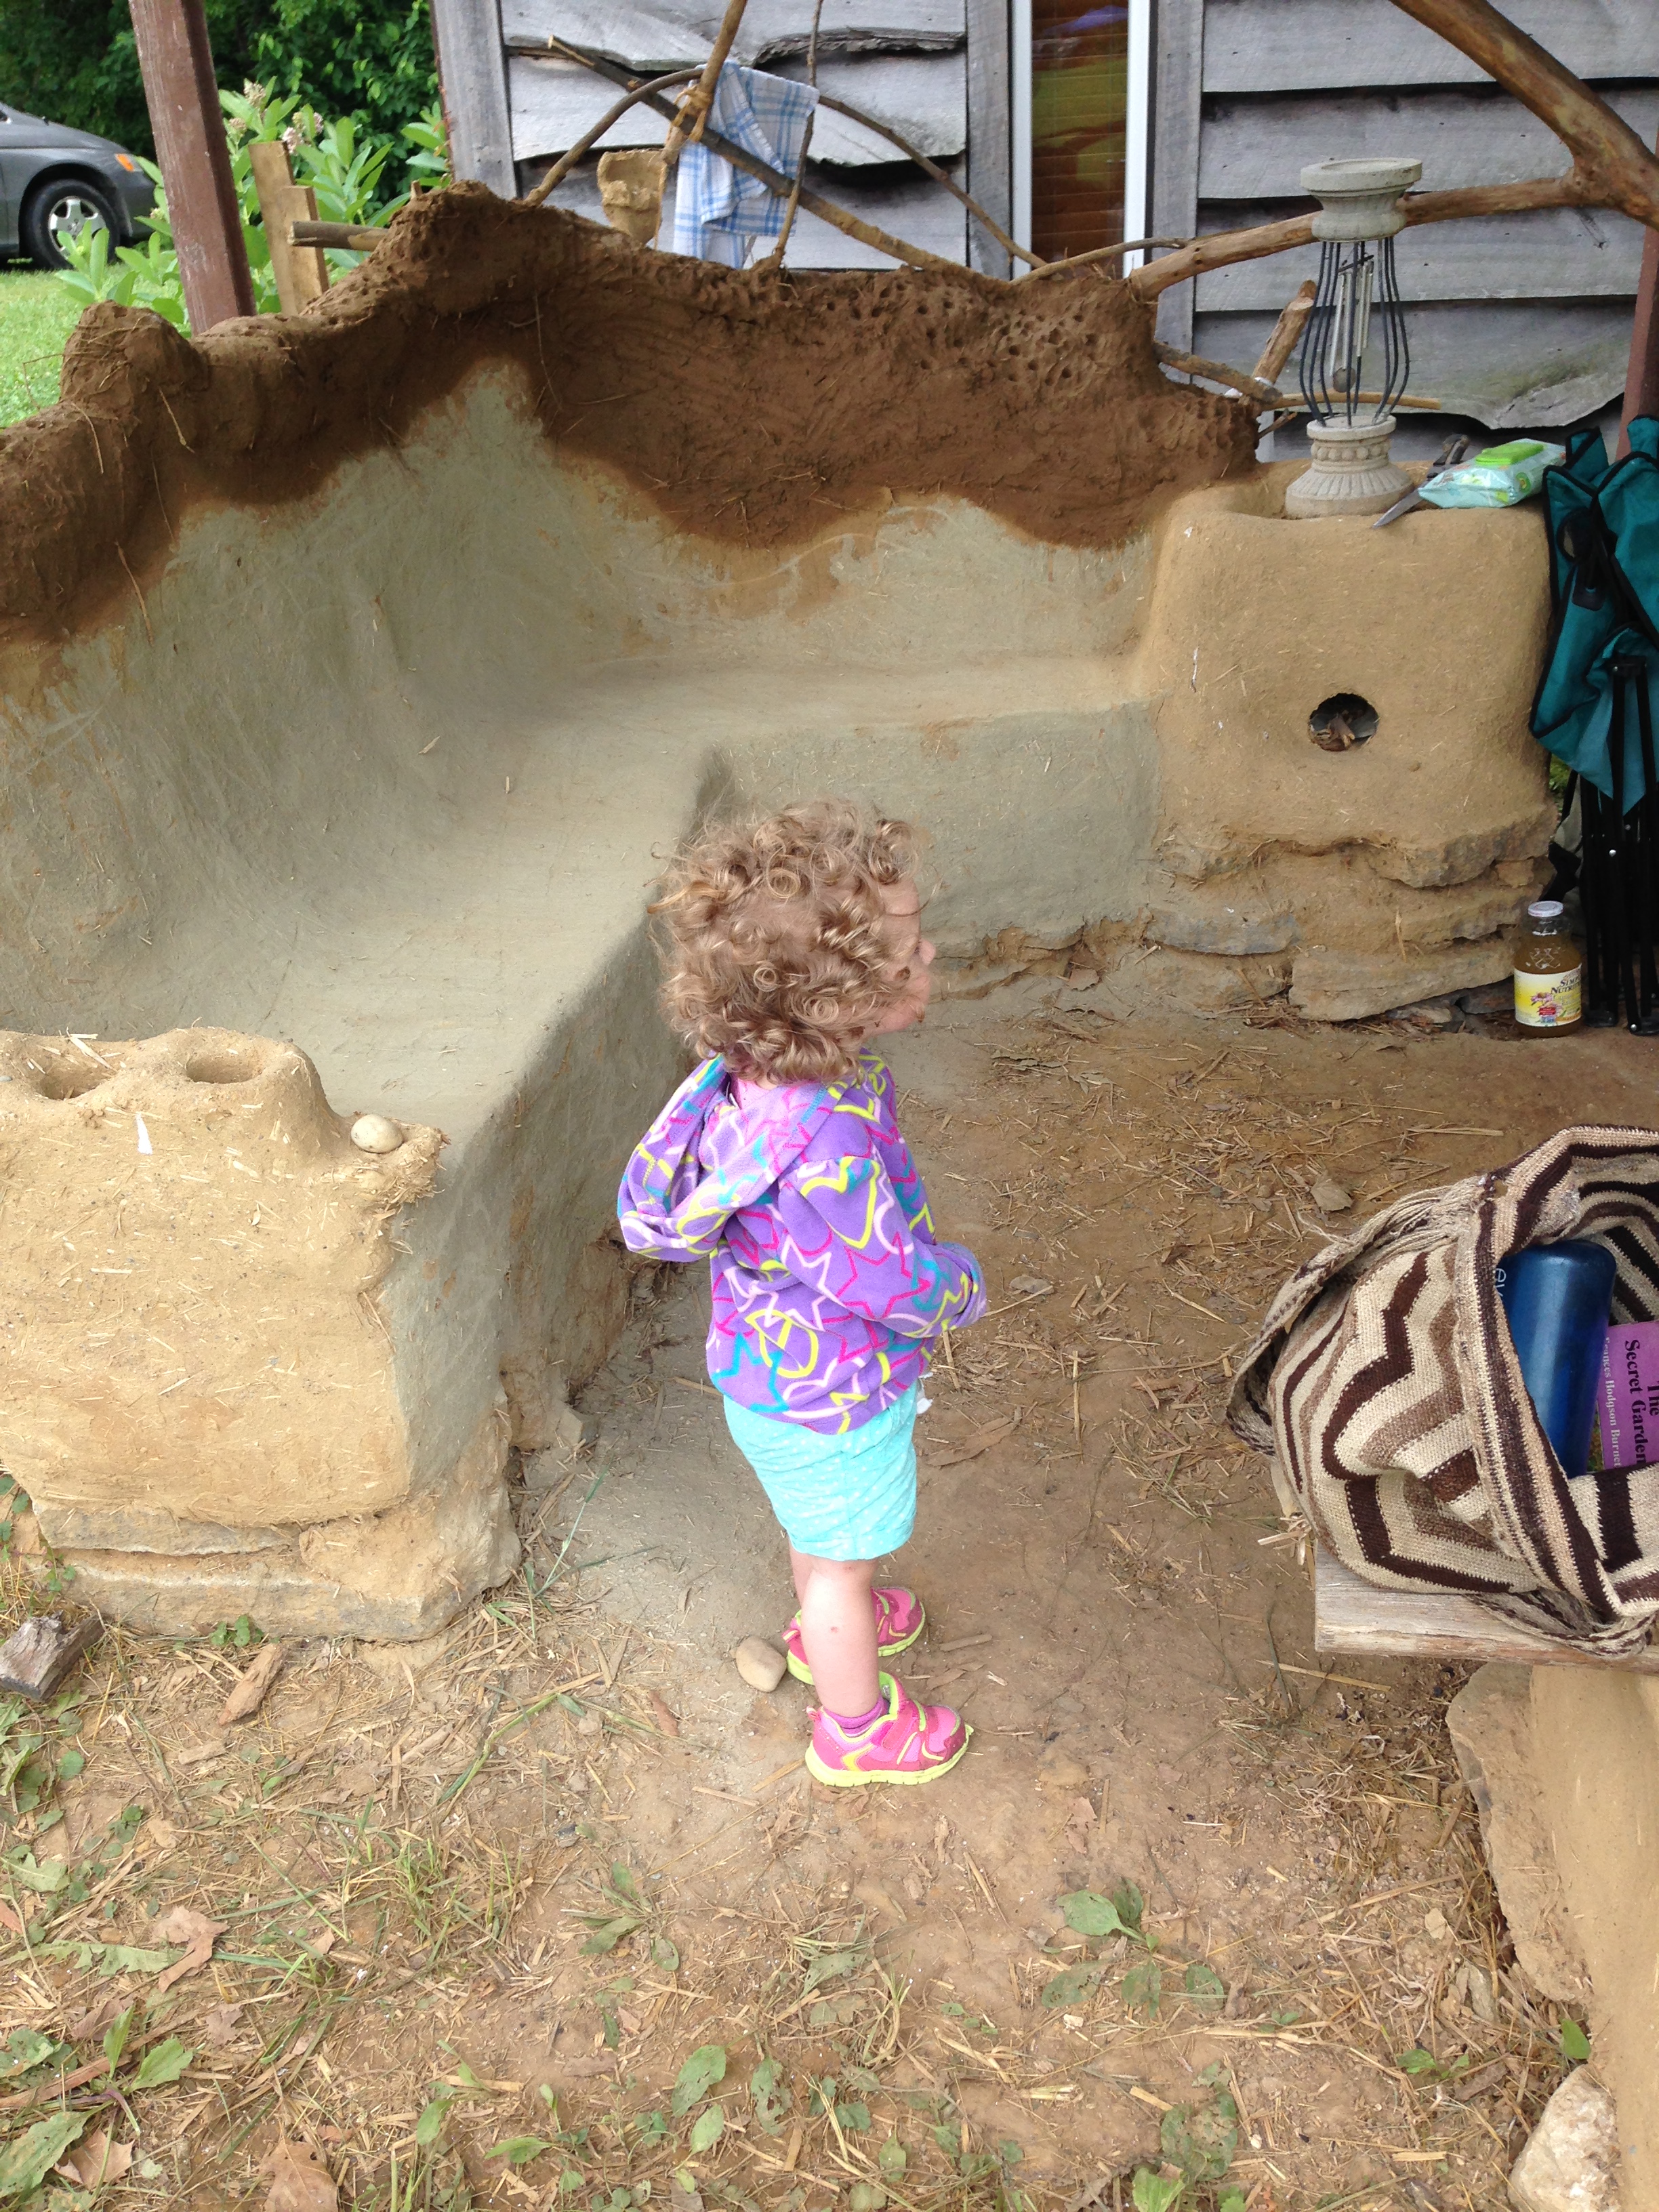
Margaret helps to wash the root.

Wash the roots very well to remove the dirt.

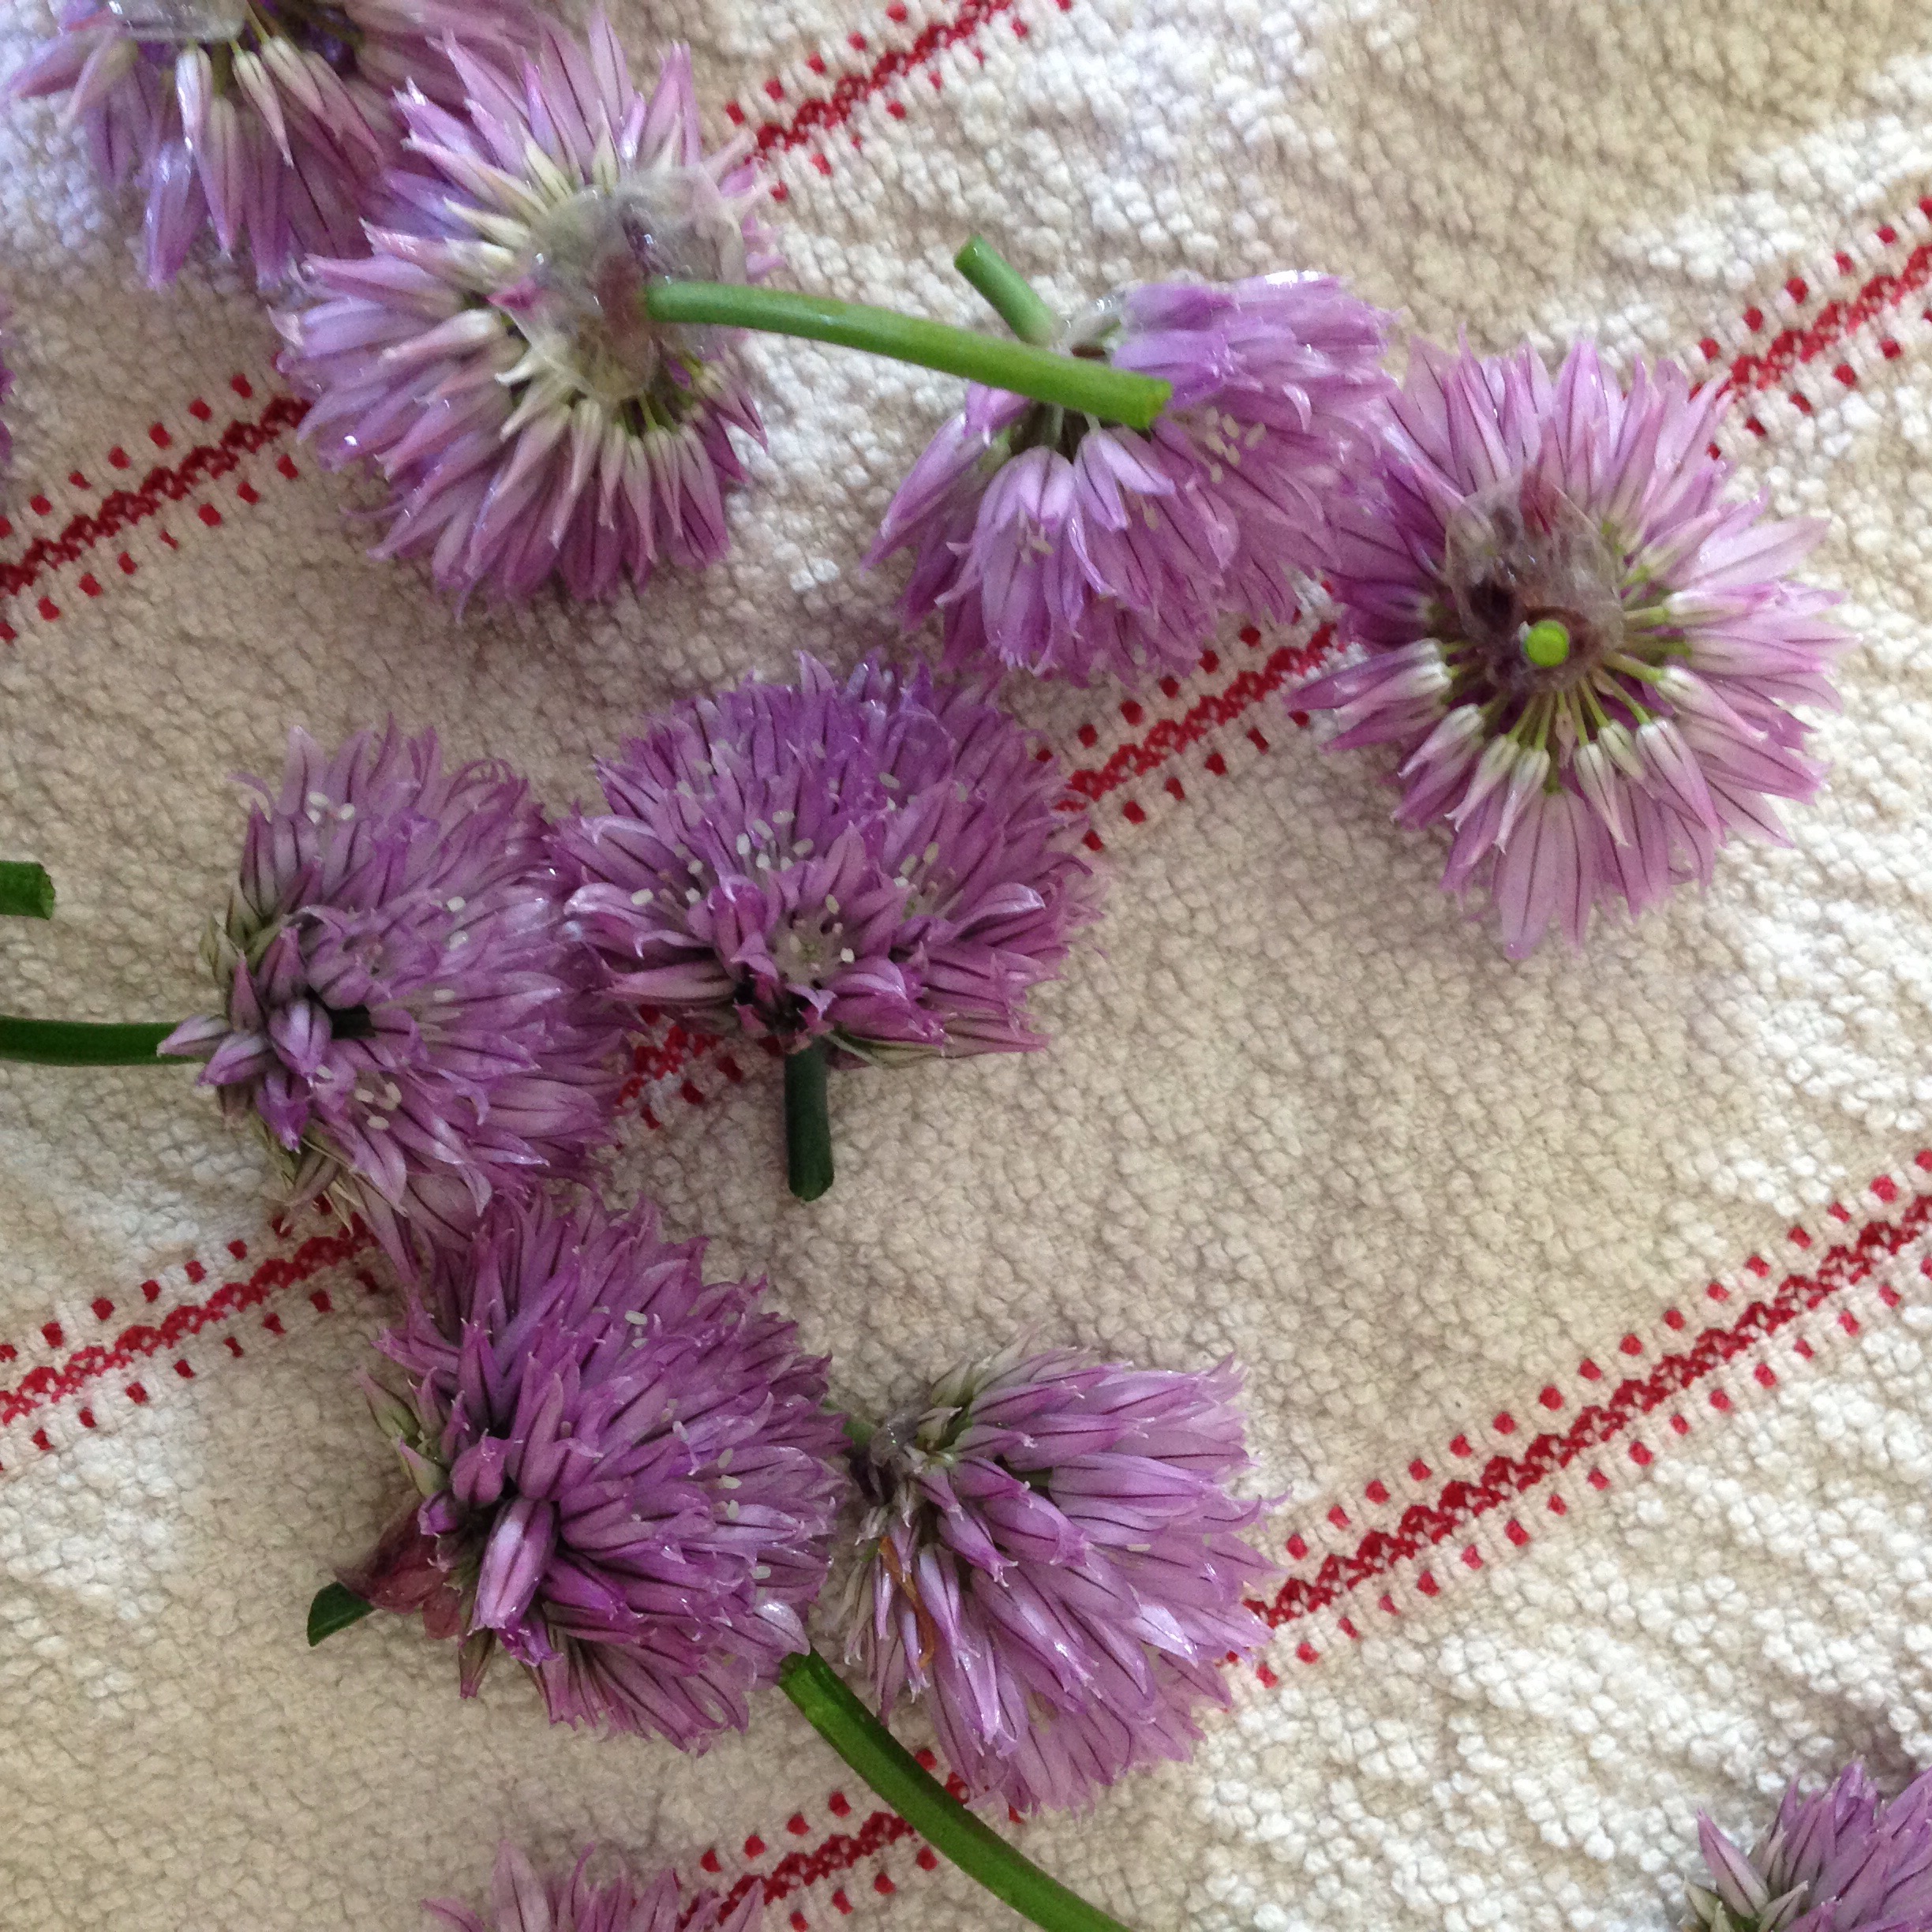
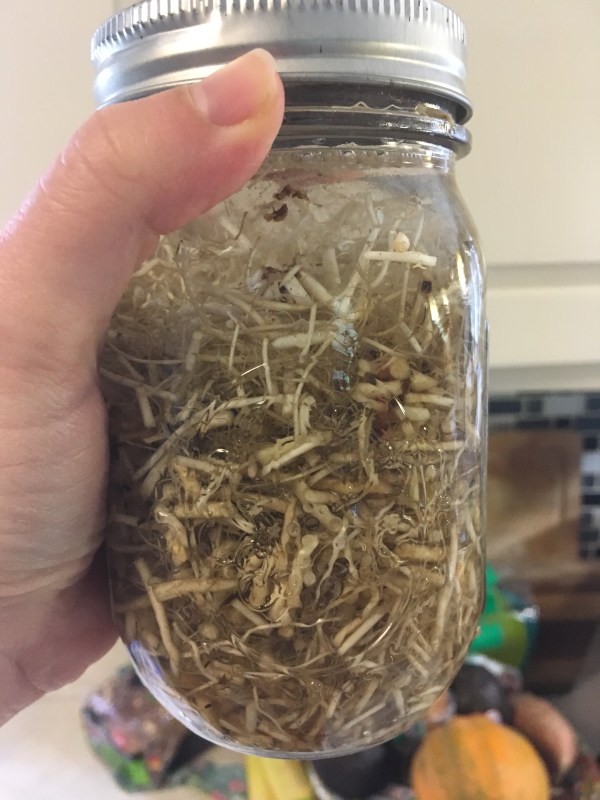
Chop the roots into smaller pieces.  At this point, they could be placed into the dehydrator to dry for tea, or you can place them into a jar to make a tincture. (It might be worth wearing some gloves for this process in case cutting the roots makes you sleepy!)

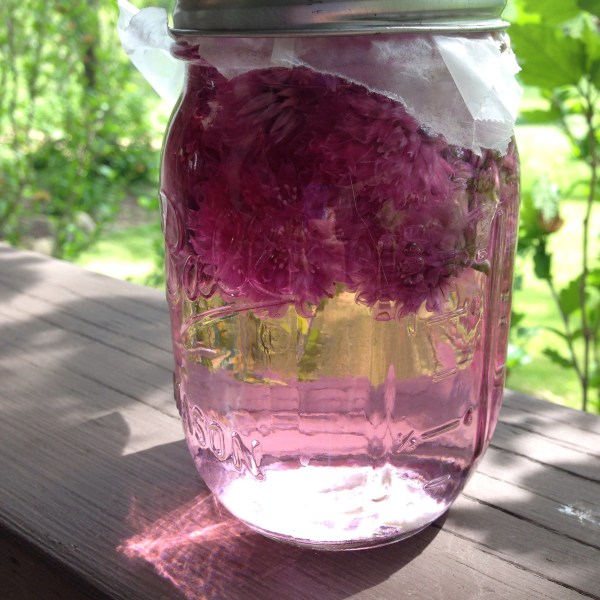
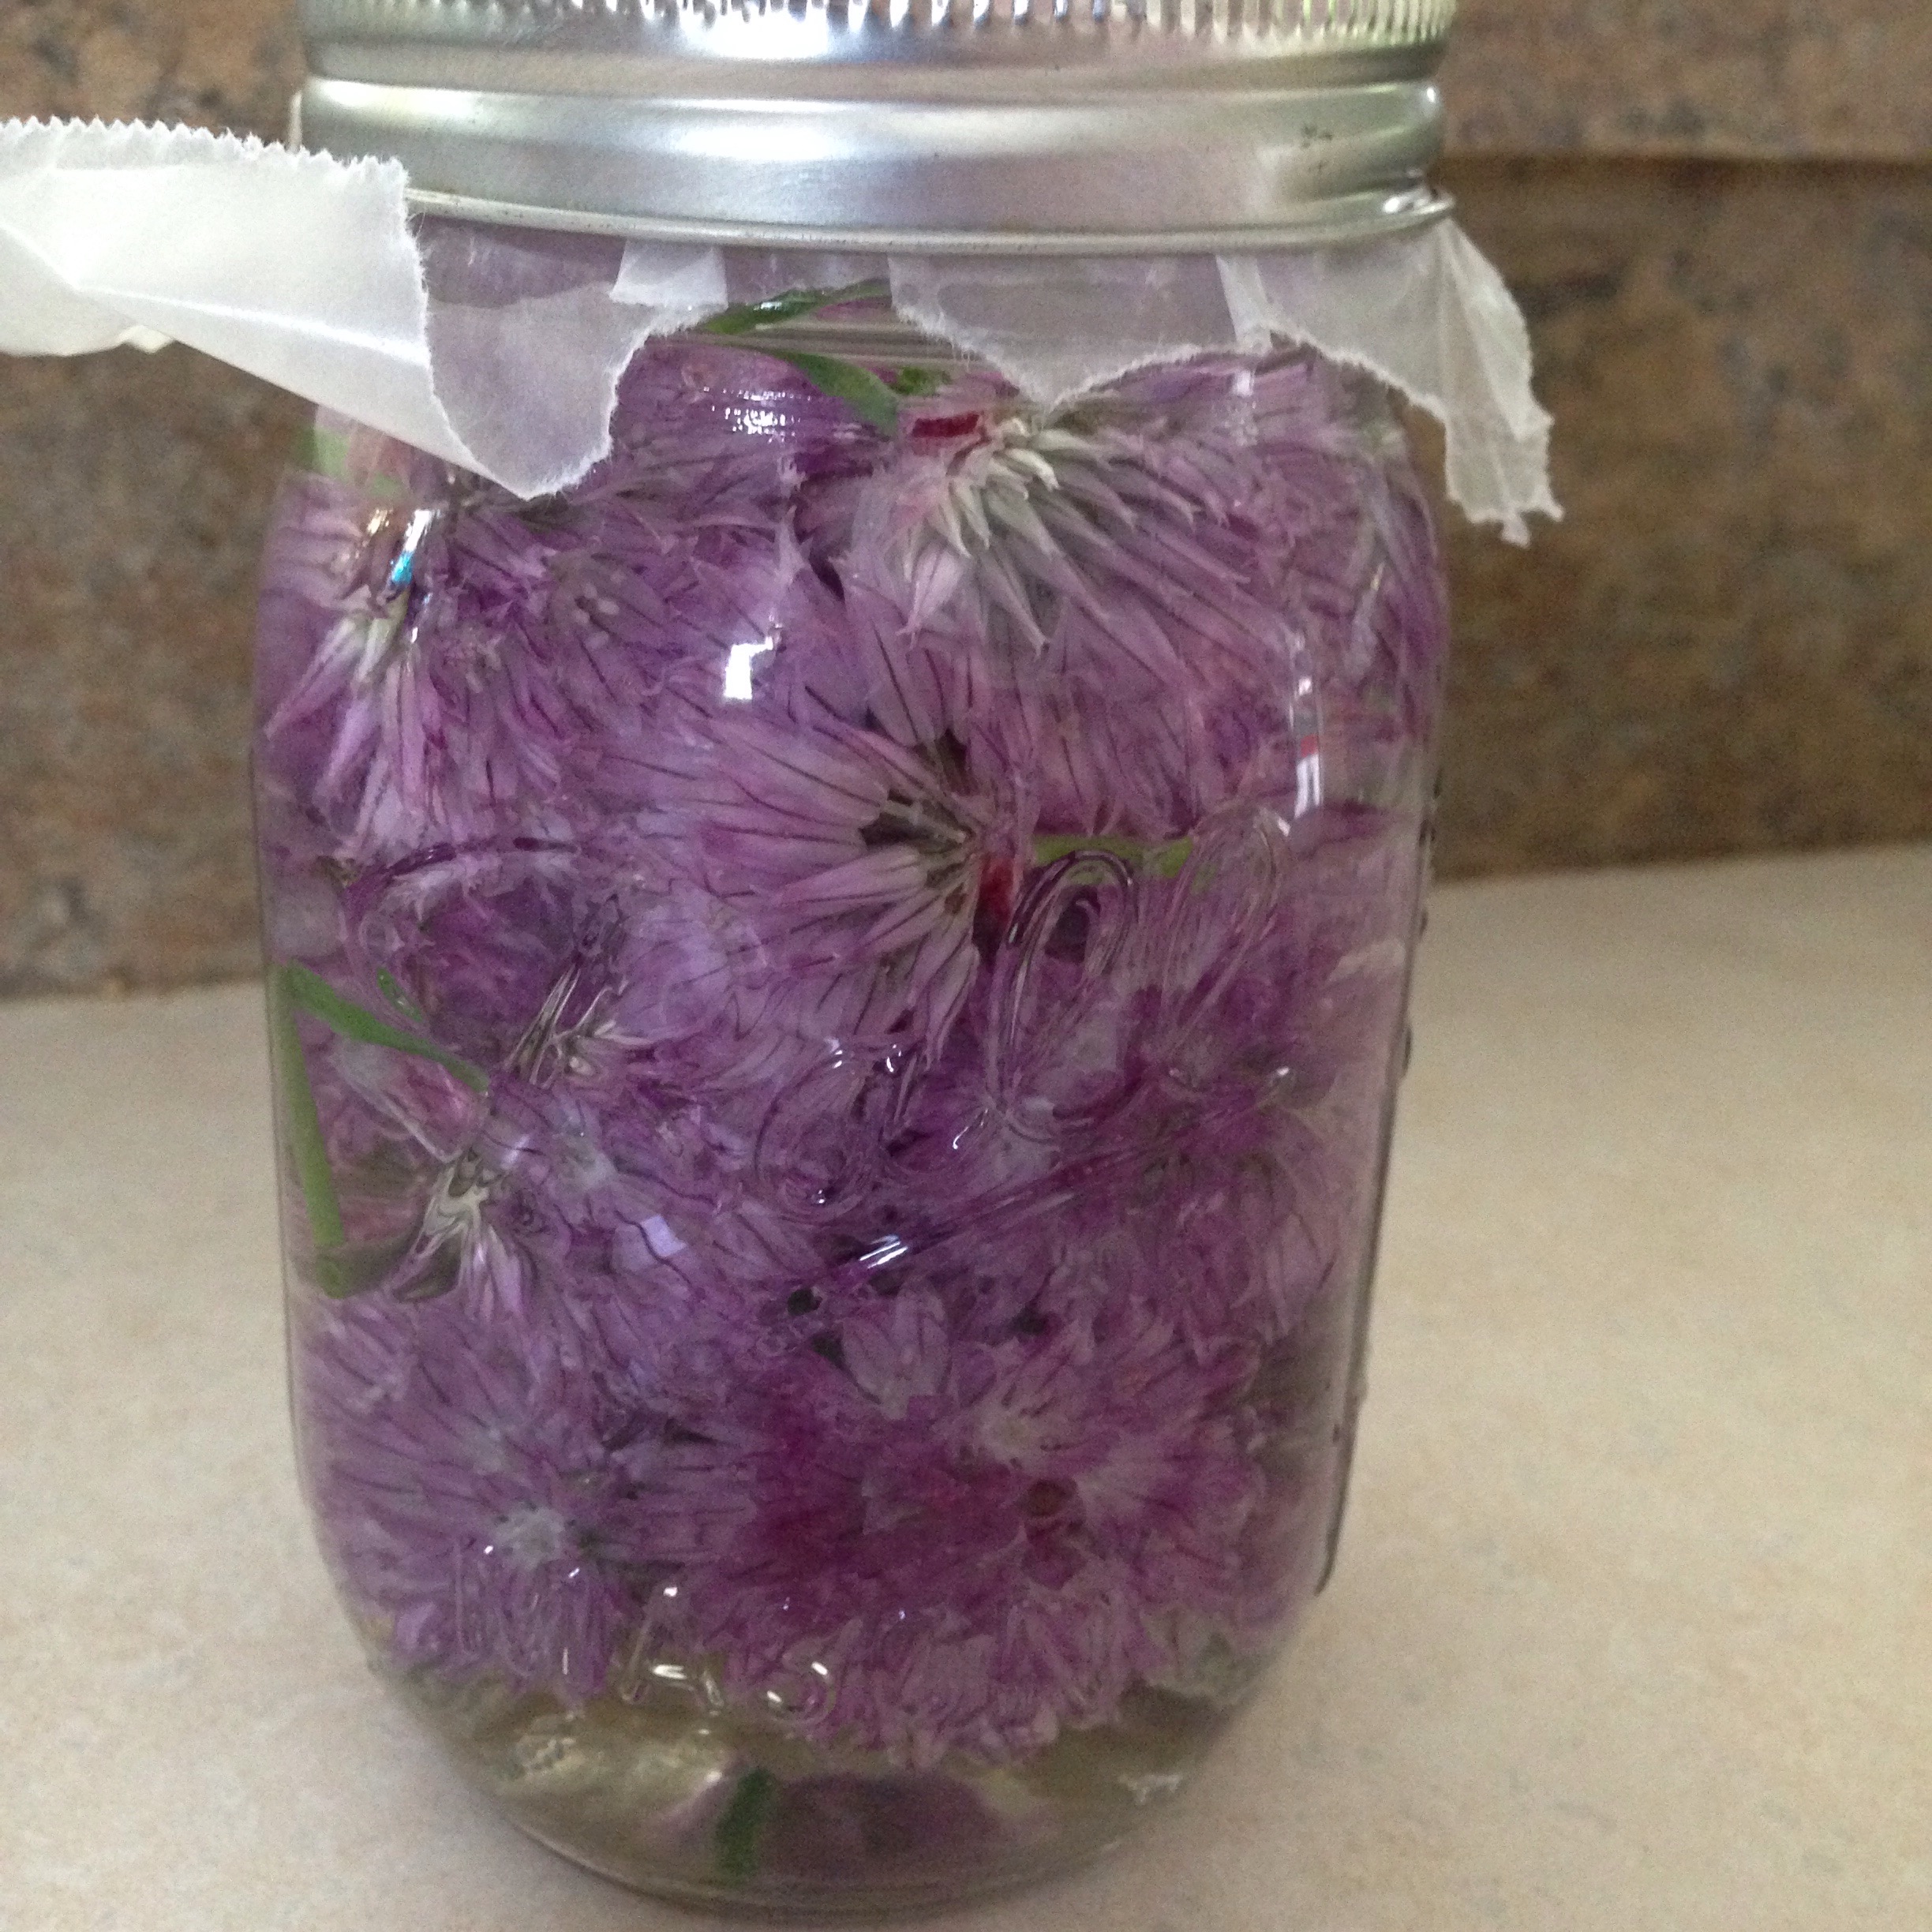
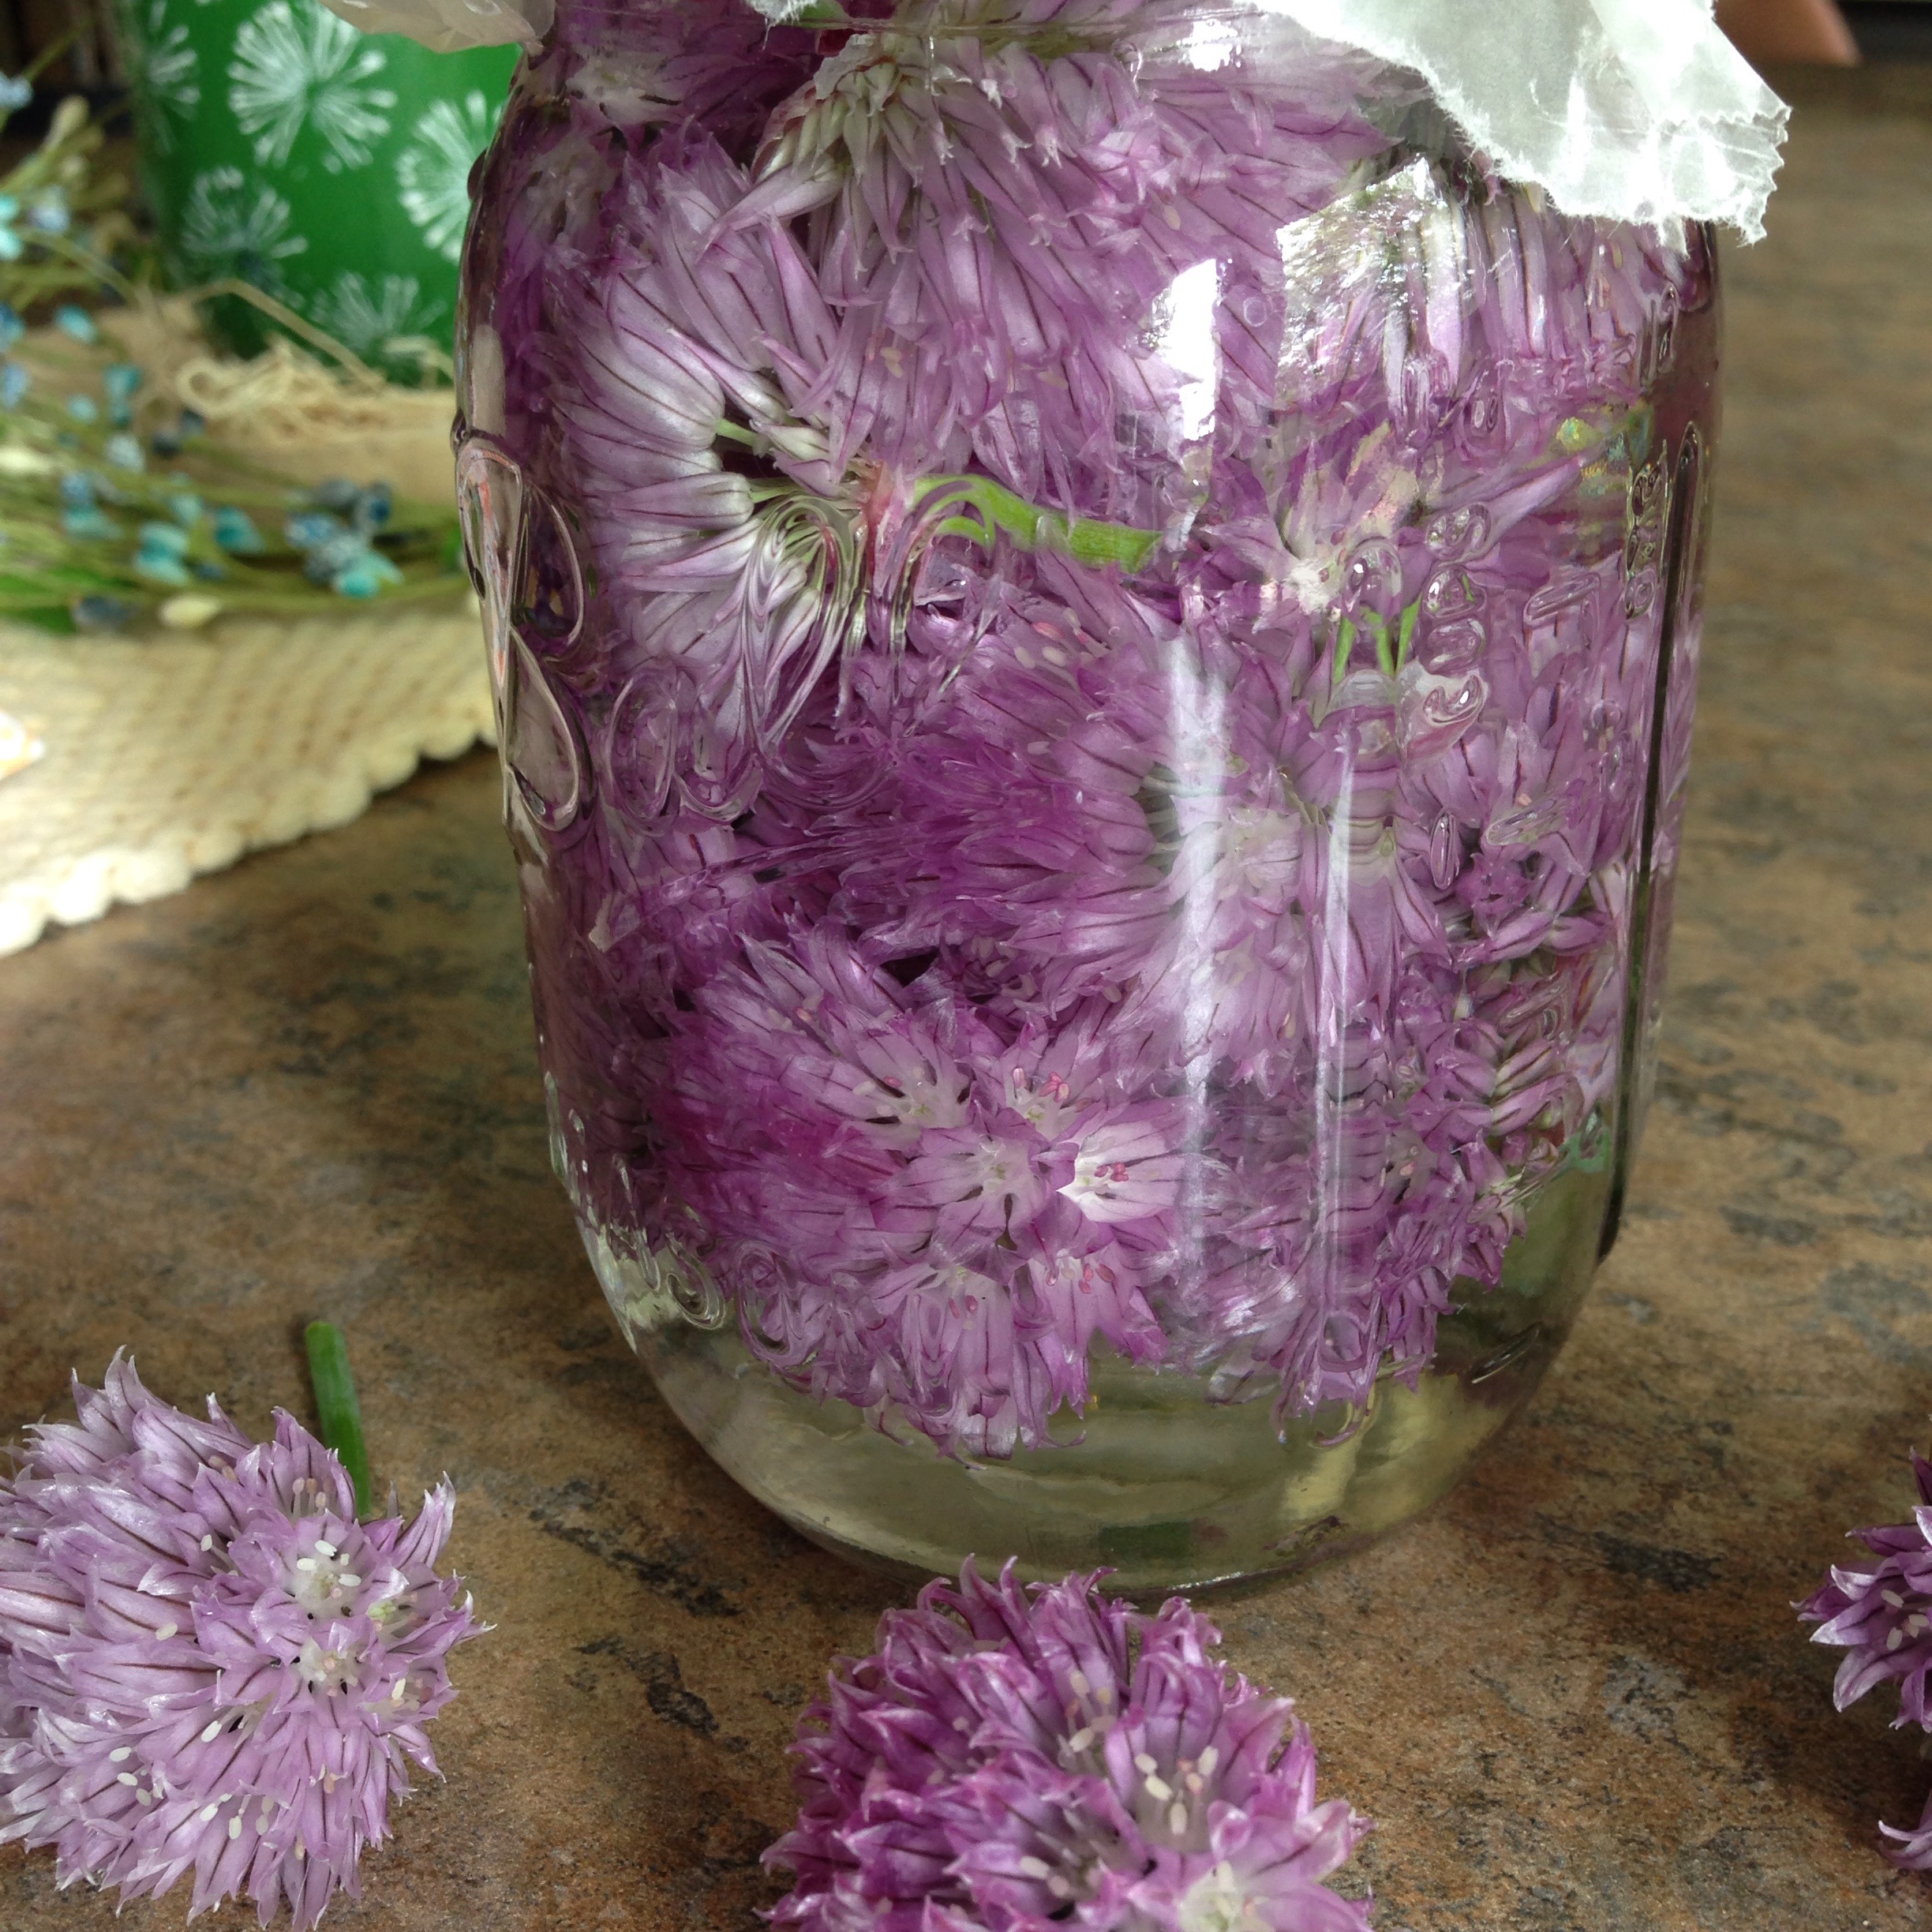
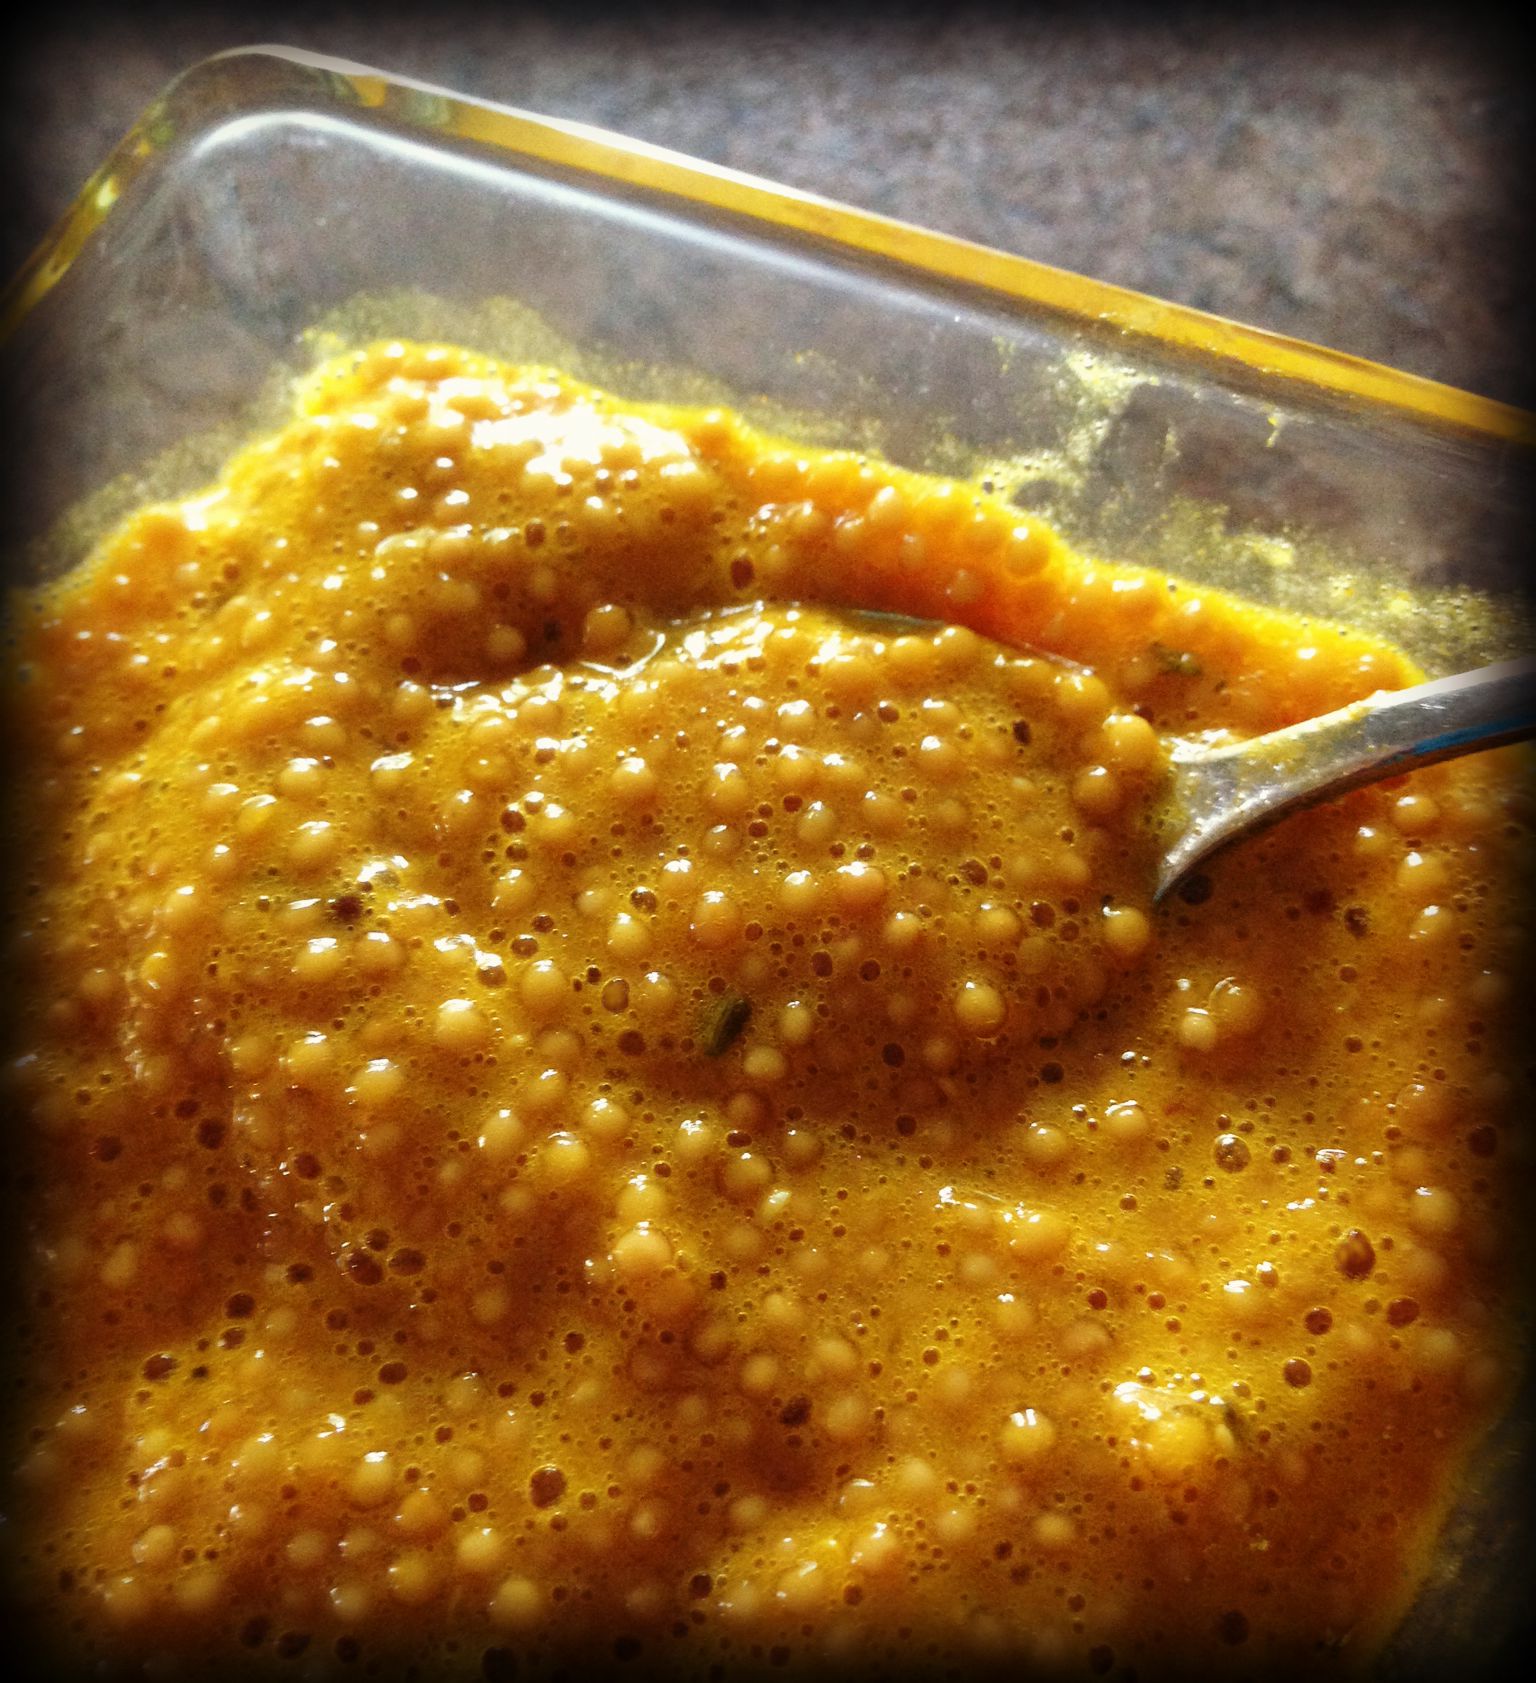
Fill the jar 3/4 full with the fresh root (if you’re using dried root to make a tincture, you’d only need to fill it halfway full).

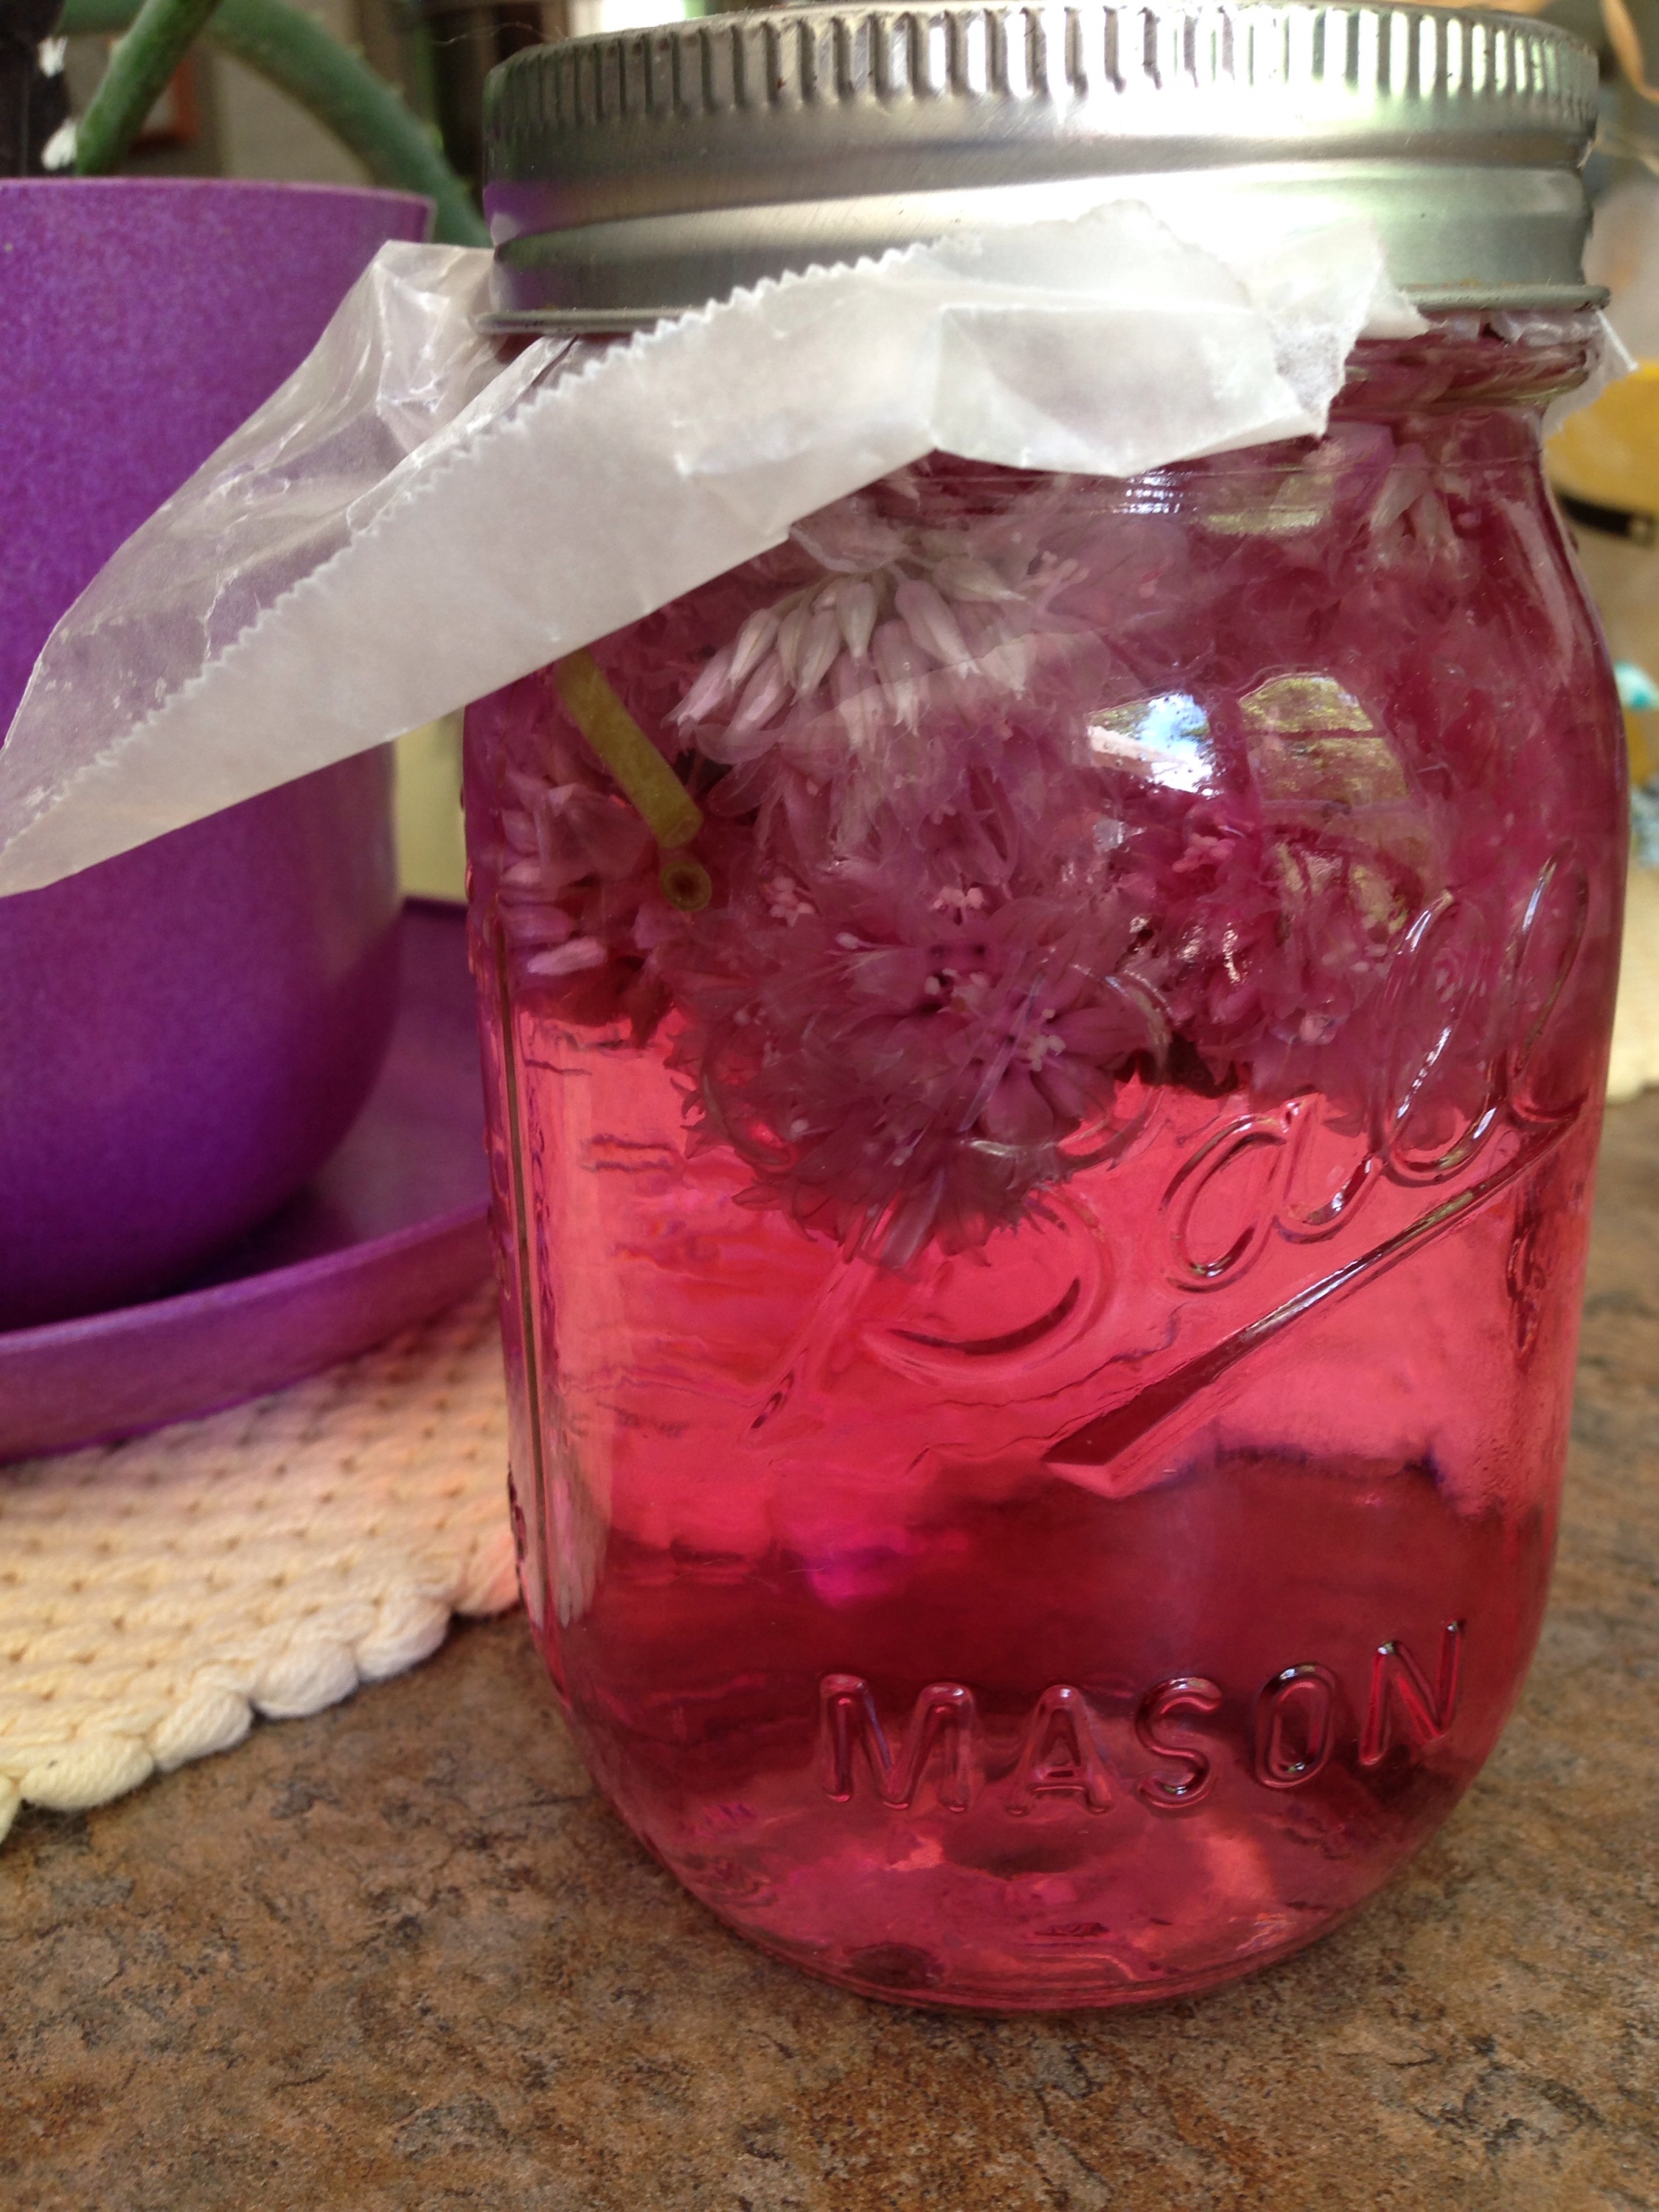
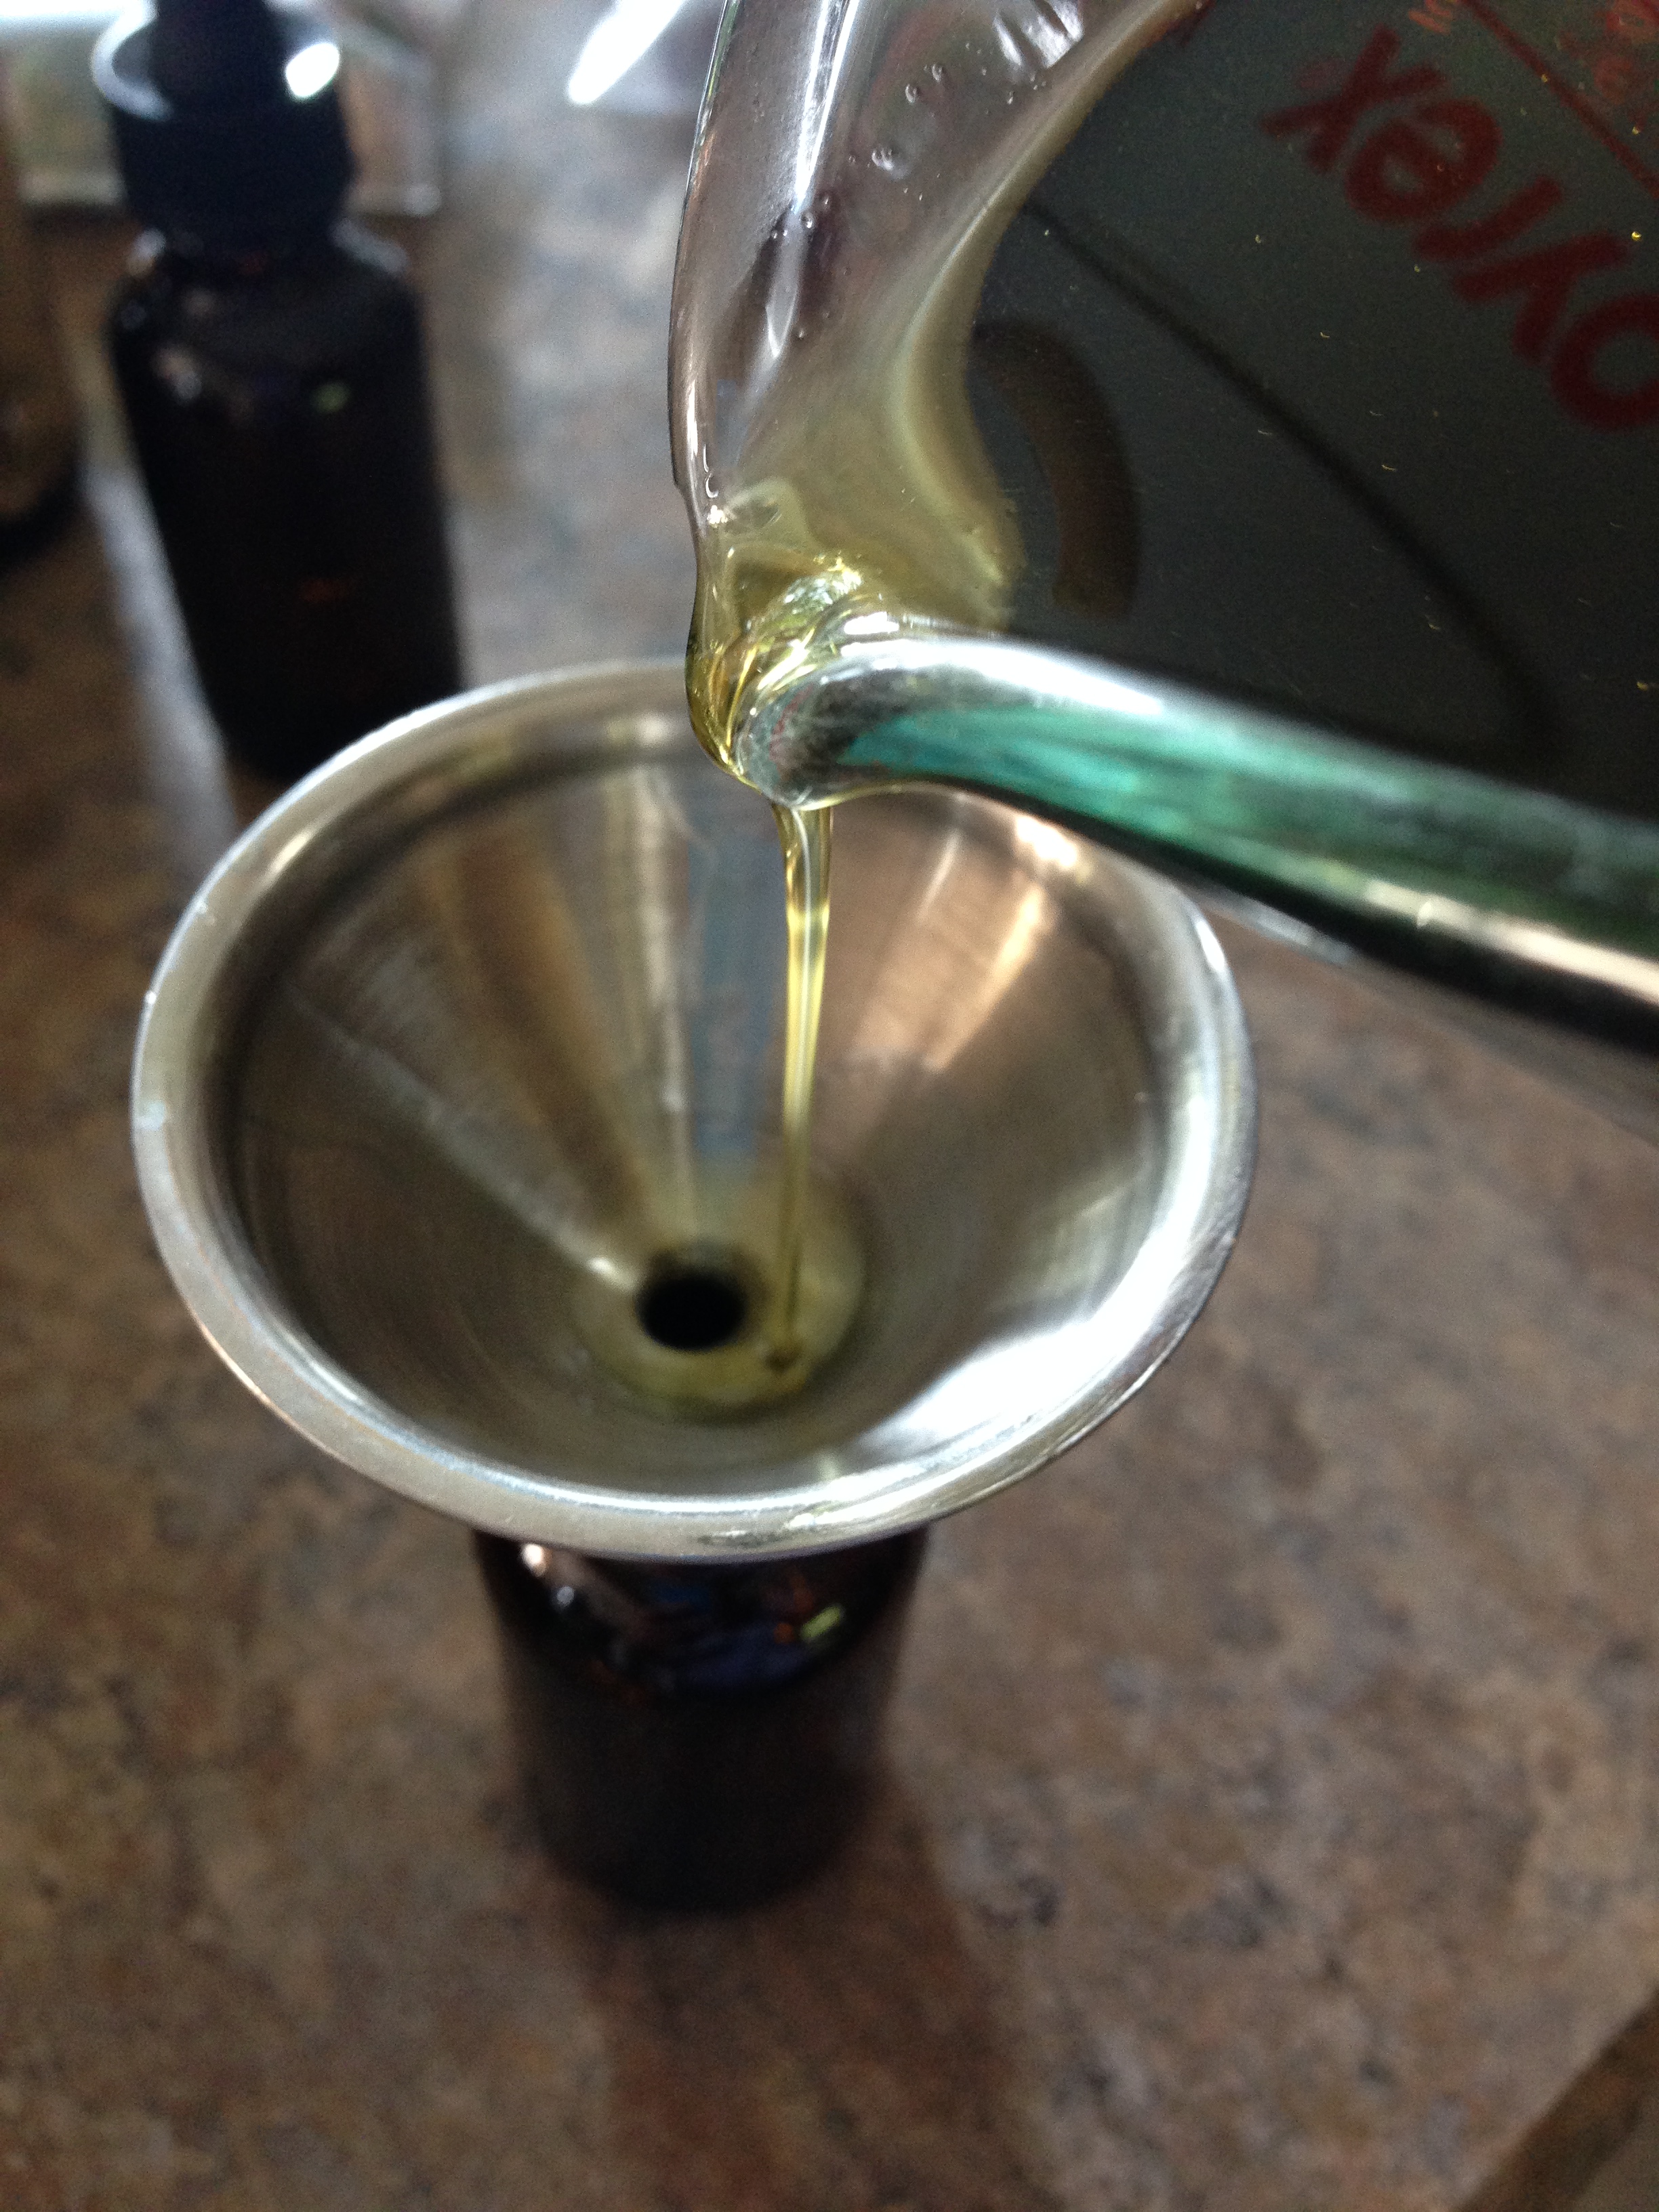
Pour 50% alcohol (I use vodka) to the top of the jar.  Shake regularly and let sit for at least 4 – 6 weeks.

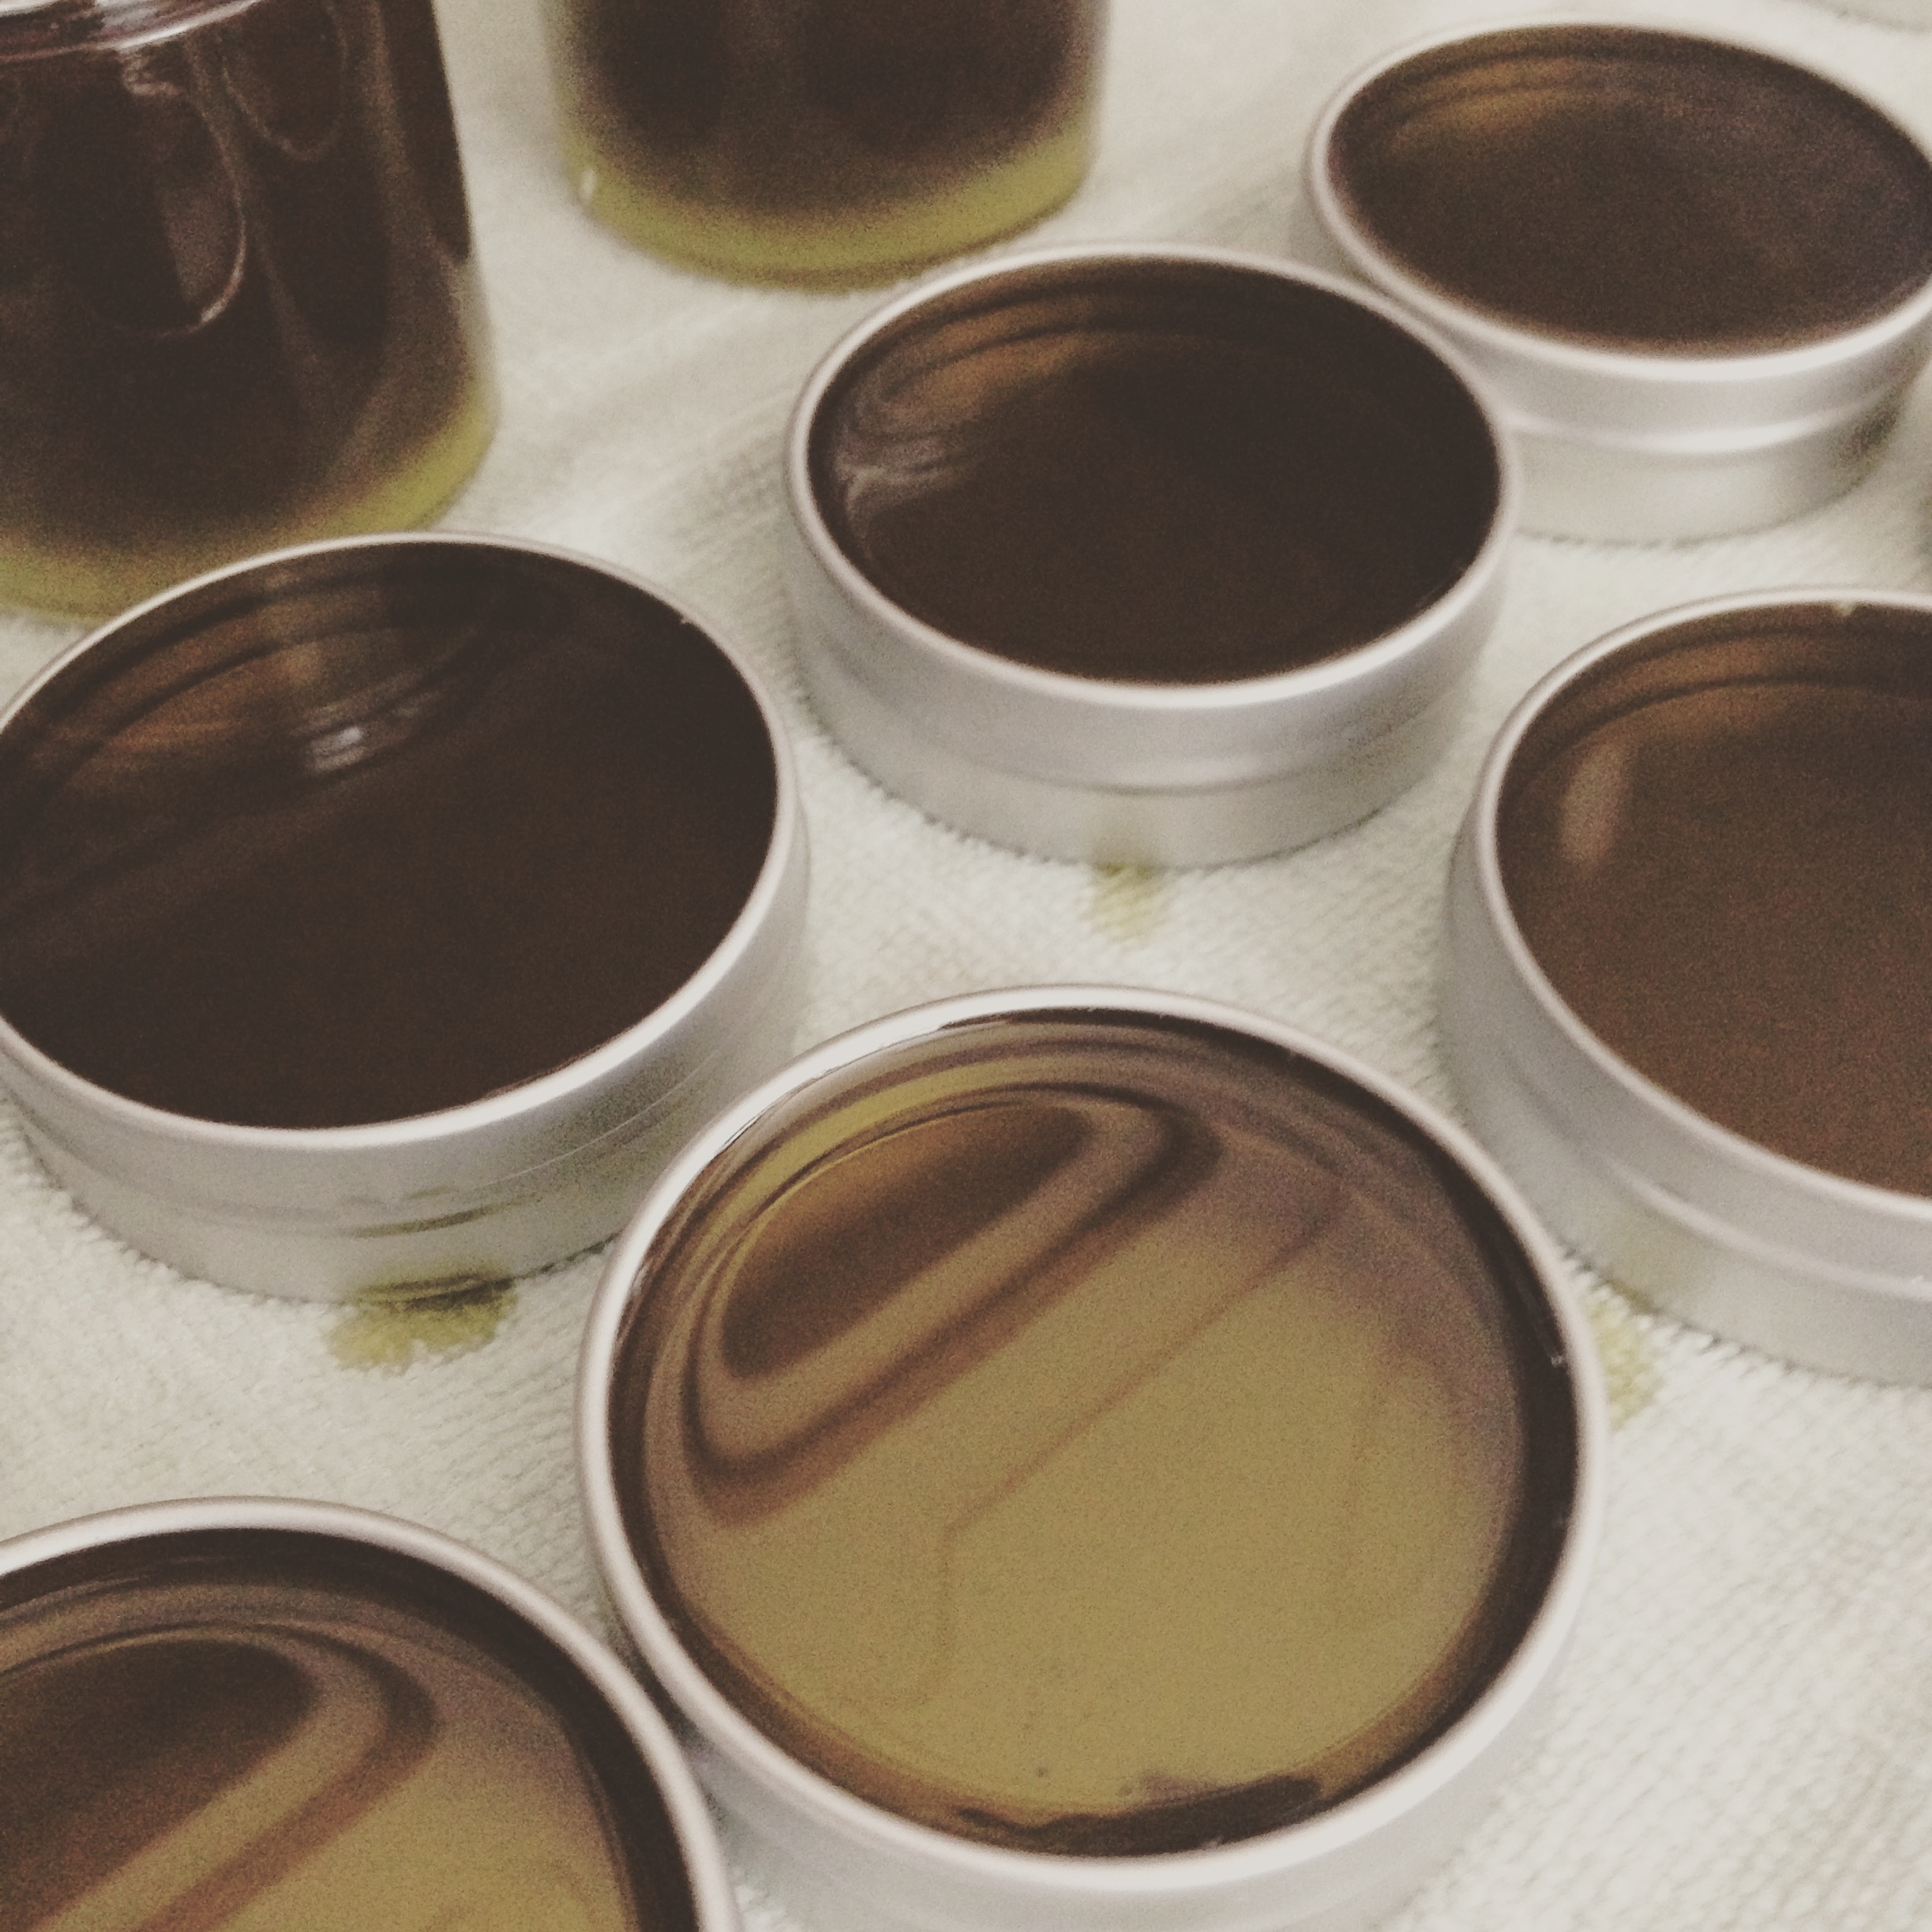
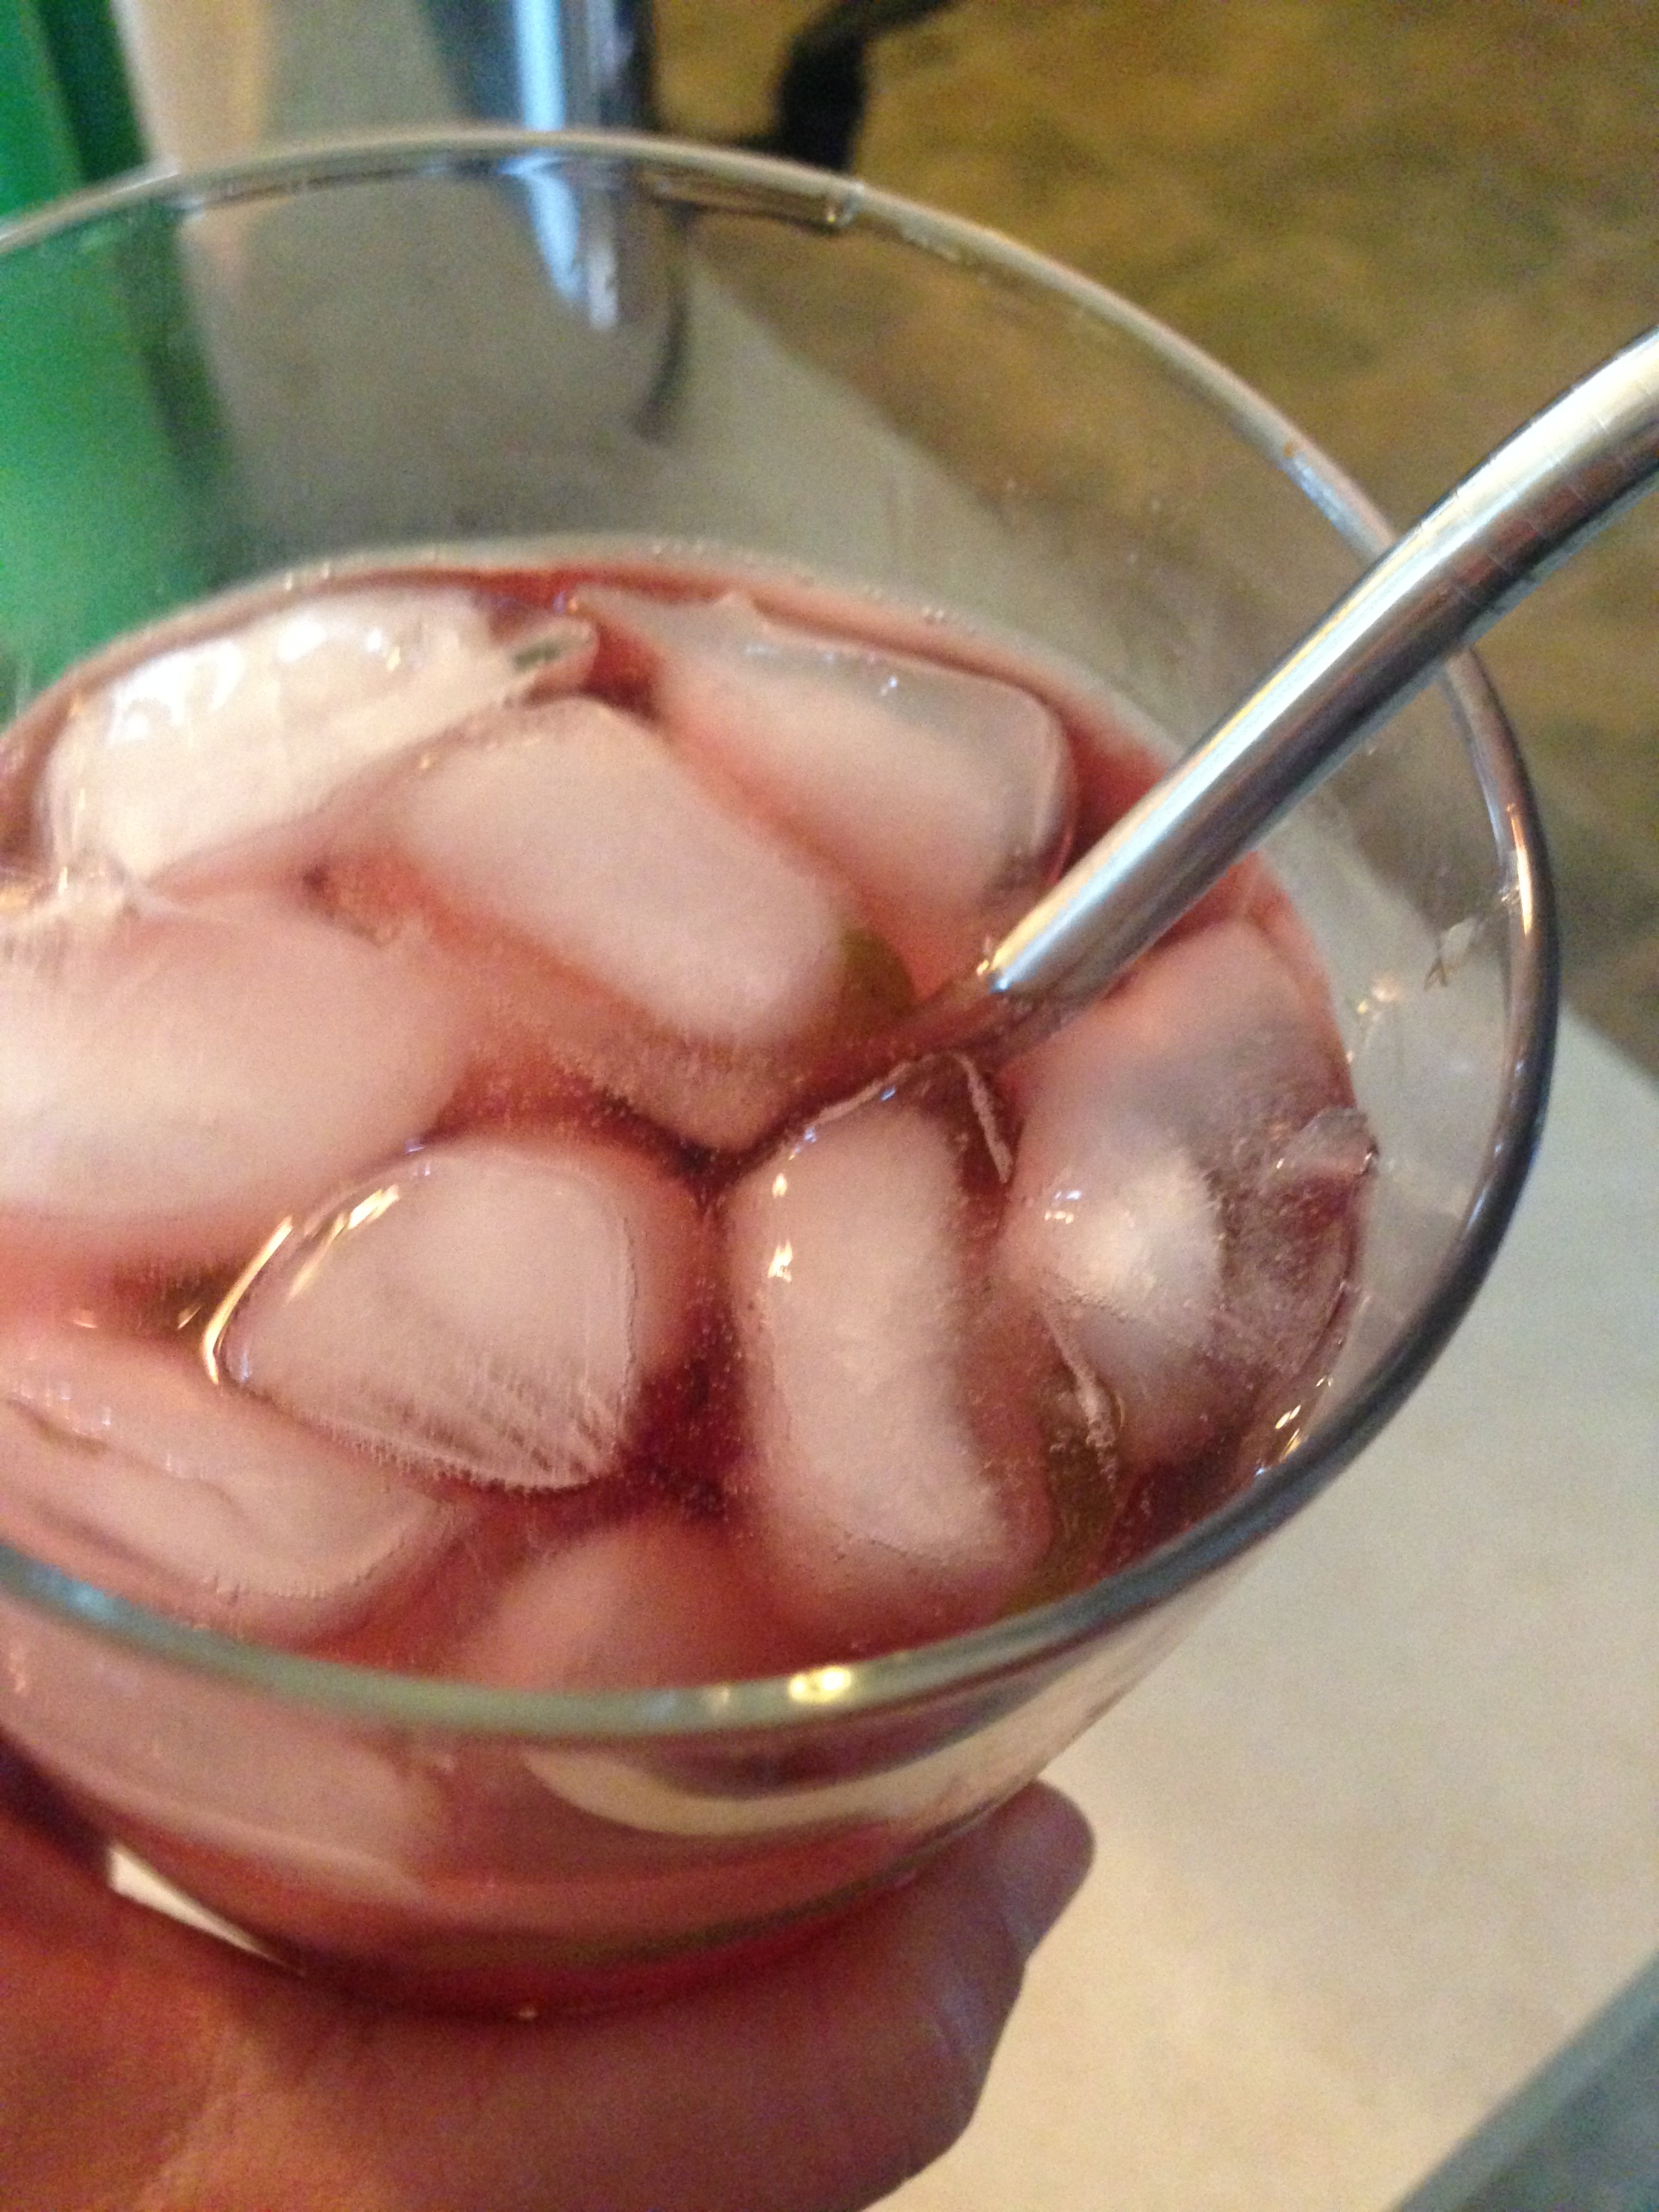
At that point you can strain and bottle and take about a teaspoon before bed.

IMG_5239.JPG

I like to suggest to people to start with a smaller amount and work your way up. It is said that about 5-10% of the population actually has the opposite reaction to valerian and it makes them excited!  For sleep troubles, I generally recommend trying 5-10 drops an hour before bed, and repeating the same amount of drops right as you go to sleep.  You can always increase the amount taken if you find you need a little bit more.  The standard dose is closer to a 1 – 1.5 teaspoons.

This is by no means an exhaustive look at valerian. Check out this article for more information and let me know if you have further questions!

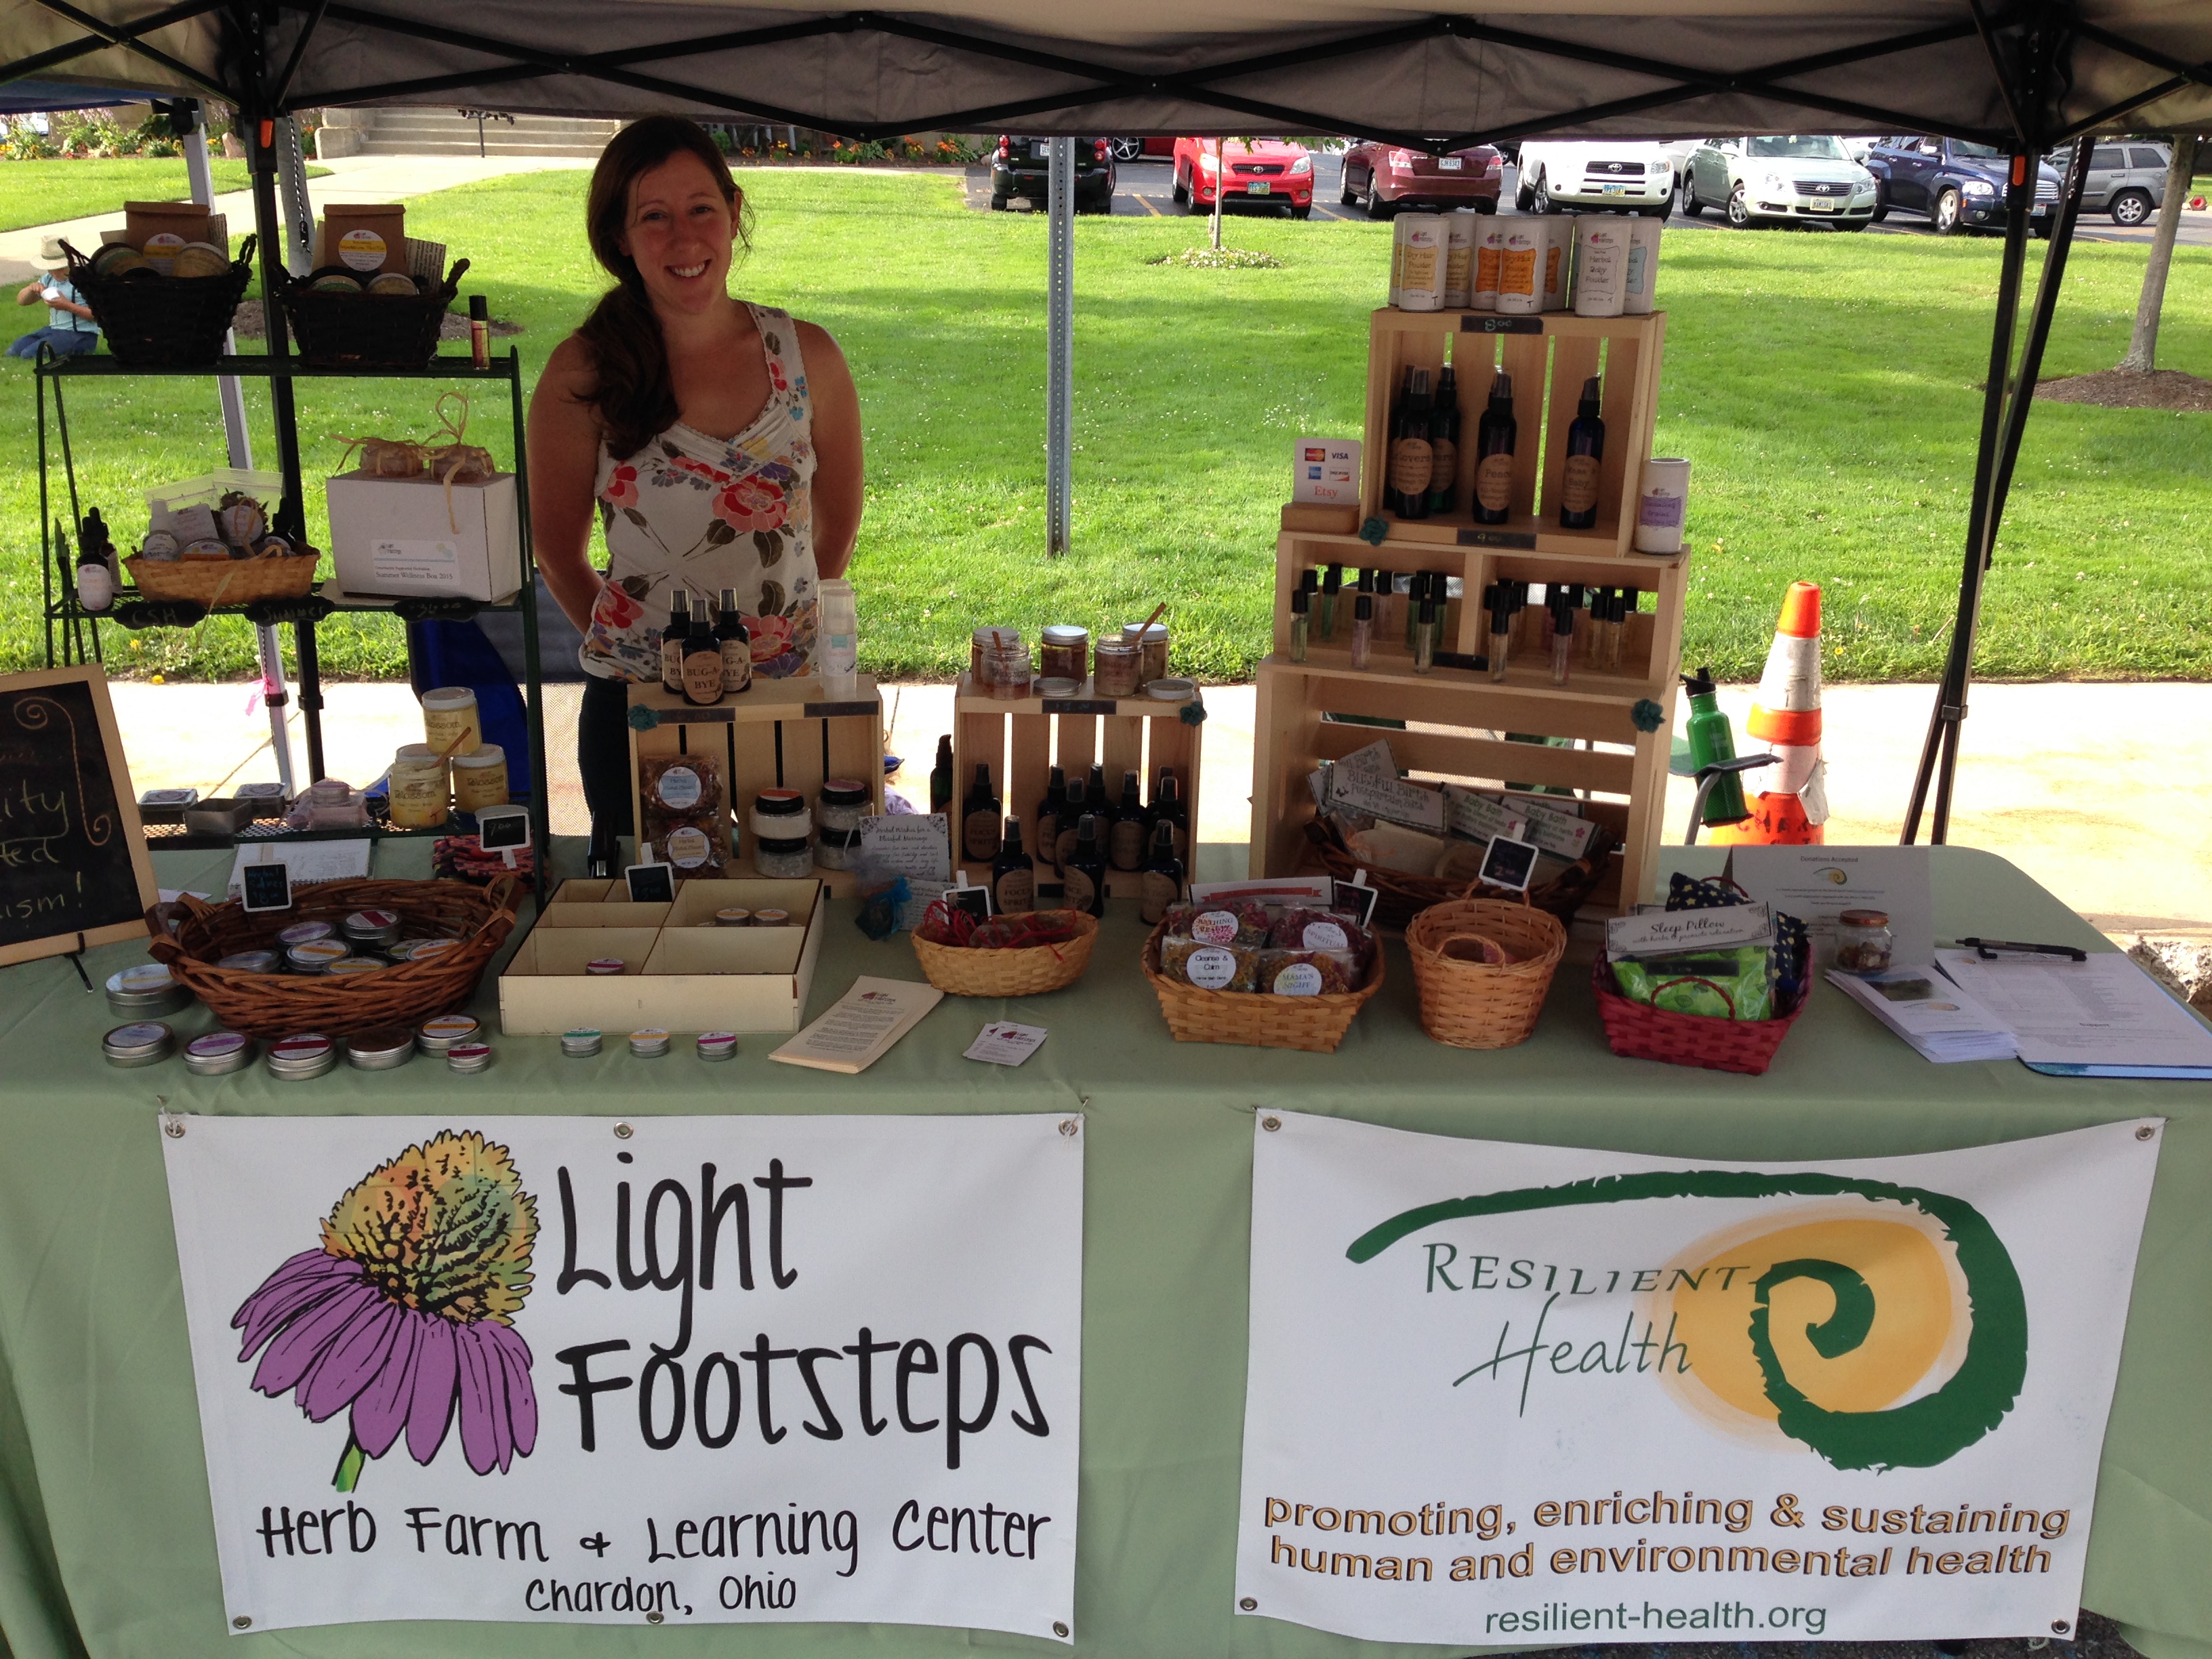
If you’re local, come on out and pick up your own pot of valerian to grow in your garden!

IMG_6092.JPG

Everyone’s favorite WWOOFer is back!


IMG_20160523_122534854_HDR
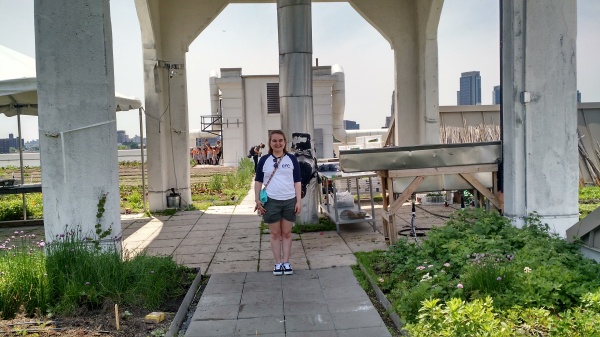
Since the last time I spent some much needed time at Light Footsteps (read about it here), I’ve finally realized that growing things, and teaching communities how to grow things, is actually really important to me. Because of that, I’ve recently started a journey to becoming an urban farmer. Over the past week, however, I’ve taken a break from stressing over the approaching school year to try out a different season at Light Footsteps. You’ll have to forgive me, because the August humidity has all my thoughts jumbled, so I’ll keep the words short and share some photos of this week with you.

IMG_20160804_115647

Most of my mornings were spent spreading wood chips on the paths in the Keyhole Garden

IMG_20160804_075838

I finally got to meet Pony. I would hate to make him insecure about his size, but in my mind he’s a horse.

IMG_20160809_110519

I spent the cooler afternoons picking herbs (peppermint, thyme, oregano, sage, and lemon balm pictured here)

IMG_20160809_093854625

or beans!

IMG_20160805_123455

luckily there were rainy days

IMG_20160806_200406

…and there were a lot of sunny days to share with our pollinator friends.

IMG_20160806_105357952_HDR

The bees really love the Rose of Sharon.

IMG_20160806_141043686

On a particularly sunny day we went to Red Beet Row to see their permaculture farm.

IMG_20160806_112813725 (1)

There was a lot of child-wrangling during the stay. Pictured is another WWOOFers son, Sebastian.

IMG_20160805_192525538_HDR

Cora has grown up so much since I last saw her! (Photo taken at Chardon’s farmers’ market)

IMG_20160810_191218932

I finished my week off helping Christine share her love of herbalism at a workshop for kids and adults about medicinal plants.

Like always, you can learn more about WWOOF here. Hope to be back soon, but until then, HAPPY GROWING!

Make Your Own Chive Blossom Vinegar

Starting in late May and lasting through June, the garden is speckled with the vibrantly purple blossoms of chives.

Chives are a welcome addition to salads, vegetables, and eggs by adding their mild onion flavor.

Their blossoms are edible as well and can also be added to salads by pulling them apart into smaller bits.


Another simple way to use the flowers is to make a chive blossom vinegar.

Start by snipping the blossoms.  You’ll need a cup or two to fill a pint jar 3/4 full with the blossoms.

After collecting the blossoms, it’s a good idea to soak them for an hour or so in water.  This way any resident bugs can evacuate . We didn’t find any bugs in our freshly-opened blossoms, but if you do find them, consider changing the water another time to make sure they’re all out.

Towel dry the blossoms.

Lightly pack a sterilized pint jar with the blossoms and cover with vinegar.  I wanted the color of this vinegar to be lovely so I used white vinegar,  but generally I make my herb-infused vinegars with apple cider vinegar as if offers numerous health benefits on its own.

Place a piece of wax paper underneath the lid so that the vinegar doesn’t corrode the metal top.


For best flavor, infuse the chives into vinegar for 2-4 weeks before straining them out. After, keep the chive vinegar in a cool, dark location.

24 Hours Later


one week later


To recap, you’ll need:

  • 1-2 cups chive blossoms, soaked to remove any bugs and then towel dried
  • a sterilized pint jar
  • wax paper
  • enough white or apple cider vinegar to cover the blossoms

And then:

Add the chive blossoms to the pint jar and cover with the vinegar ensuring that all of the blossoms are completely submerged.  Place wax paper over the opening and screw on the lid. Wait 2 -4 weeks before straining out the chives. Store the vinegar in a cool, dark location.

This vinegar can be used wherever you might use vinegar, but I plan to use it mostly for salad dressings.

A simple Chive Blossom Vinaigrette could be made like this:

(for one cup)

  • 3/4 cup olive oil
  • 1/4 cup chive vinegar
  • 1 teaspoon Dijon mustard
  • Salt and pepper to taste
  • Dried herbs and snips of fresh chives (optional)

Place all ingredients into an empty jar, make sure the lid is on, and shake away!


Our Year on the Farm – 2015

I had fully intended to upload these photos to the blog, but mistakenly uploaded them to the main Light Footsteps website. Instead of doing everything all over again, I hope you’ll hop on over to see this post in its entirety – I think you’ll truly be inspired by our 2015 on the farm!
Come join us next year!

Light Footsteps

I’ve been taking these last days before the New Year to slow way down, reflect, and dream of what I’d like to manifest in the coming year. After the fast-paced preparation for the holiday season, this time of quiet reflection is essential and has been bringing me a lot of joy.

It makes me wonder — how can I keep this appreciation for quiet reflection alive throughout all of next year?

Today I began going through some of our photos from the year and I have to say: none of the reflecting I’ve done comes close to the way I feel after going through our photos.

Wow –  we have accomplished A LOT.  It’s so hard to realize all that is going on when you’re in the midst of life.  Looking back, I feel such joy at what we manifested this year and the beauty of our life.  I couldn’t…

View original post 470 more words

Autumn Wellness

Wandering around the yard it’s really starting to look like Autumn. Our big old oak has splotches of orange leaves, the sunflowers are falling over, and animals are scurrying about getting ready for winter.

IMG_1821IMG_0012Autumn is a beloved season by many — there are pumpkin flavored treats, spooky holidays, and the beautiful colors of late blooming wildflowers along with the splendor of changing trees. It is a time to treasure. However, the changing weather can also lead to increased susceptibility to colds, and some blue moods as the days get shorter and cold weather starts creeping in.

IMG_1538IMG_1544This season’s herbal wellness box is designed to help support your enjoyment of autumn’s beauty while also facilitating the inevitable transition to darker and colder days.

A spiced sugar scrub will delight your senses and leave you reveling in the joy of autumn while a hand cleansing gel with traditional anti-germ oils will help buffer you from seasonal illness.

sugar scrubhandgelWe continue the celebration of autumn’s harvest with an apple cider infused soap, inspired by our prolific apple tree. There’s also a relaxing tea designed with my love of cozy fall nights in mind. It’s relaxing, but won’t totally put you to sleep either so it’s great for a mid-day break, too.

applesYou’ll also learn about the importance of Bitters for digestive health as well as the role of adaptogenic herbs like holy basil in managing stress that can occur during seasonal transitions. Each of my wellness boxes comes with an informational letter teaching you about each of the products and how to use them appropriately.

bitter

The Autumn Share of my Seasonal Wellness boxes is available for you to enjoy for purchase through my Etsy shop. I’m also happy to arrange for pick-up of local orders!

AutumnWellnessBoxI think you’ll enjoy celebrating the transition to this wonderful time of year with an Autumn Wellness Box. We thank you for your support, too!!

{We also have a class coming up this Thursday (10/8/15) on the farm. We’ll go for a plant walk around the yard and then discuss some recipes that you can make to support your transition to Autumn. Find out more here.}

Easy Poultice for Insect Stings – What’s your favorite way?

I taught a class on herbal first-aid recently and we went over a variety of home remedies for simple concerns that arise with more time outside when the weather is nice — bites, stings, rashes, cuts, etc.

IMG_0795One of the topics was bee/wasp/hornet stings. Ouch!  It was interesting to hear all of the ways that people manage this at home.

My favorite is very simple and we’ve used it three times in the past year!

Before applying anything, try to remove the stinger.  Use tweezers or even scrape a credit card along the skin to dislodge it.  This will go a long way in preventing the area from continuing to be painful and irritated.

Then, make a thick paste with equal parts baking soda and clay to neutralize the area and remove toxins that cause the sting.  Seriously, that’s it!

Get a tablespoon or so of both baking soda and clay (I use kaolin), add enough water to form a paste, and apply this to the bite.  Allow to dry and just let it sit there for as long as necessary. You can reapply every 30 minutes or so to keep soothing the area.  Also, I often add a drop or two of tea tree or lavender essential oil to the paste to further help relieve the sting and calm the area.

I have a few packets of the mix leftover if you’re looking to have some on hand!

IMG_2717You can also buy your own baking soda and kaolin clay.  I recommend using Mountain Rose Herbs, especially because they have aluminum-free baking soda!

And, another trick for stings if you’re away from home – grab a leaf of the common weed Plantain (Plantago major), crush it up in your hands (or even chew it!) to release the juices and stick this wad of goopy plant material right on your sting.  It will help to relieve the sting quickly and also helps to draw out toxins.  In fact, it’s a good plant to know for any bug bites you get while outdoors (you should see me while camping, I have tend to have little wads of plantain all over!).

IMG_0622What’s your favorite way to deal with stings naturally?

Come to the next class on the farm (October 8, 2015) where we’ll be discussing herbal remedies to help with the transition to Fall. This class is sponsored by the Holistic Moms Network and it is helpful if you register.

herbalsupportfall

Homemade Lavender Mustard

Around here, summer is still in full swing.  It’s been hot, the garden is starting to produce a lot, and we’ve been enjoying our very full days around the farm.

Recently, we had family visiting for a week and I had a request for mustard.

Uh-oh!  I had the mustard seeds sitting right there ready to make a fresh batch, but this summer grilling essential still had not been made.

I decided it was time, and it’s too bad it took me so long because it’s really very easy.  The hardest part is that you must soak the mustard seeds for two days so in this respect it does require a little advanced planning.

I decided to get a little adventurous and try this lavender mustard recipe by Rosalee de la Foret.

Yum! I’m glad I did.

Here are all the ingredients, most of which I gathered from Mountain Rose Herbs

  • 1/4 cup brown mustard seeds (or you could use only yellow mustard seeds as we did for a milder flavor)
  • 1/4 cup yellow mustard seeds
  • 1/2 cup apple cider vinegar
  • 1/2 cup water
  • 1 teaspoon honey
  • 1 teaspoon turmeric powder
  • 1 tablespoon lavender flowers (omit or choose a different herb if you desire)
  • 1 teaspoon salt

First, the mustard seeds, apple cider vinegar, and water are mixed in a bowl.  Cover the bowl and let the mixture sit for two days.

After the seeds have softened for two days, place the seed and liquid mixture in a food processor along with the remaining ingredients.

Blend together until you have a mustard paste. Easy!

mustard

This recipe makes about a pint and will keep in the fridge for up to 6 months.

To see Rosalee’s original recipe on Learning Herbs click here.

To purchase ingredients from Mountain Rose Herbs click here.

Shared on Wildcrafting Wednesday.

WW-Featured-Blogger-Award-Button-square2

FTC DISCLOSURE: I may receive monetary or other compensation for my endorsement, recommendation, testimonial and/or link to any products or services within this article. However, it is my promise to you that I am sharing my honest opinion and that I only recommend products or services that I have personally used or recommend and are in alignment with Light Footsteps ideals.

Common Sense Disclaimer: All information on this blog is for educational purposes only.  It has not been evaluated by the FDA and is not intended to diagnose, treat, or cure any condition or ailment.  Speak with your healthcare provider if you have any health concerns and before making changes to your lifestyle, especially if you are pregnant, nursing, or have a preexisting health condition.  

Summer Wellness

The days are long and full.

It seems I am filling every moment with work around the farm, food preparation, and in fun family outings. Recently we went camping at the Pollination Festival in Kentucky while stopping for a day in Columbus where we visited the Botanical Garden.

IMG_2226

IMG_2246

We also have been very busy around the farm, and I hope to do an update on our farm happenings soon (goats, gardens, solar panels, oh my!)!  However, I have trouble finding time to sit down on the computer and blog very much when there’s so much to do outdoors this time of year.

IMG_2199

One of the things that I’ve been creating is this summer’s share of my Community Supported Herbalism project.  I am really happy with the way the Summer Wellness Box turned out and I think it’s a great reminder that we must still take time to slow down and care for ourselves even during this busy summer season.

I’ve been having a hard time with that myself this summer, but this box is helping me remember how important it is to prioritize finding little ways to pamper myself each day.

And so that’s what this box is about…taking time to breathe with the pace of the natural world and delight in the gifts that nature offers us in abundance.  When you open this box, I’d like you to imagine wandering around my garden with me, enjoying the scents, colors, and beauty that we find while carefully harvesting plant allies to help support our health and beauty.

To that effect, there are a number of botanically-based gifts to help you slow down and care for yourself this summer.

IMG_2301

You’ll find an herb-infused salve to find relief from pesky bug bites and other summer skin irritations, a fresh skin serum with rich botanical oils to nourish your sun-kissed skin, and a honey + myrrh face soap to gently scrub away impurities while boosting your skin with anti-oxidants.

IMG_2278

IMG_2293

IMG_2269

You’ll also find a cooling cucumber rose spritzer that is best to keep in the fridge.  When you’re feeling overwhelmed with summer’s heat, take it out and spritz all over for a refreshing treat.

There’s also a delicious, herbal (caffeine free) tea blend that is full of vitamins and minerals.  It’s an awesome alternative to over-indulging on sodas or alcohol in the summer.  We’ve been drinking it iced almost daily, and have even made it into kid-approved ice pops.

IMG_2361

IMG_2358

Finally, I have included some freshly harvested red clover.  You’ll learn more about using red clover when you get your box, but it’s an excellent source of easily-digestible nutrients as well as a traditional remedy for purifying the blood and supporting the female system, especially if one is looking to improve their fertility or ease the transition through menopause.

IMG_2288

You can learn more about the Summer Wellness Box and order yours by clicking here.  As a blog reader, you can even get 15% off using code BLOGFRIEND through August 15, 2015.  I hope you enjoy!

You can also learn where to find me in person this summer and get one that way.

IMG_2306

Thanks for supporting our small farm and dreams by purchasing a summer wellness box.

Next Hands-On Learning Day & Updates

Next Hands-On Learning Day: Saturday, May 23.

Come anytime after 11 AM.  Potluck at 5:30.  Bonfire to follow!! Free camping if desired! Bring drums, musical instruments, questions, enthusiasm, and your free-spirit!!

Now for what we’ve been up to and what you may find to help with….

With this being our first official spring on the homestead, we’ve been working long hours trying to get Phase 1 of our plans in place.

This year, we hope to have our educational medicine wheel garden up and fully functional, add 2500 sq. ft. of keyhole market garden space, and start our first area of food forest.

Progress with the medicine wheel garden...

Progress with the medicine wheel garden…

Making progress on the keyhole gardens...

Making progress on the keyhole gardens…

We’ve also added chickens and bees to the farm.  A few new barnyard creatures should be arriving this week.

IMG_1496

IMG_1643Ideally, we’ll also be putting in a greenhouse or hoophouse this season.

Why, you ask?

Because we are absolutely committed to being the change we wish to see in this world, and we are more eager and ready than ever to share why we love permaculture, homegrown food, herbs, and simple living with our community. We’ve been studying these ideas for well over 10 years and it’s time for us to share!!

Here’s the thing. This is a LOT for us to handle on our own.  We really need your help and we’d love to share some of our knowledge with you! And of course, we’d love for you to share some of your knowledge with us!!

Are you interested in permaculture? Sustainable living? Homegrown foods?

Bees? Chickens?

Do you wonder why a keyhole garden is preferable to long square gardens with rows?

Have you ever heard of a food forest?  Do you wonder why perennial crops are gaining more attention?

How have we done all this without tilling? Why have we tried to avoid that?

Do you know why this plant is one of the most valuable medicines in Ohio?

IMG_1765Have you ever wanted to grow your own medicine and are you curious about why I would have designed a medicine wheel garden?

Do you want to meet some awesome, like-minded people?

Please come visit us!! We’d love to have you this weekend for this next hands-on help day, but we are TOTALLY OPEN TO YOU COMING WHENEVER YOU’D LIKE!!

You can even stay for a week at a time if you need a country getaway!  We are open to anything!

Also, let us know if there are specific things you’d like to learn about that would help us entice you to our home!  We are open to any and all suggestions.

See you this Saturday, May 23!!

Herbal Baby Powder

Recently I made a fresh batch of herbal baby powder as part of a friend’s baby shower gift.

IMG_1360Other than saving money and the fun that comes with homemade projects, why might you want to make your own baby powder?

Unfortunately, many conventional powders contain talc which can be very irritating to our mucous membranes, especially if inhaled.

Here’s what Dr. Weil has to say about talc in baby powder:

Talc is a mineral composed of hydrated magnesium silicate. The danger is that babies can easily inhale tiny particles of it that are light enough to be carried in the air. When inhaled, talc can dry an infant’s mucous membranes, adversely affect the baby’s breathing, and cause serious lung damage. Studies have shown that talc can lead to shortness of breath and wheezing in babies and can also lead to obstruction of the airways. Some babies have developed pneumonia and some have died as a result of respiratory failure from inhaling the powder. — Dr. Weil, found here.

Luckily, it’s easy to make homemade baby powder with ingredients that are more baby friendly.  This recipe contains arrowroot powder and kaolin clay.  Arrowroot powder is a lightweight powder made from the root of the arrowroot plant and helps to absorb moisture.  Kaolin clay is one of the mildest clays and wonderful for people with sensitive skin.  It is naturally absorbent and helps to stimulate circulation to this skin while gently cleansing.  It does not draw oil from the skin so will not rob the skin of its own healing properties.

Chamomile and calendula powders are also included because they are gentle herbs that have traditionally been used to help soothe sensitive or irritated skin. Continue reading