
I don’t know anything that draws as many people from different backgrounds, generations, and skill sets as permaculture. People from all walks of life are waking up to realize that our current culture is destructive and unsustainable. It’s wonderful to be in presence of people who are interested in and excited about creating the alternatives!
Yesterday, I had another opportunity to be in a group of peraculture-type people as we met to play around with Earth-based painting techniques. We were working in a gorgeous old apartment building built in the early 1900s. Through years of wear and tear, some of the units are in better shape than others, and we were practicing in one that is being completely redone.
So why were we playing around with Earth-based painting?
This is a way to brighten living and working spaces using materials that can be found locally, procured and made inexpensively, and that are completely non-toxic. Exactly what industrial paint products are not.
In fact, just look at this list of potential problems one might develop from being exposed to the volatile organic compounds (VOCs) that typically come off of most paints (taken from this website)….
Short-term, temporary side effects include:
- Irritation of the eyes, nose, throat or and/or respiratory tract
- Visual disturbances
- Headaches
- Loss of coordination
- Nausea
- Lightheadedness
- Dizziness
- Allergic skin reaction
- Fatigue
- Memory impairment
Long-term health effects of VOCs can include:
- Liver damage
- Kidney damage
- Central nervous system damage
- Certain types of cancer
- Asthma
In contrast, one should feel safe to use natural, Earth-based paints in the company of children and pregnant women, and without fear of dangerous side effects. In fact, many Earth-based paints smell wonderfully of the Earth!
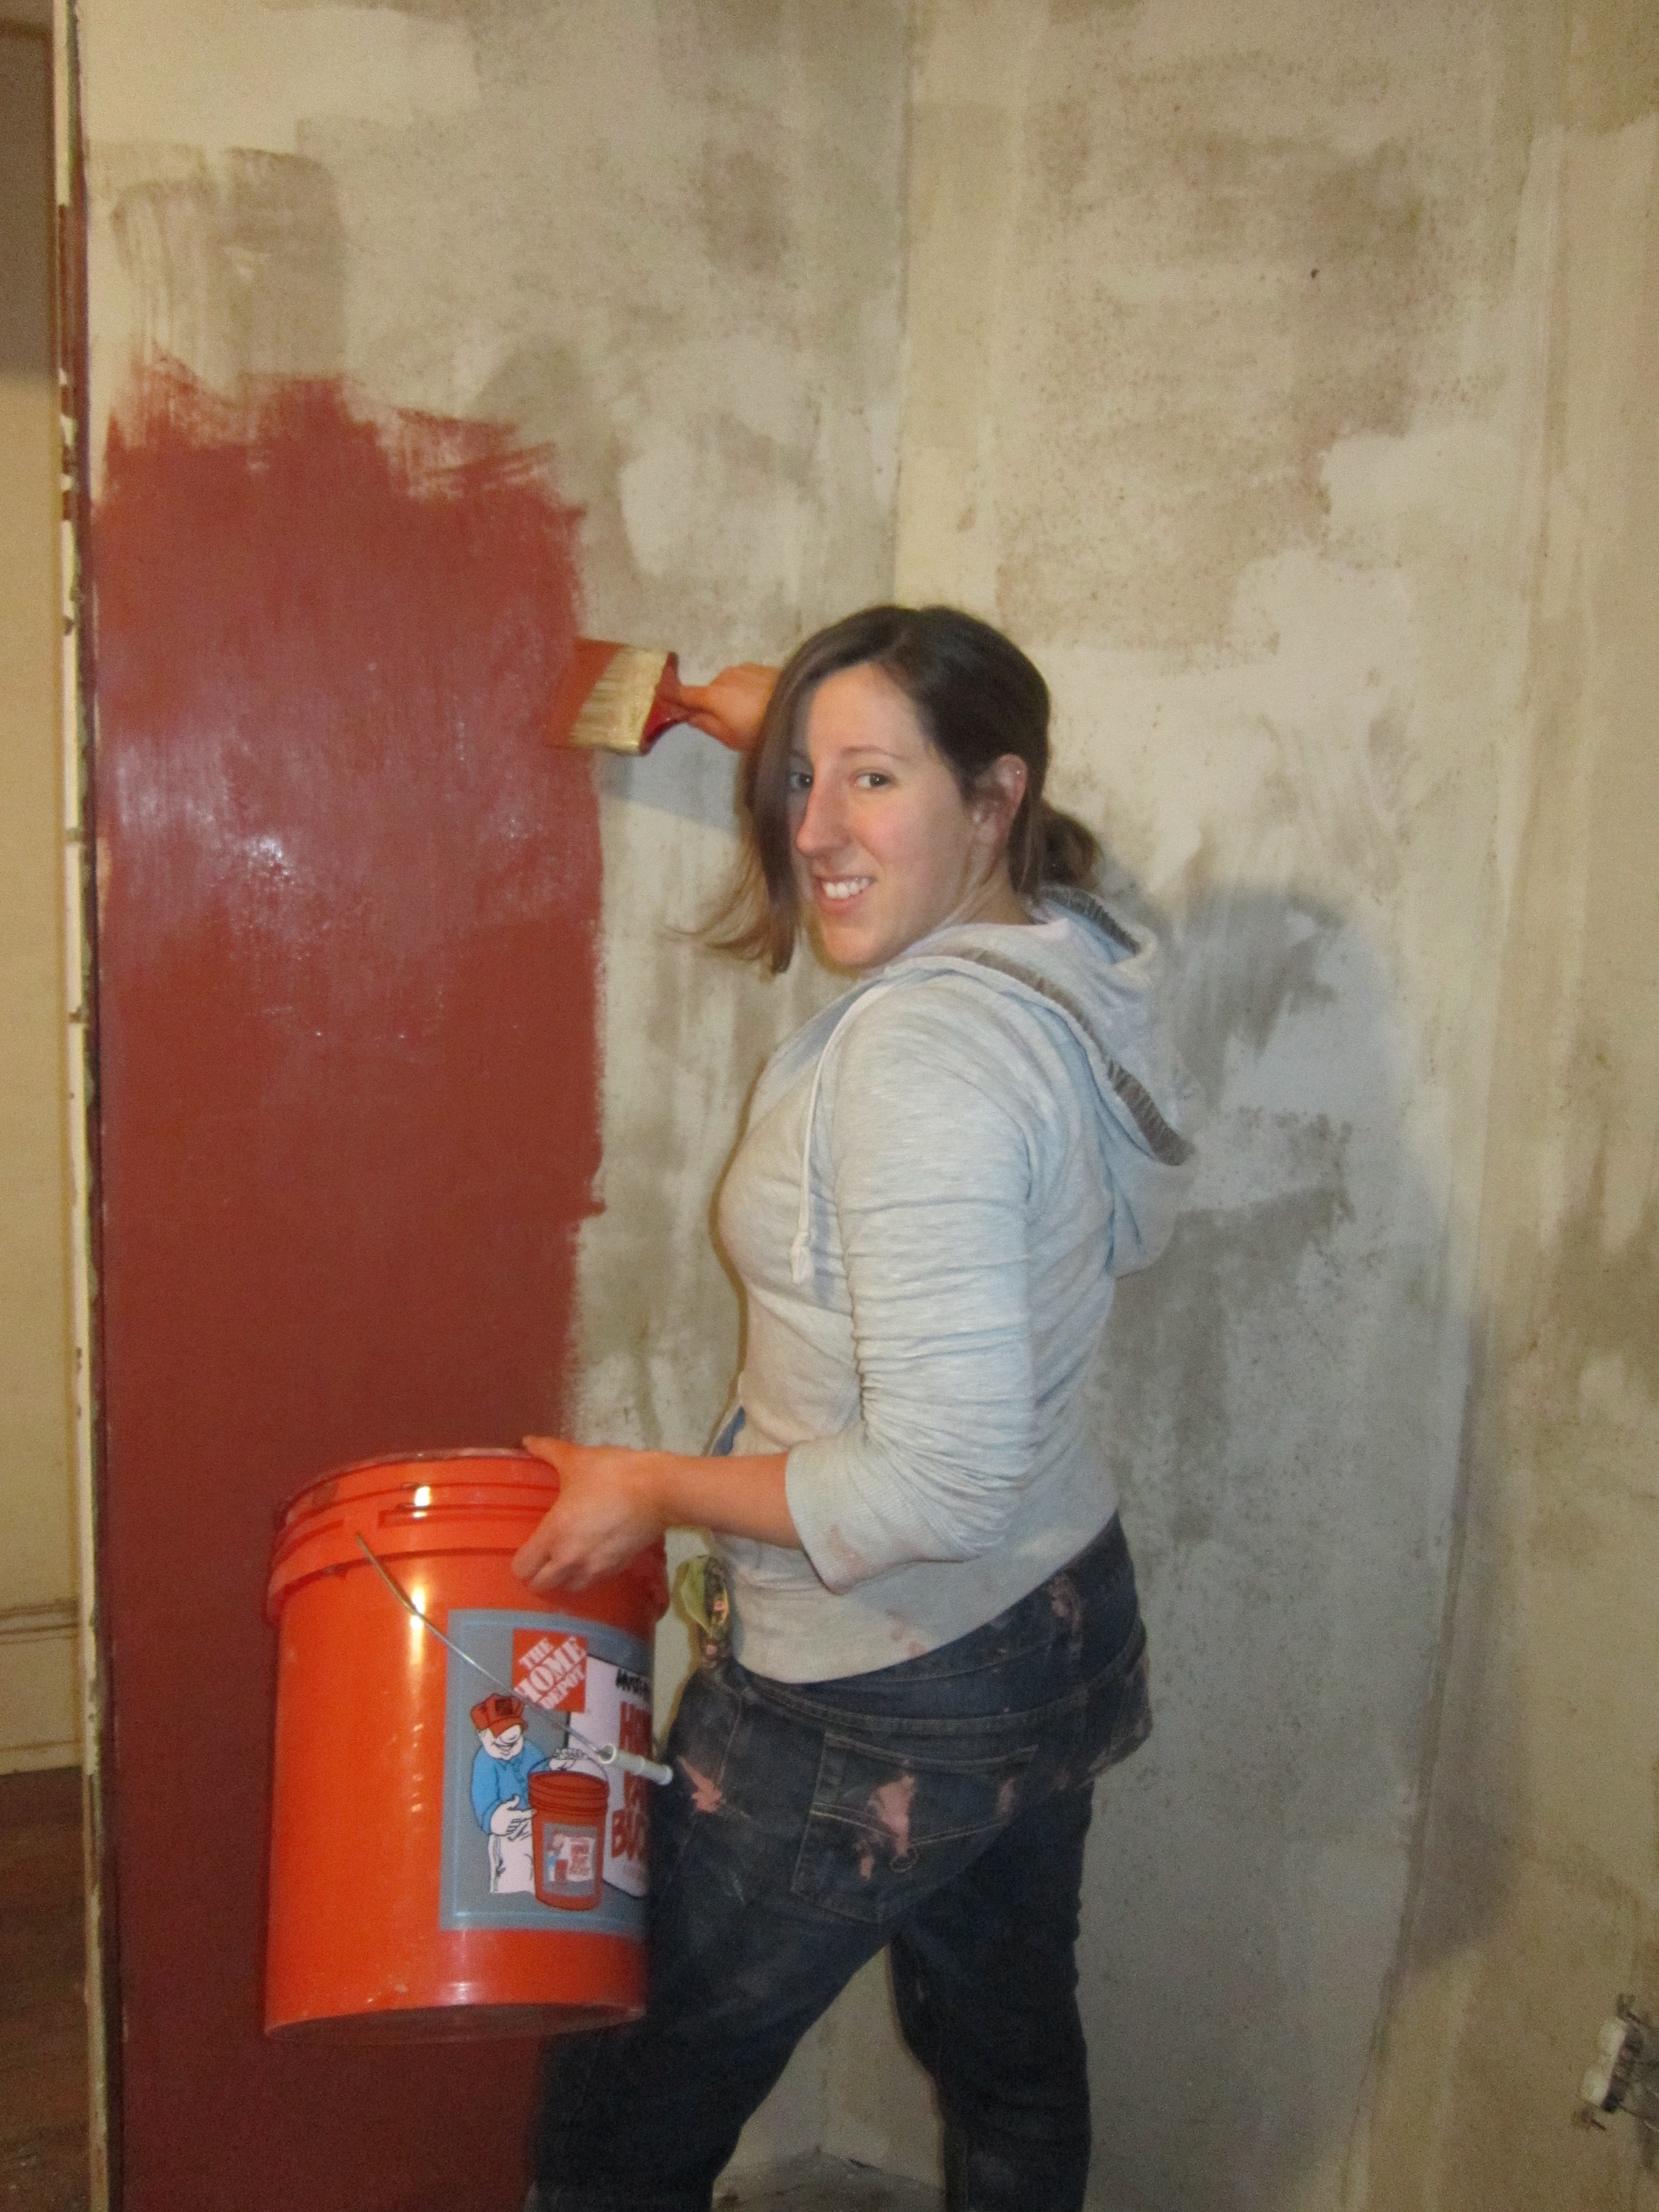
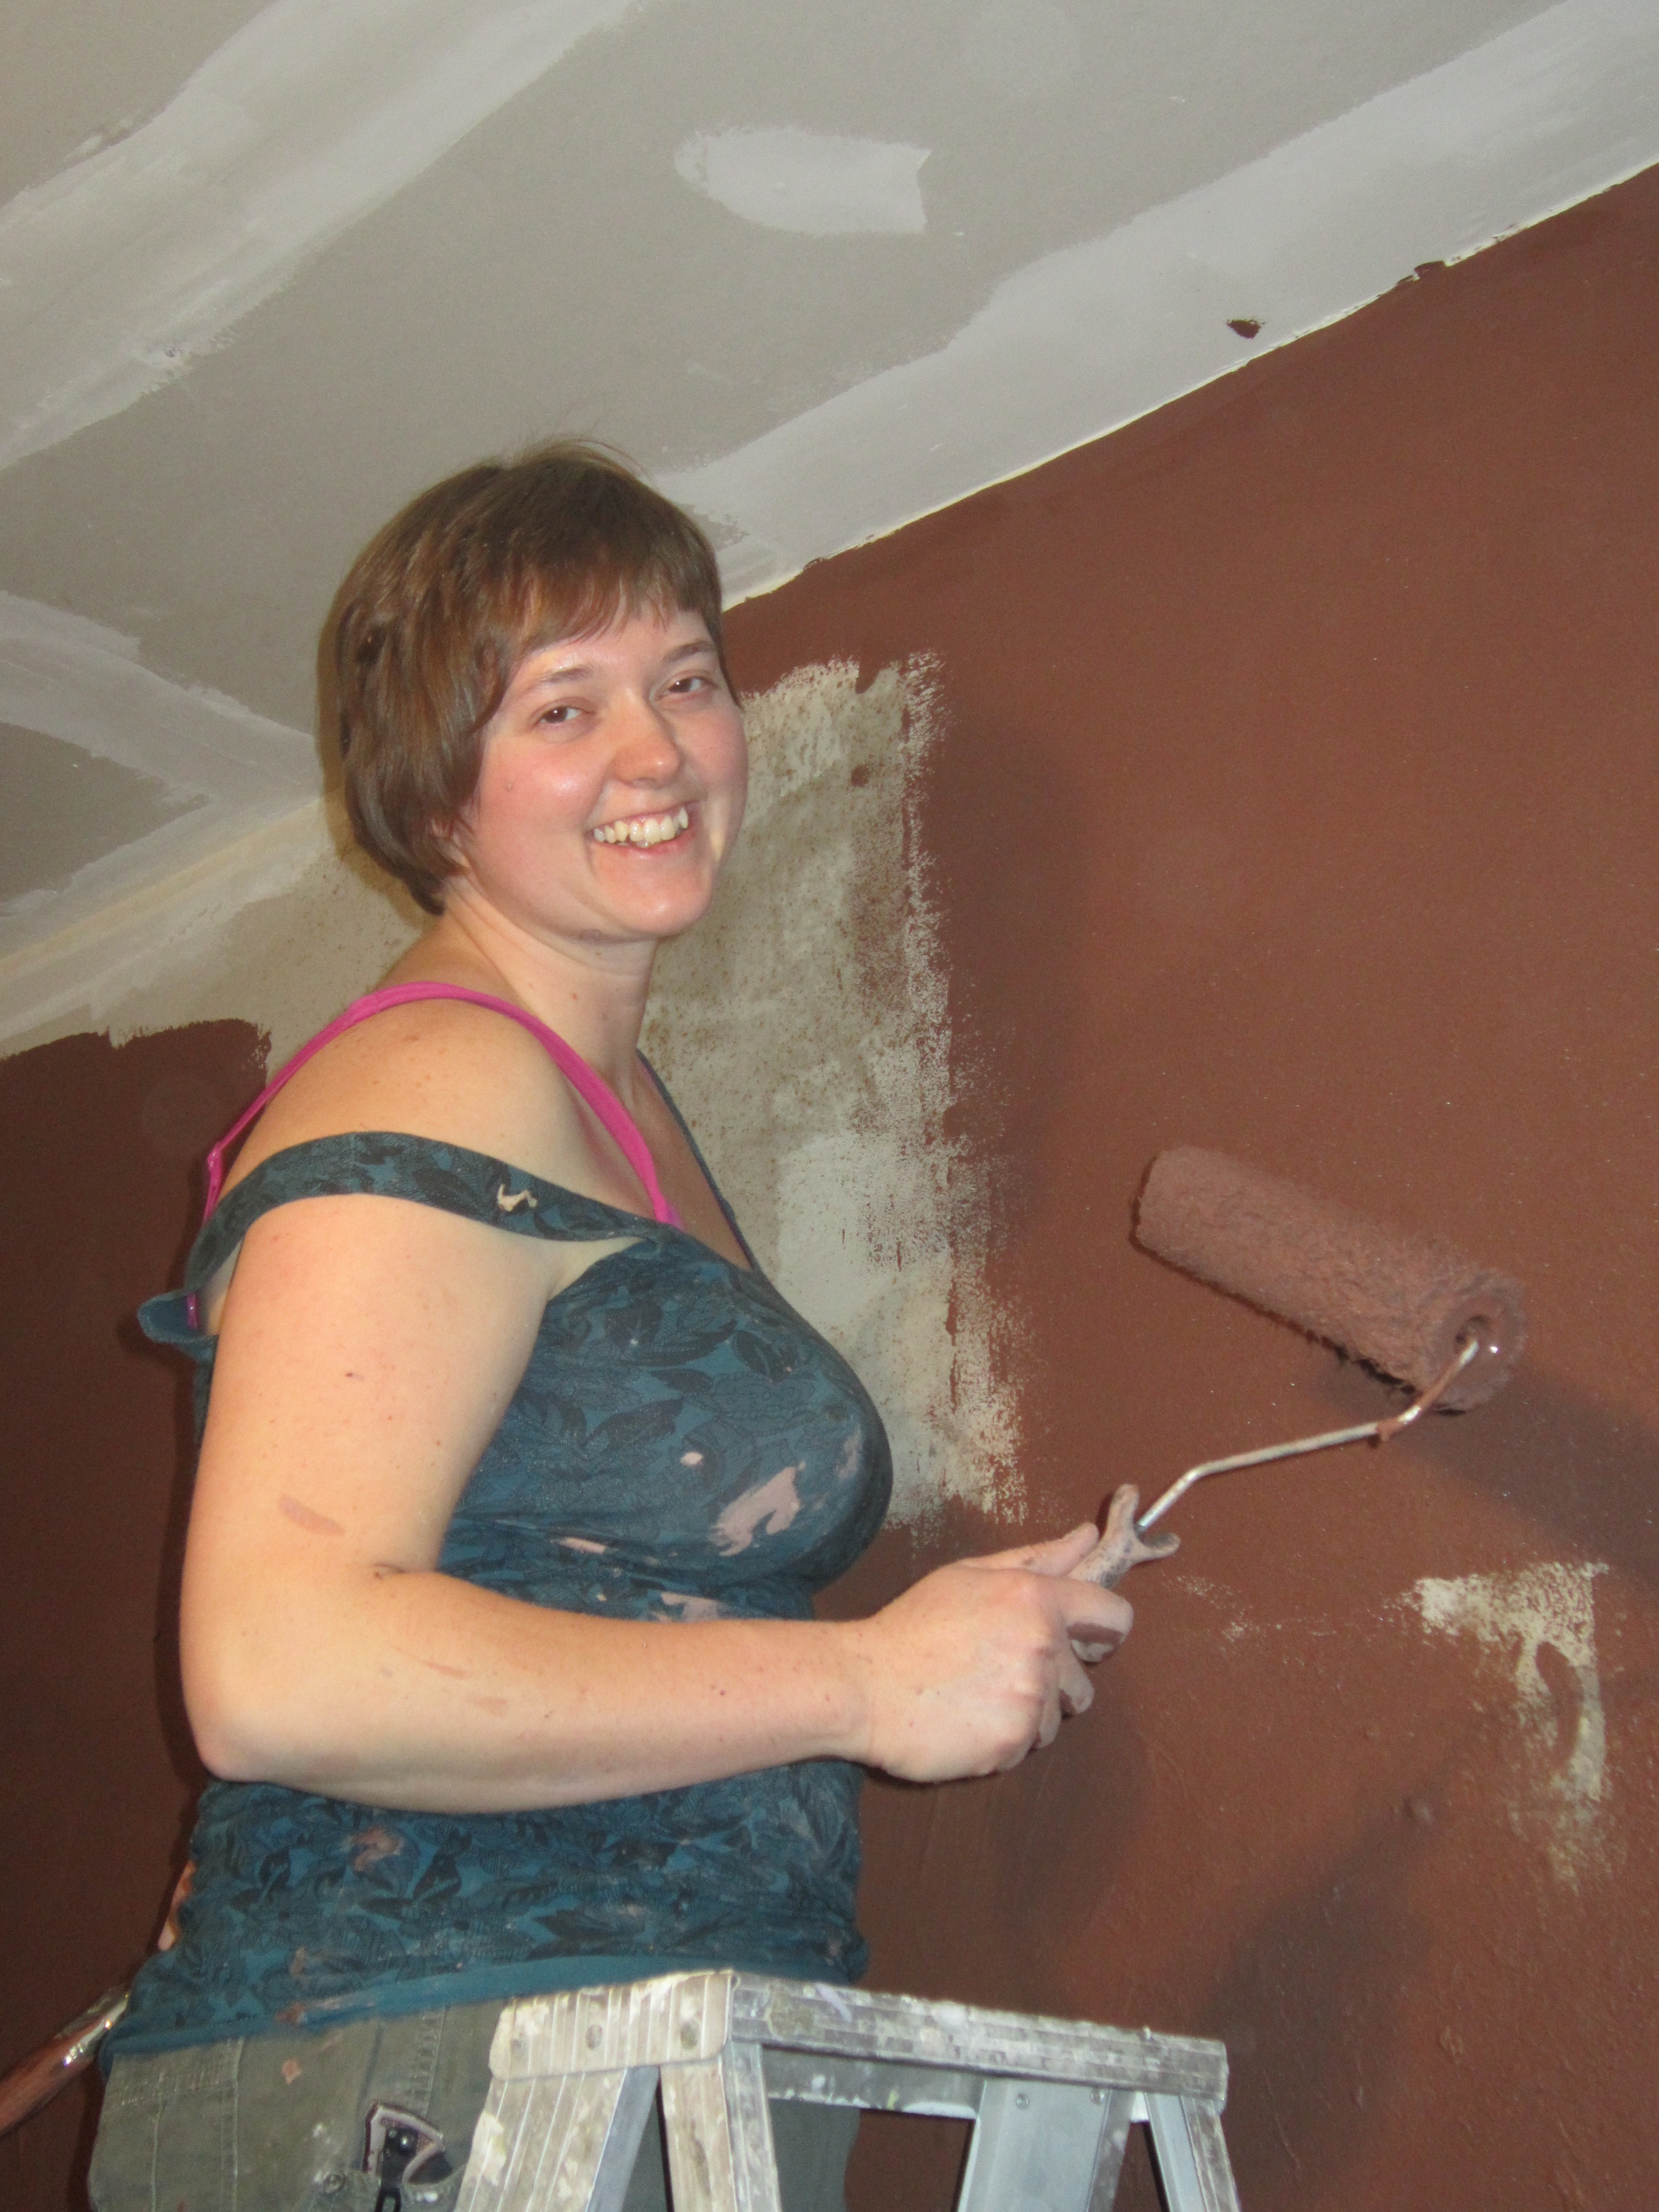
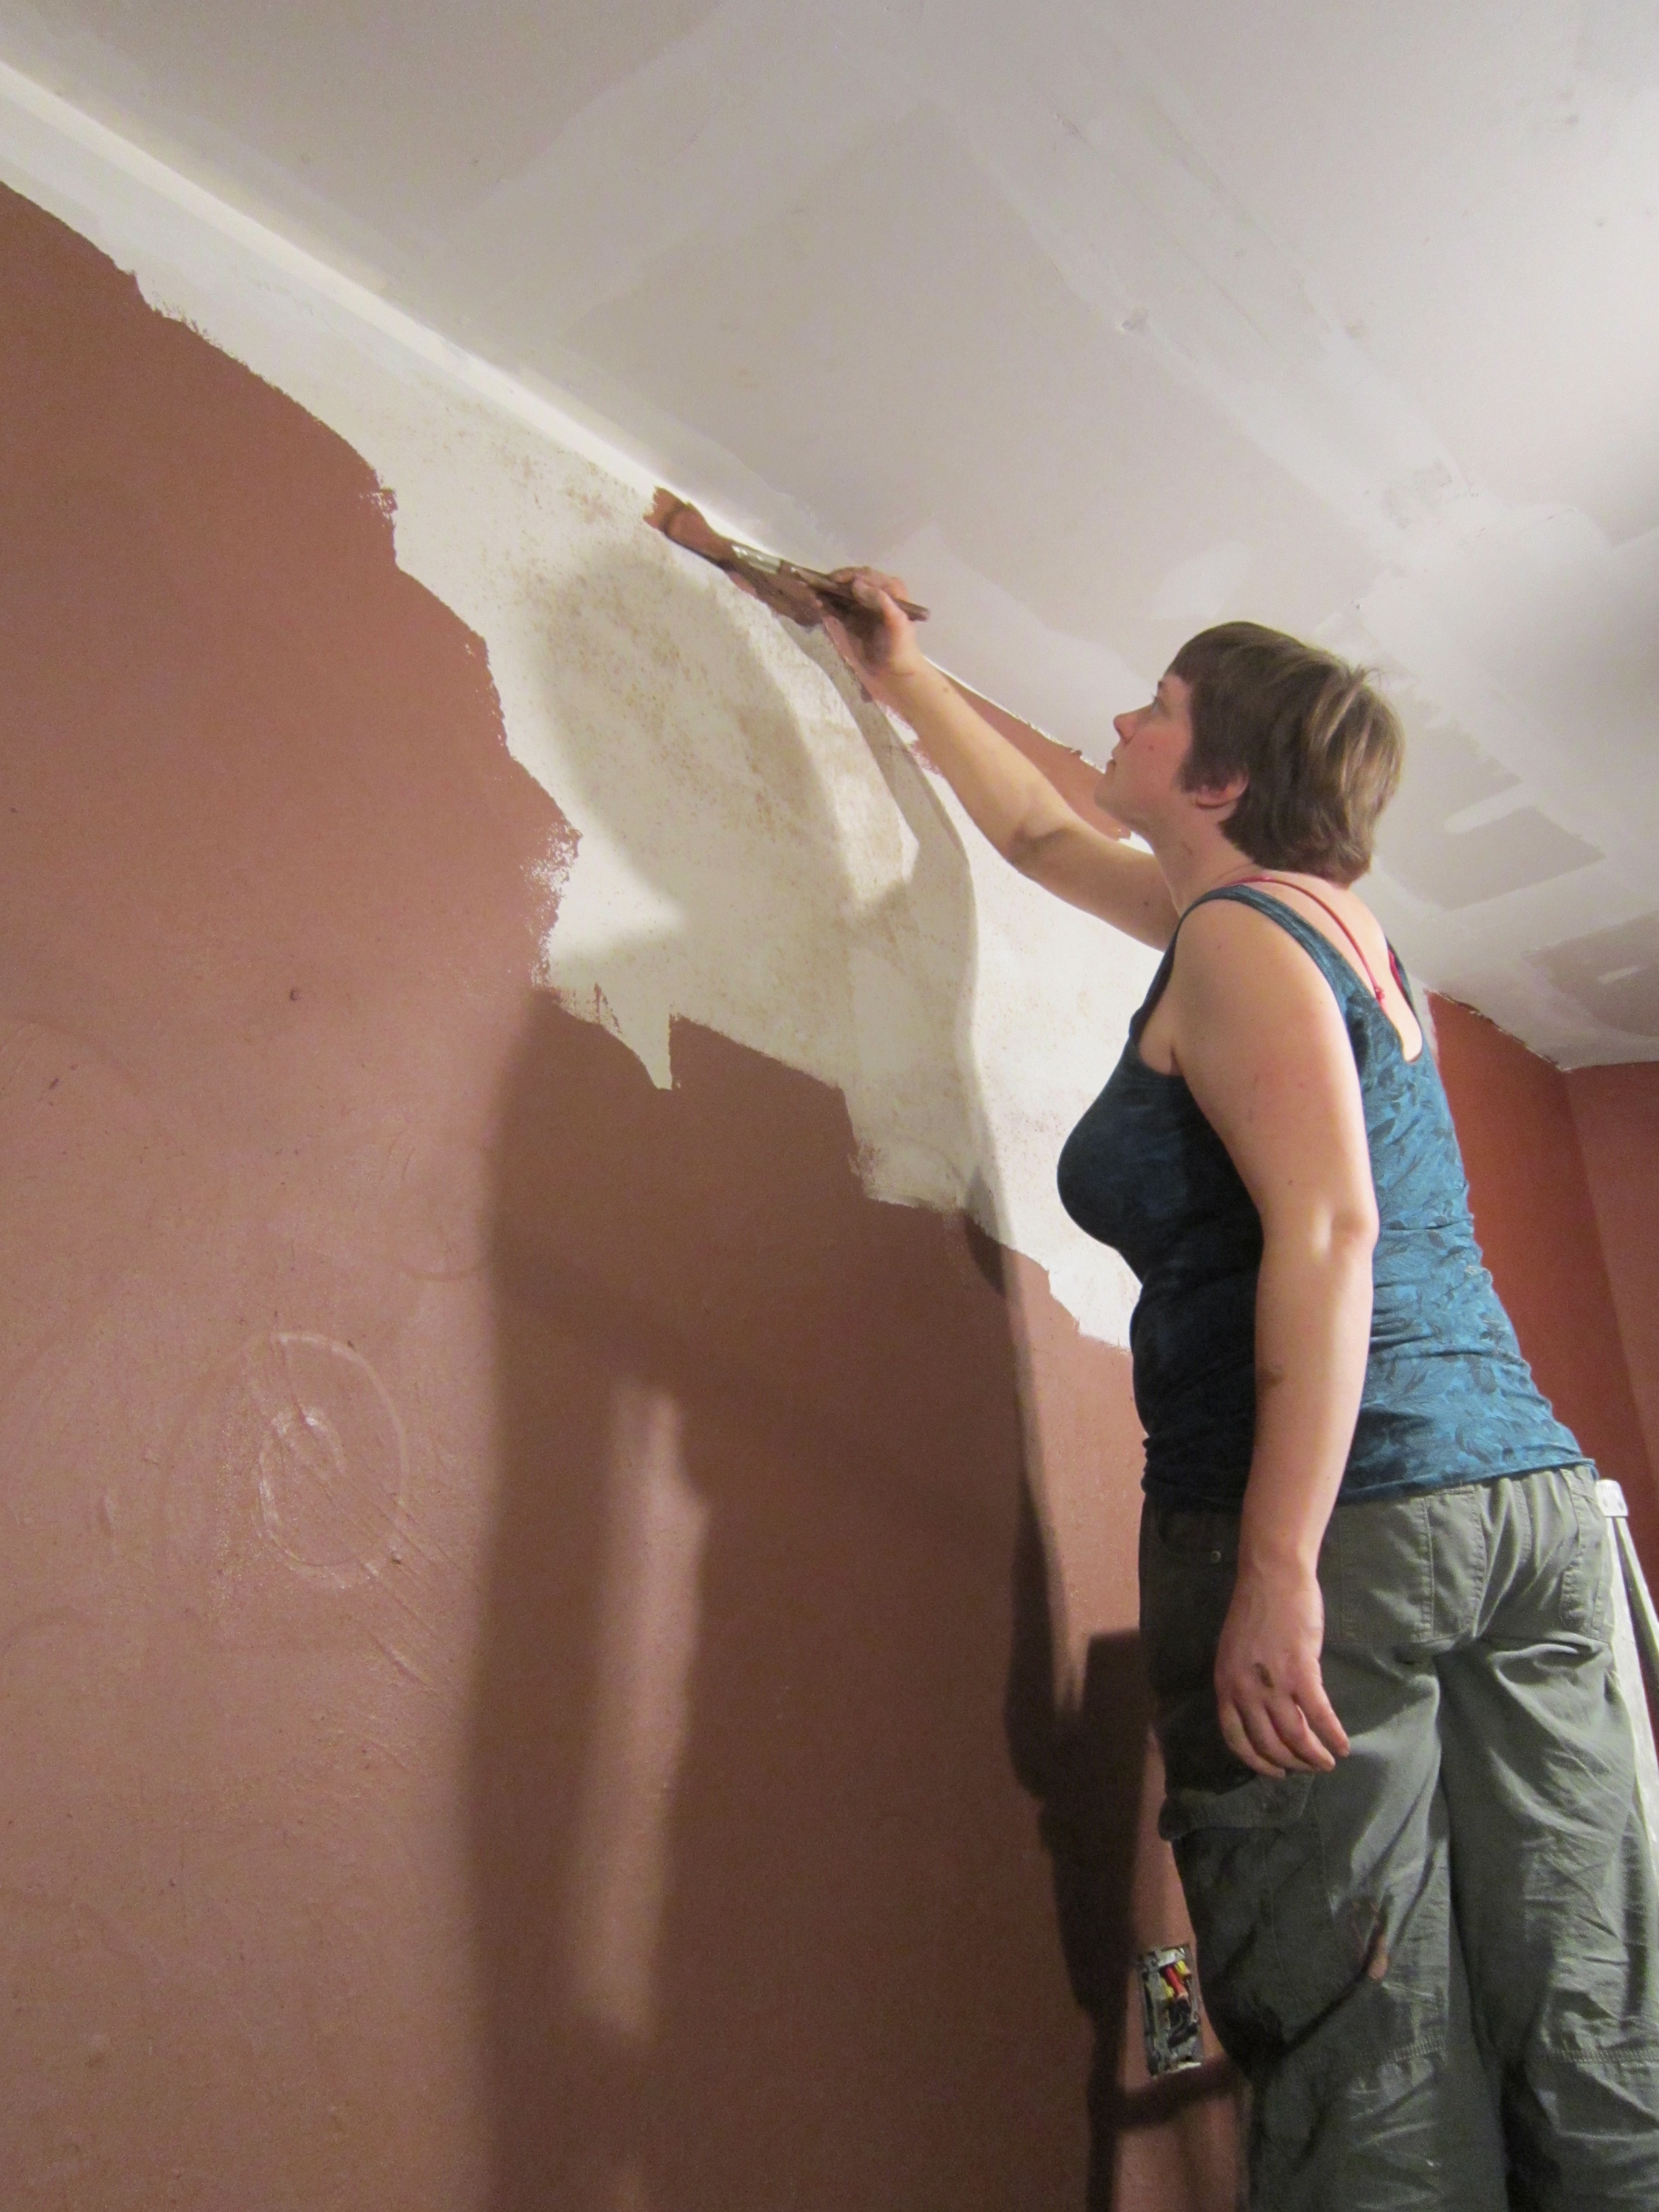
For our purposes yesterday, we made paints out of clay and used a wheat flour paste as a binding agent.
For one type of paint, we were able to scavenge bits of rejected pottery pieces from local potters which was broken up into a fine powder.

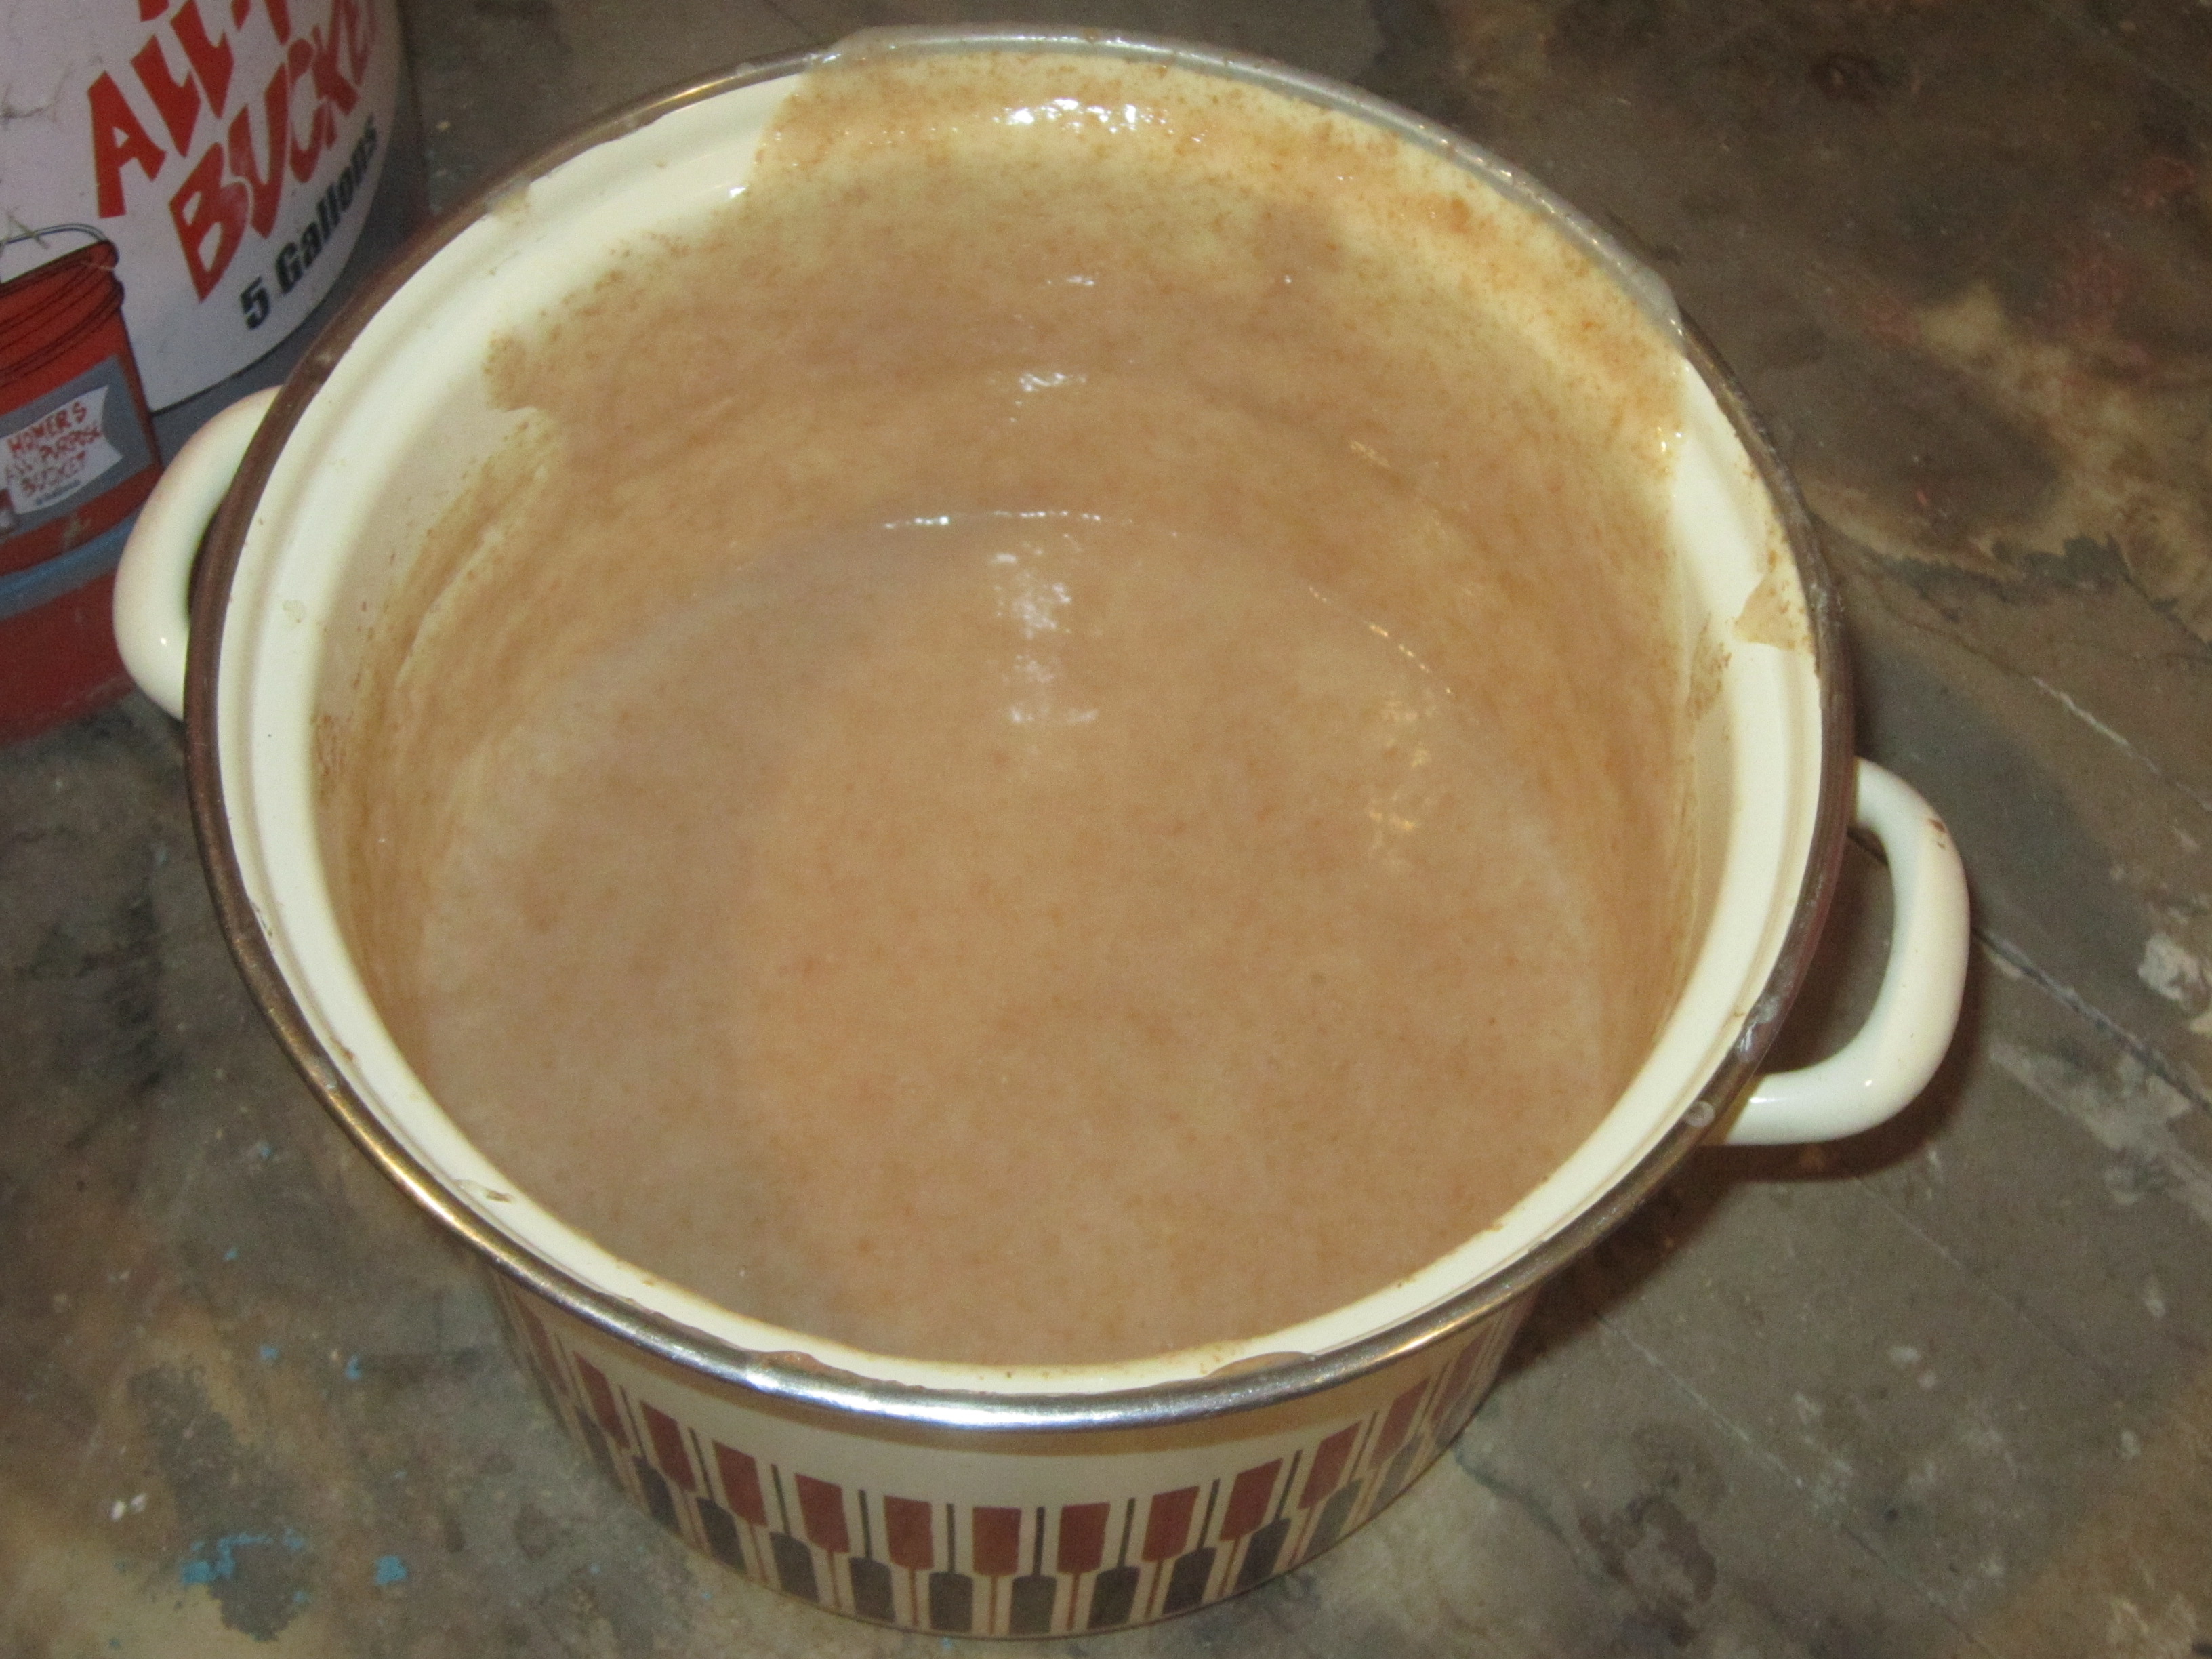
For another type of paint, we had wet pottery clay.
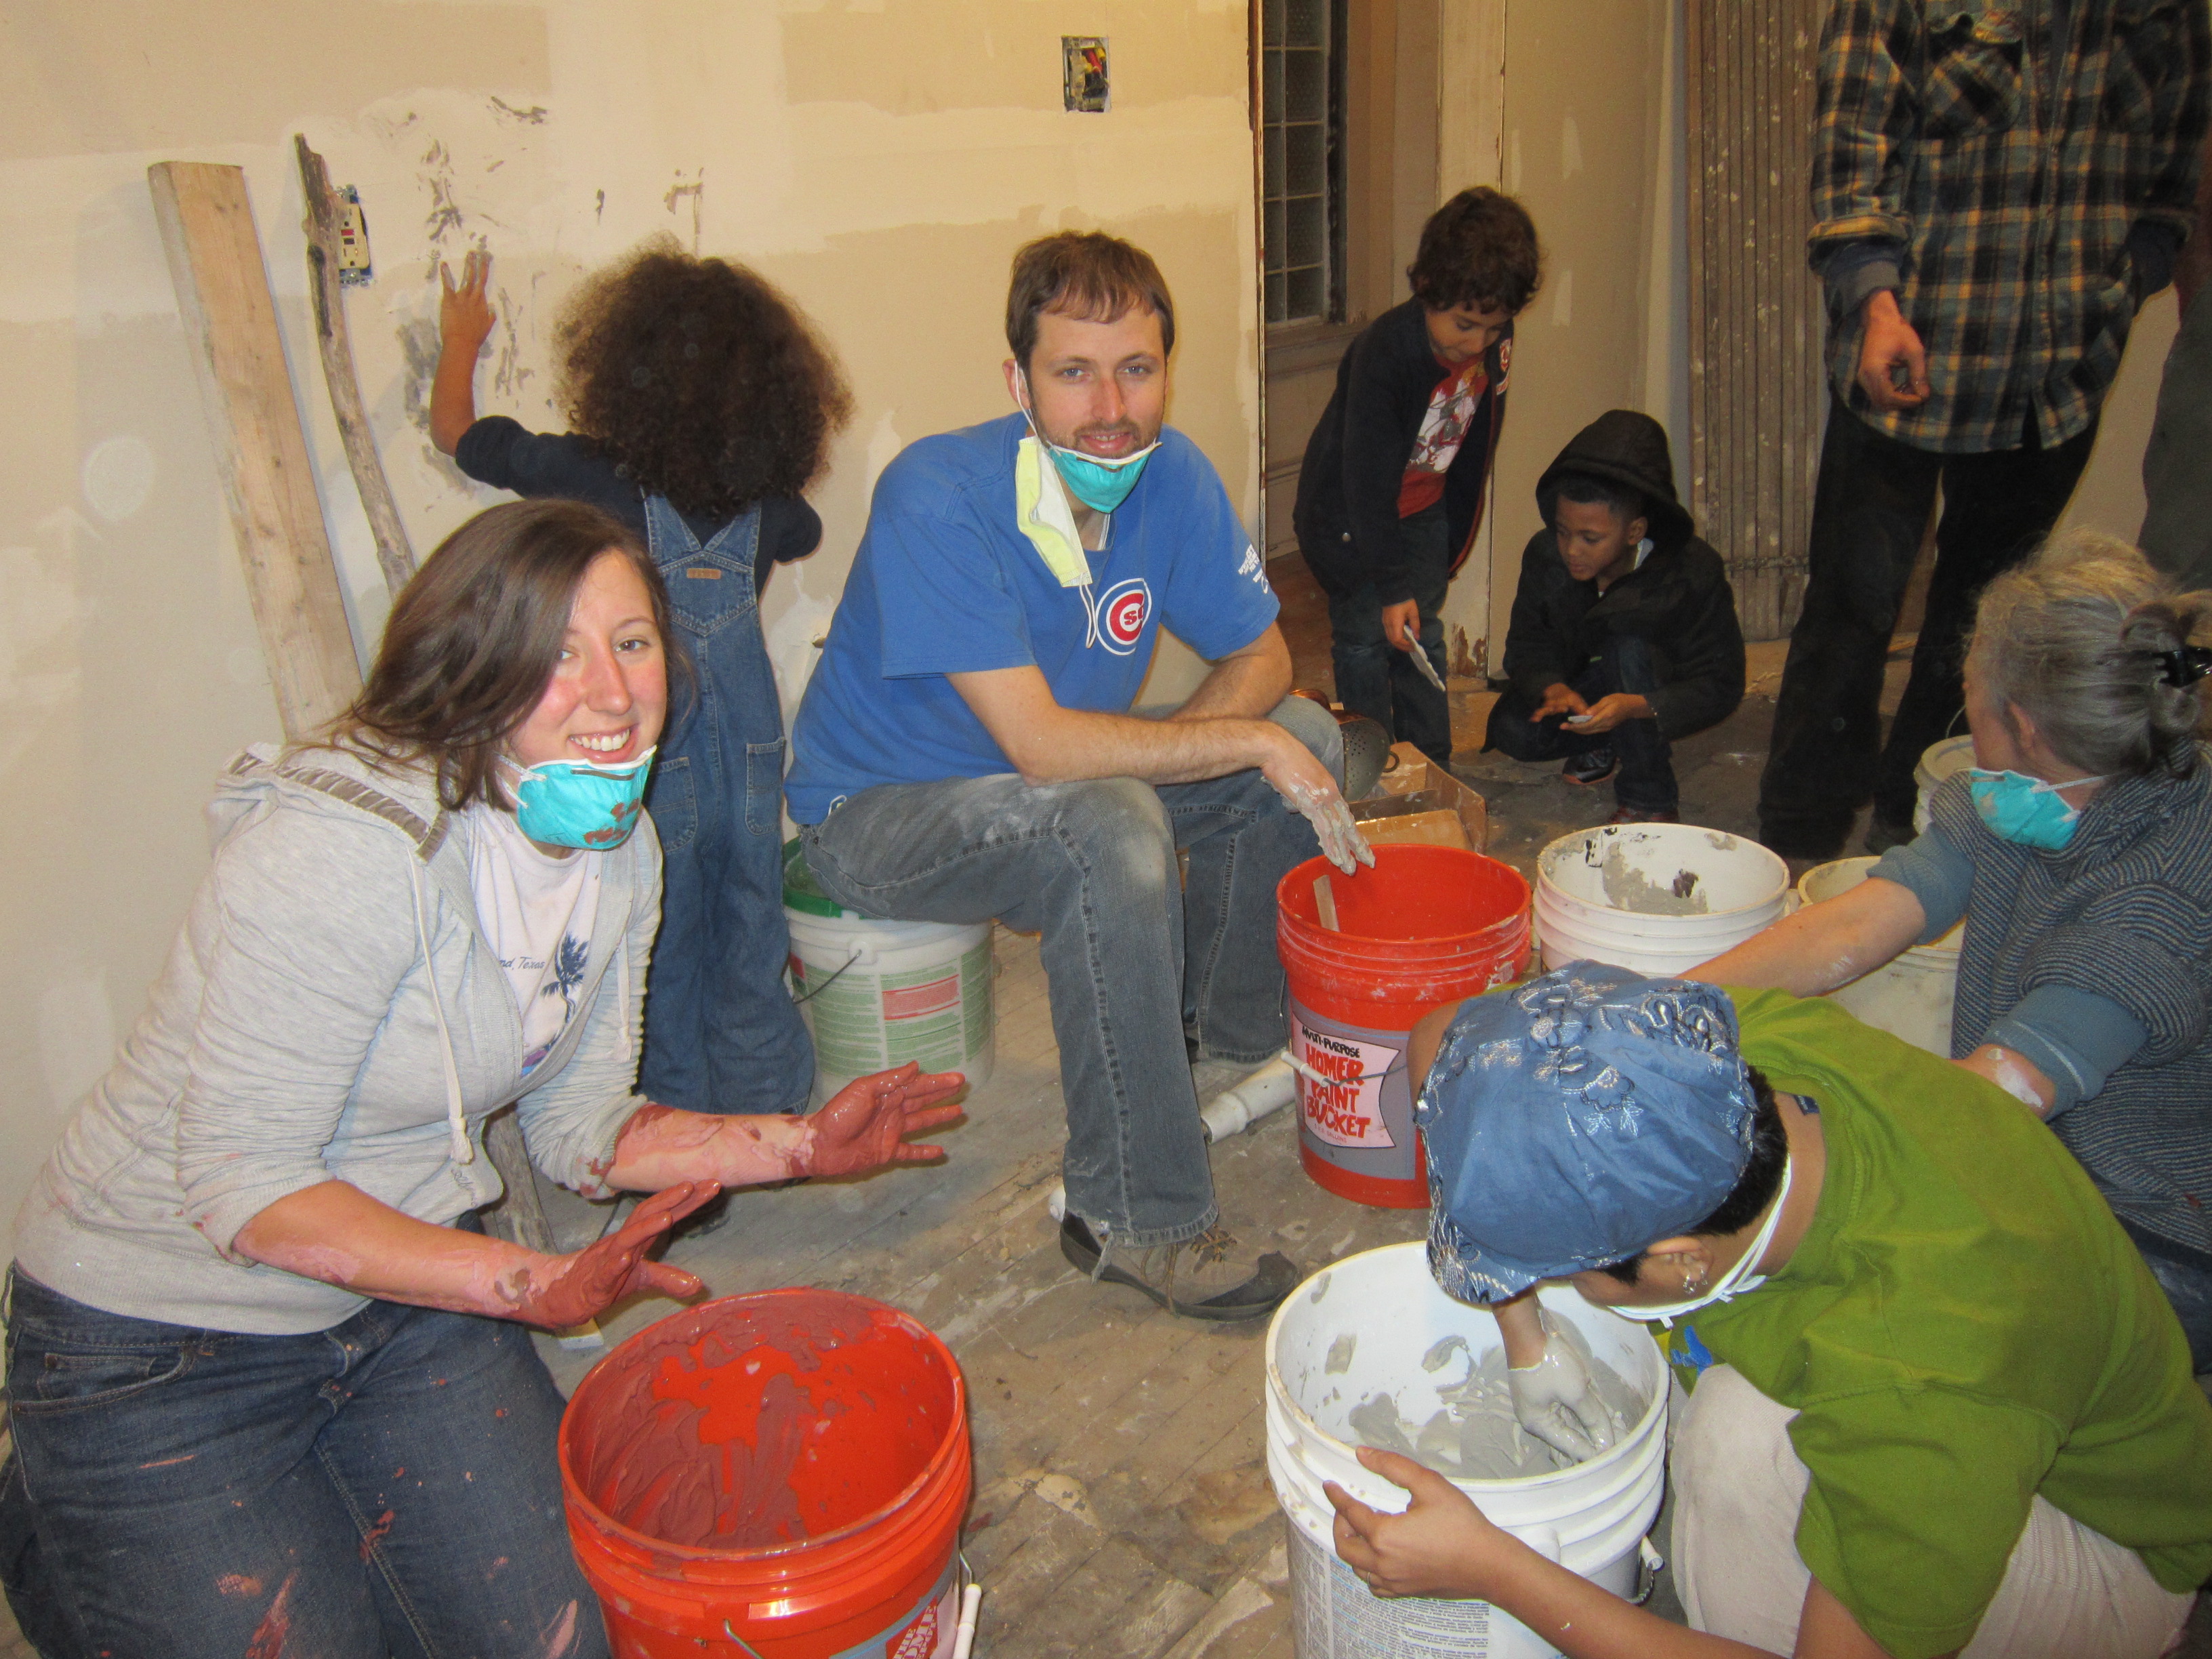
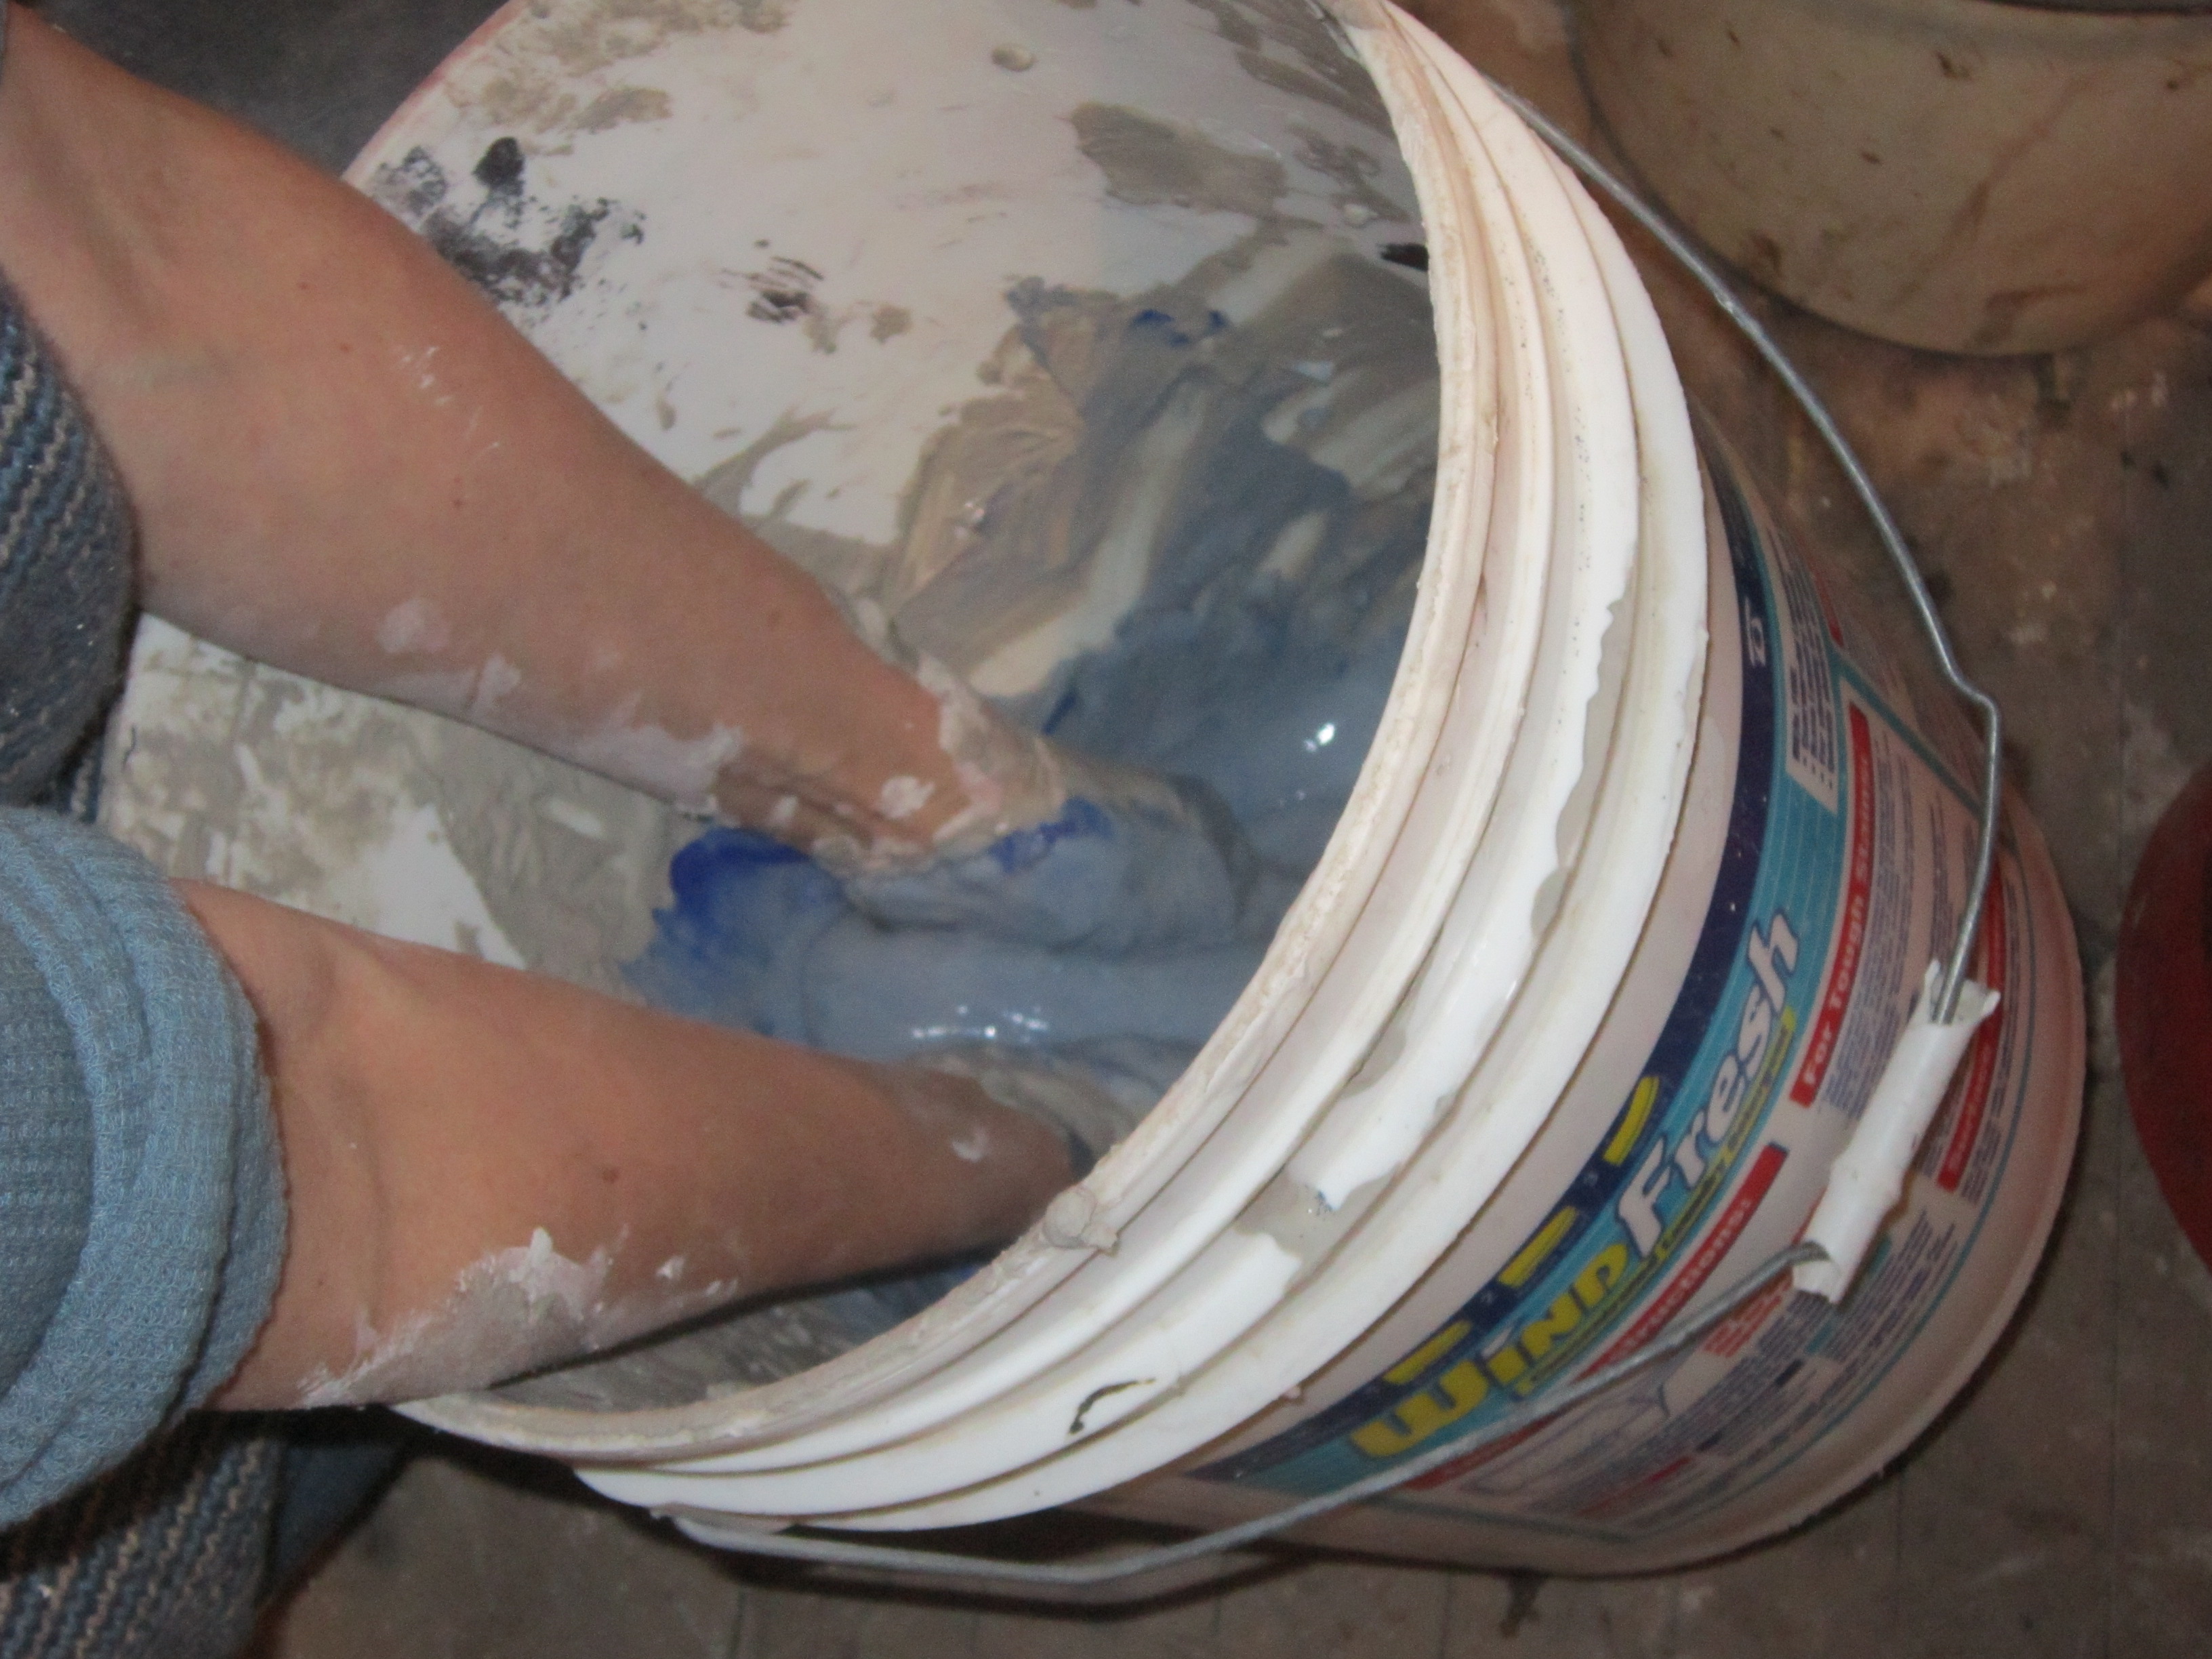
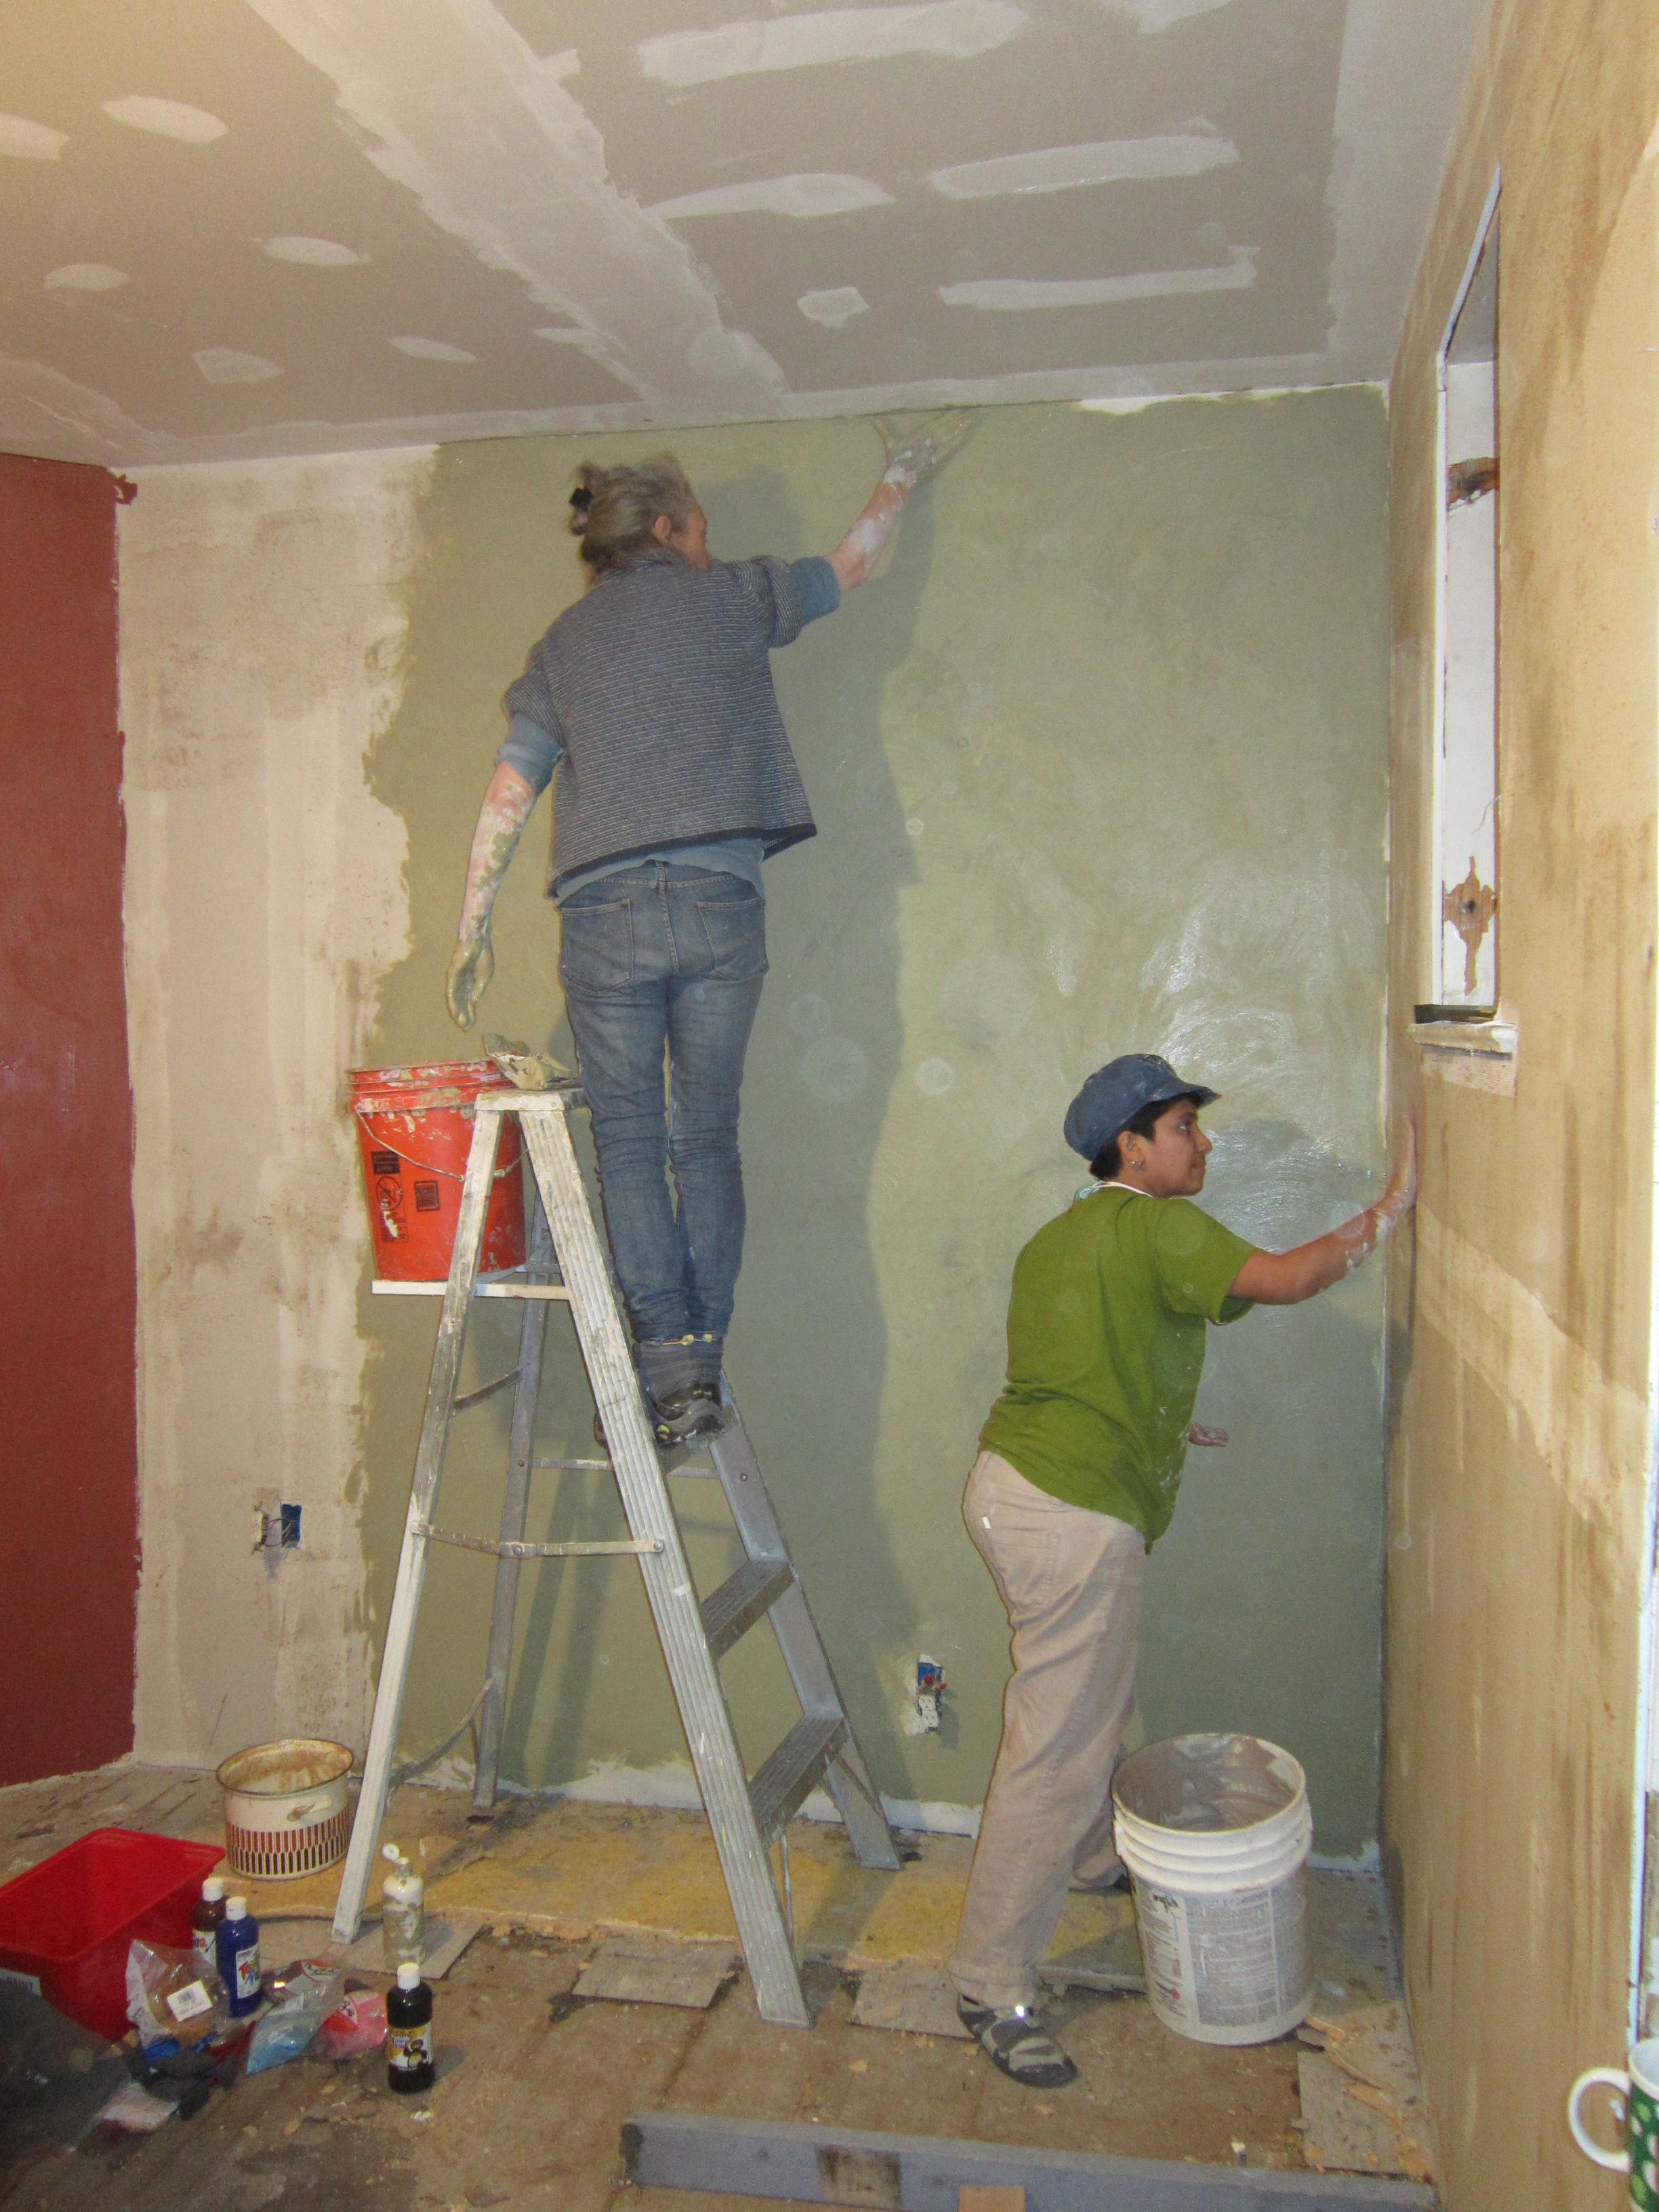
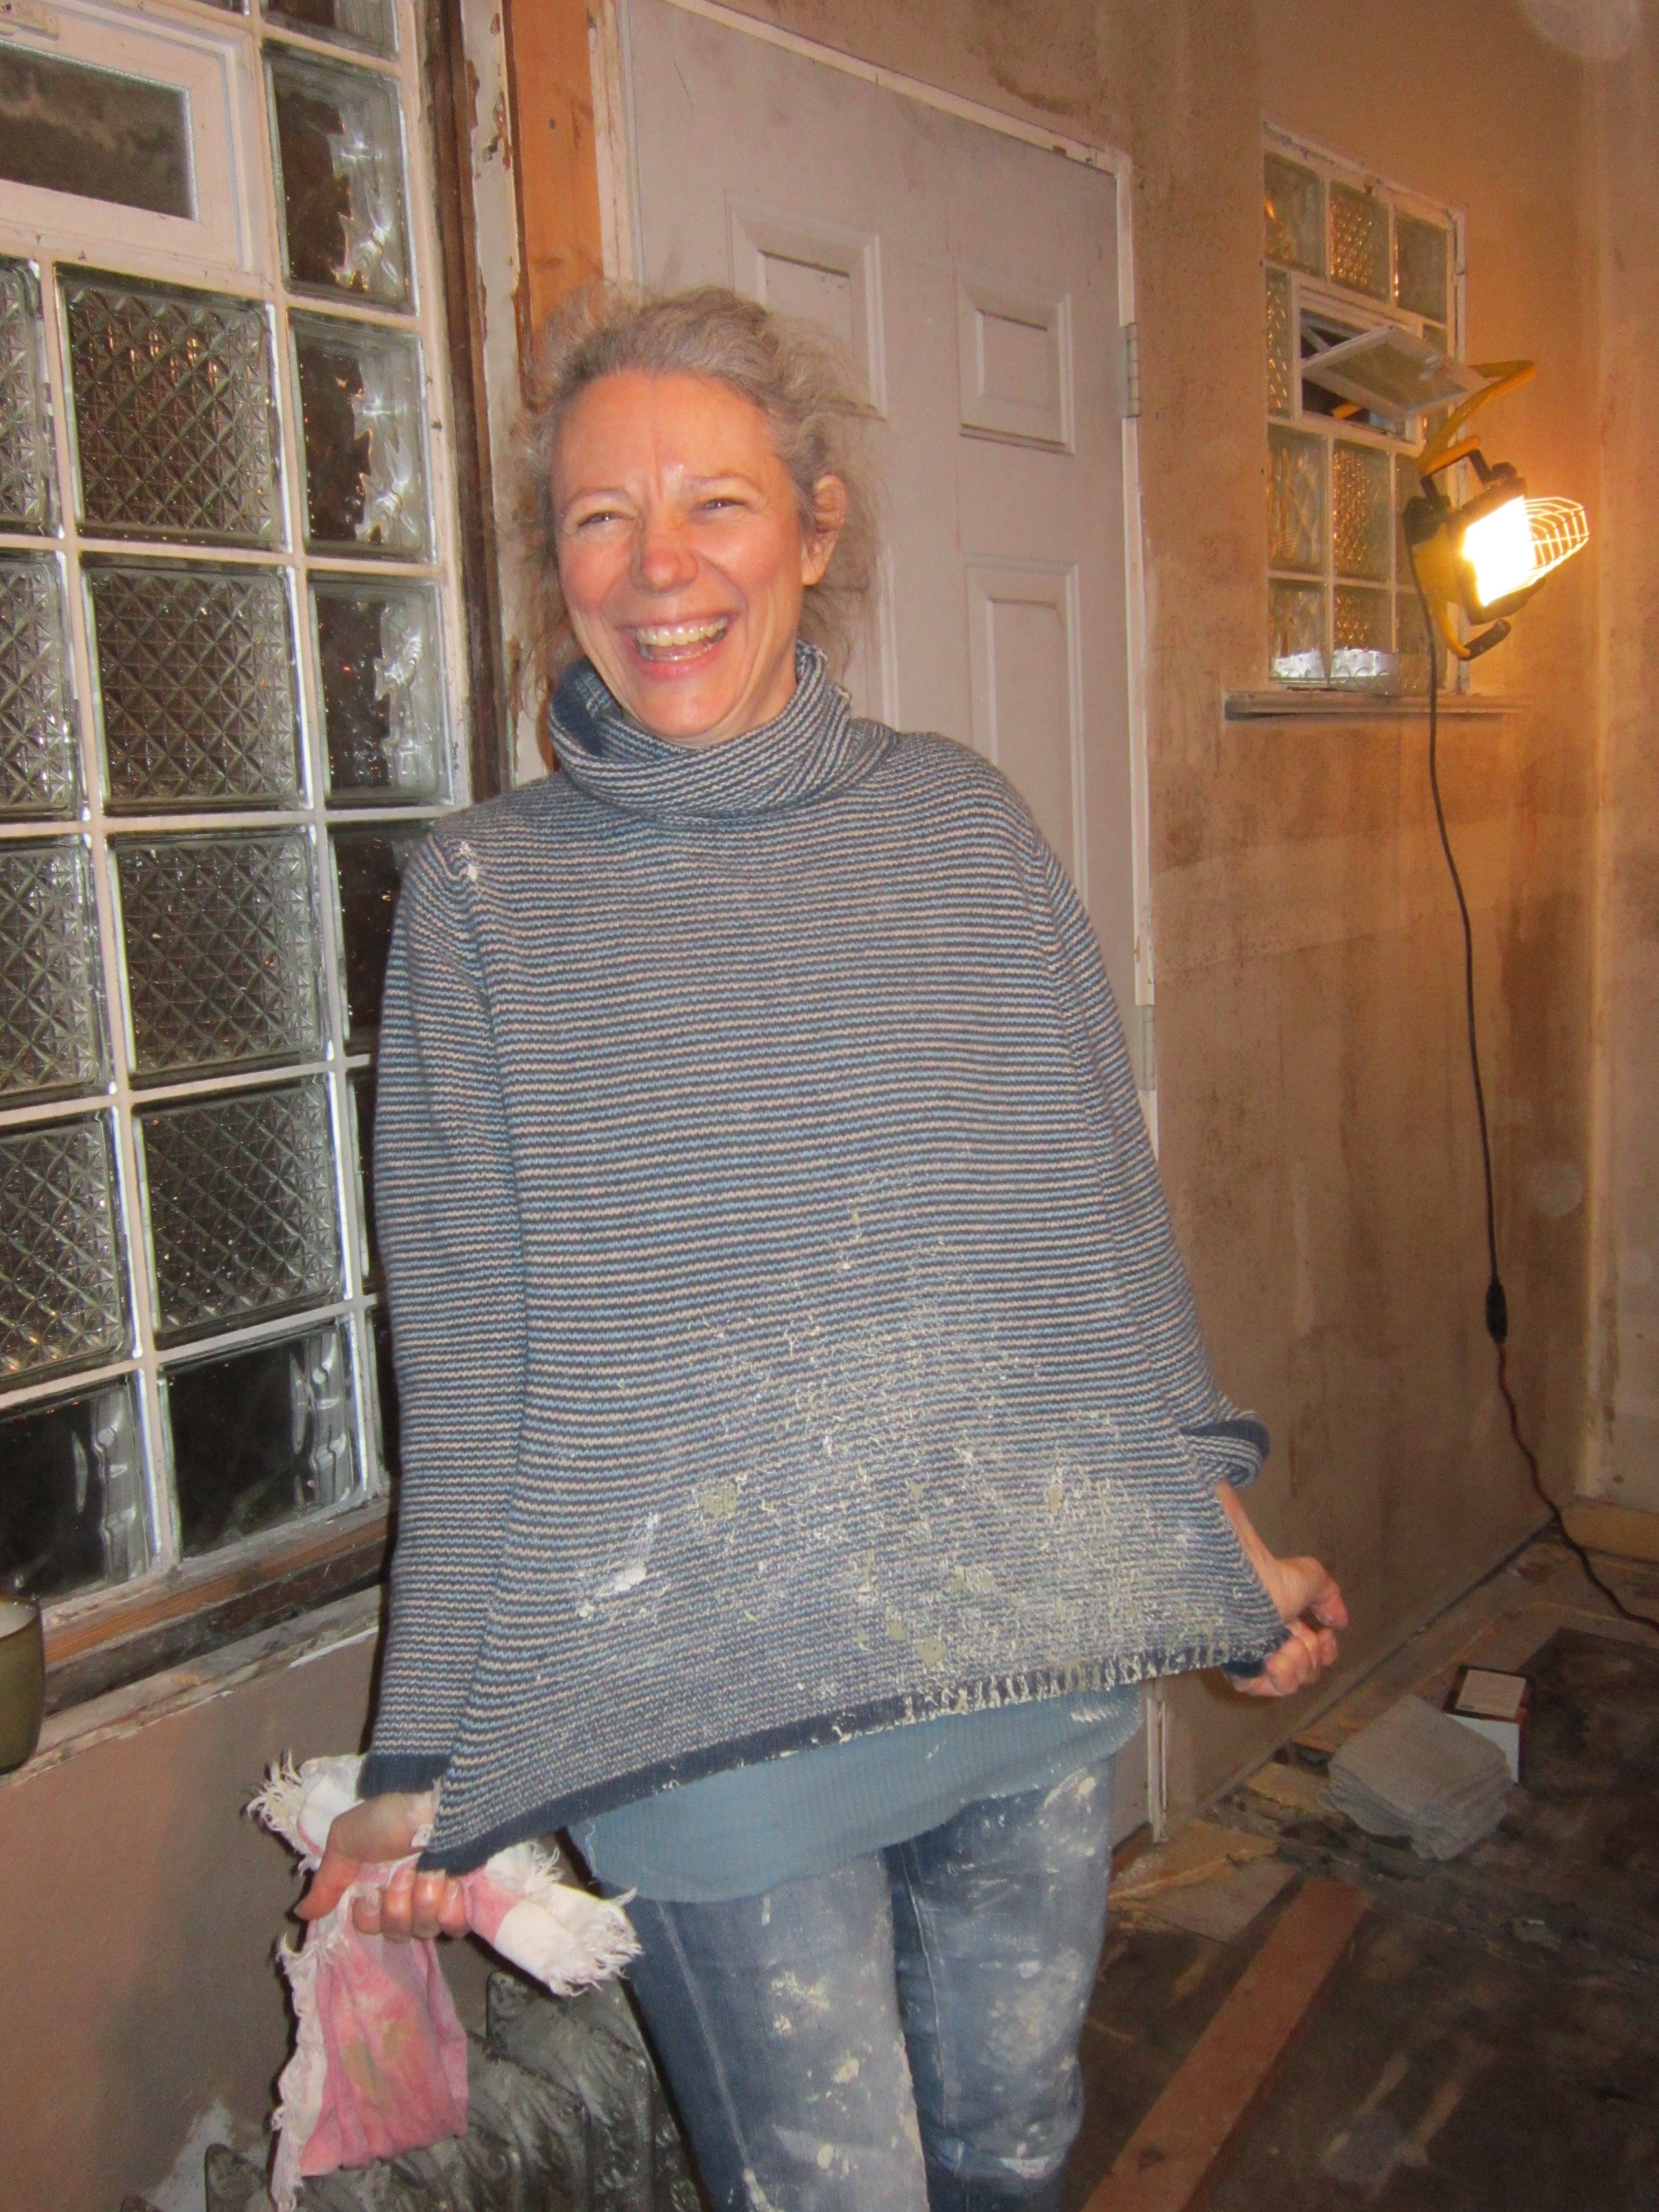
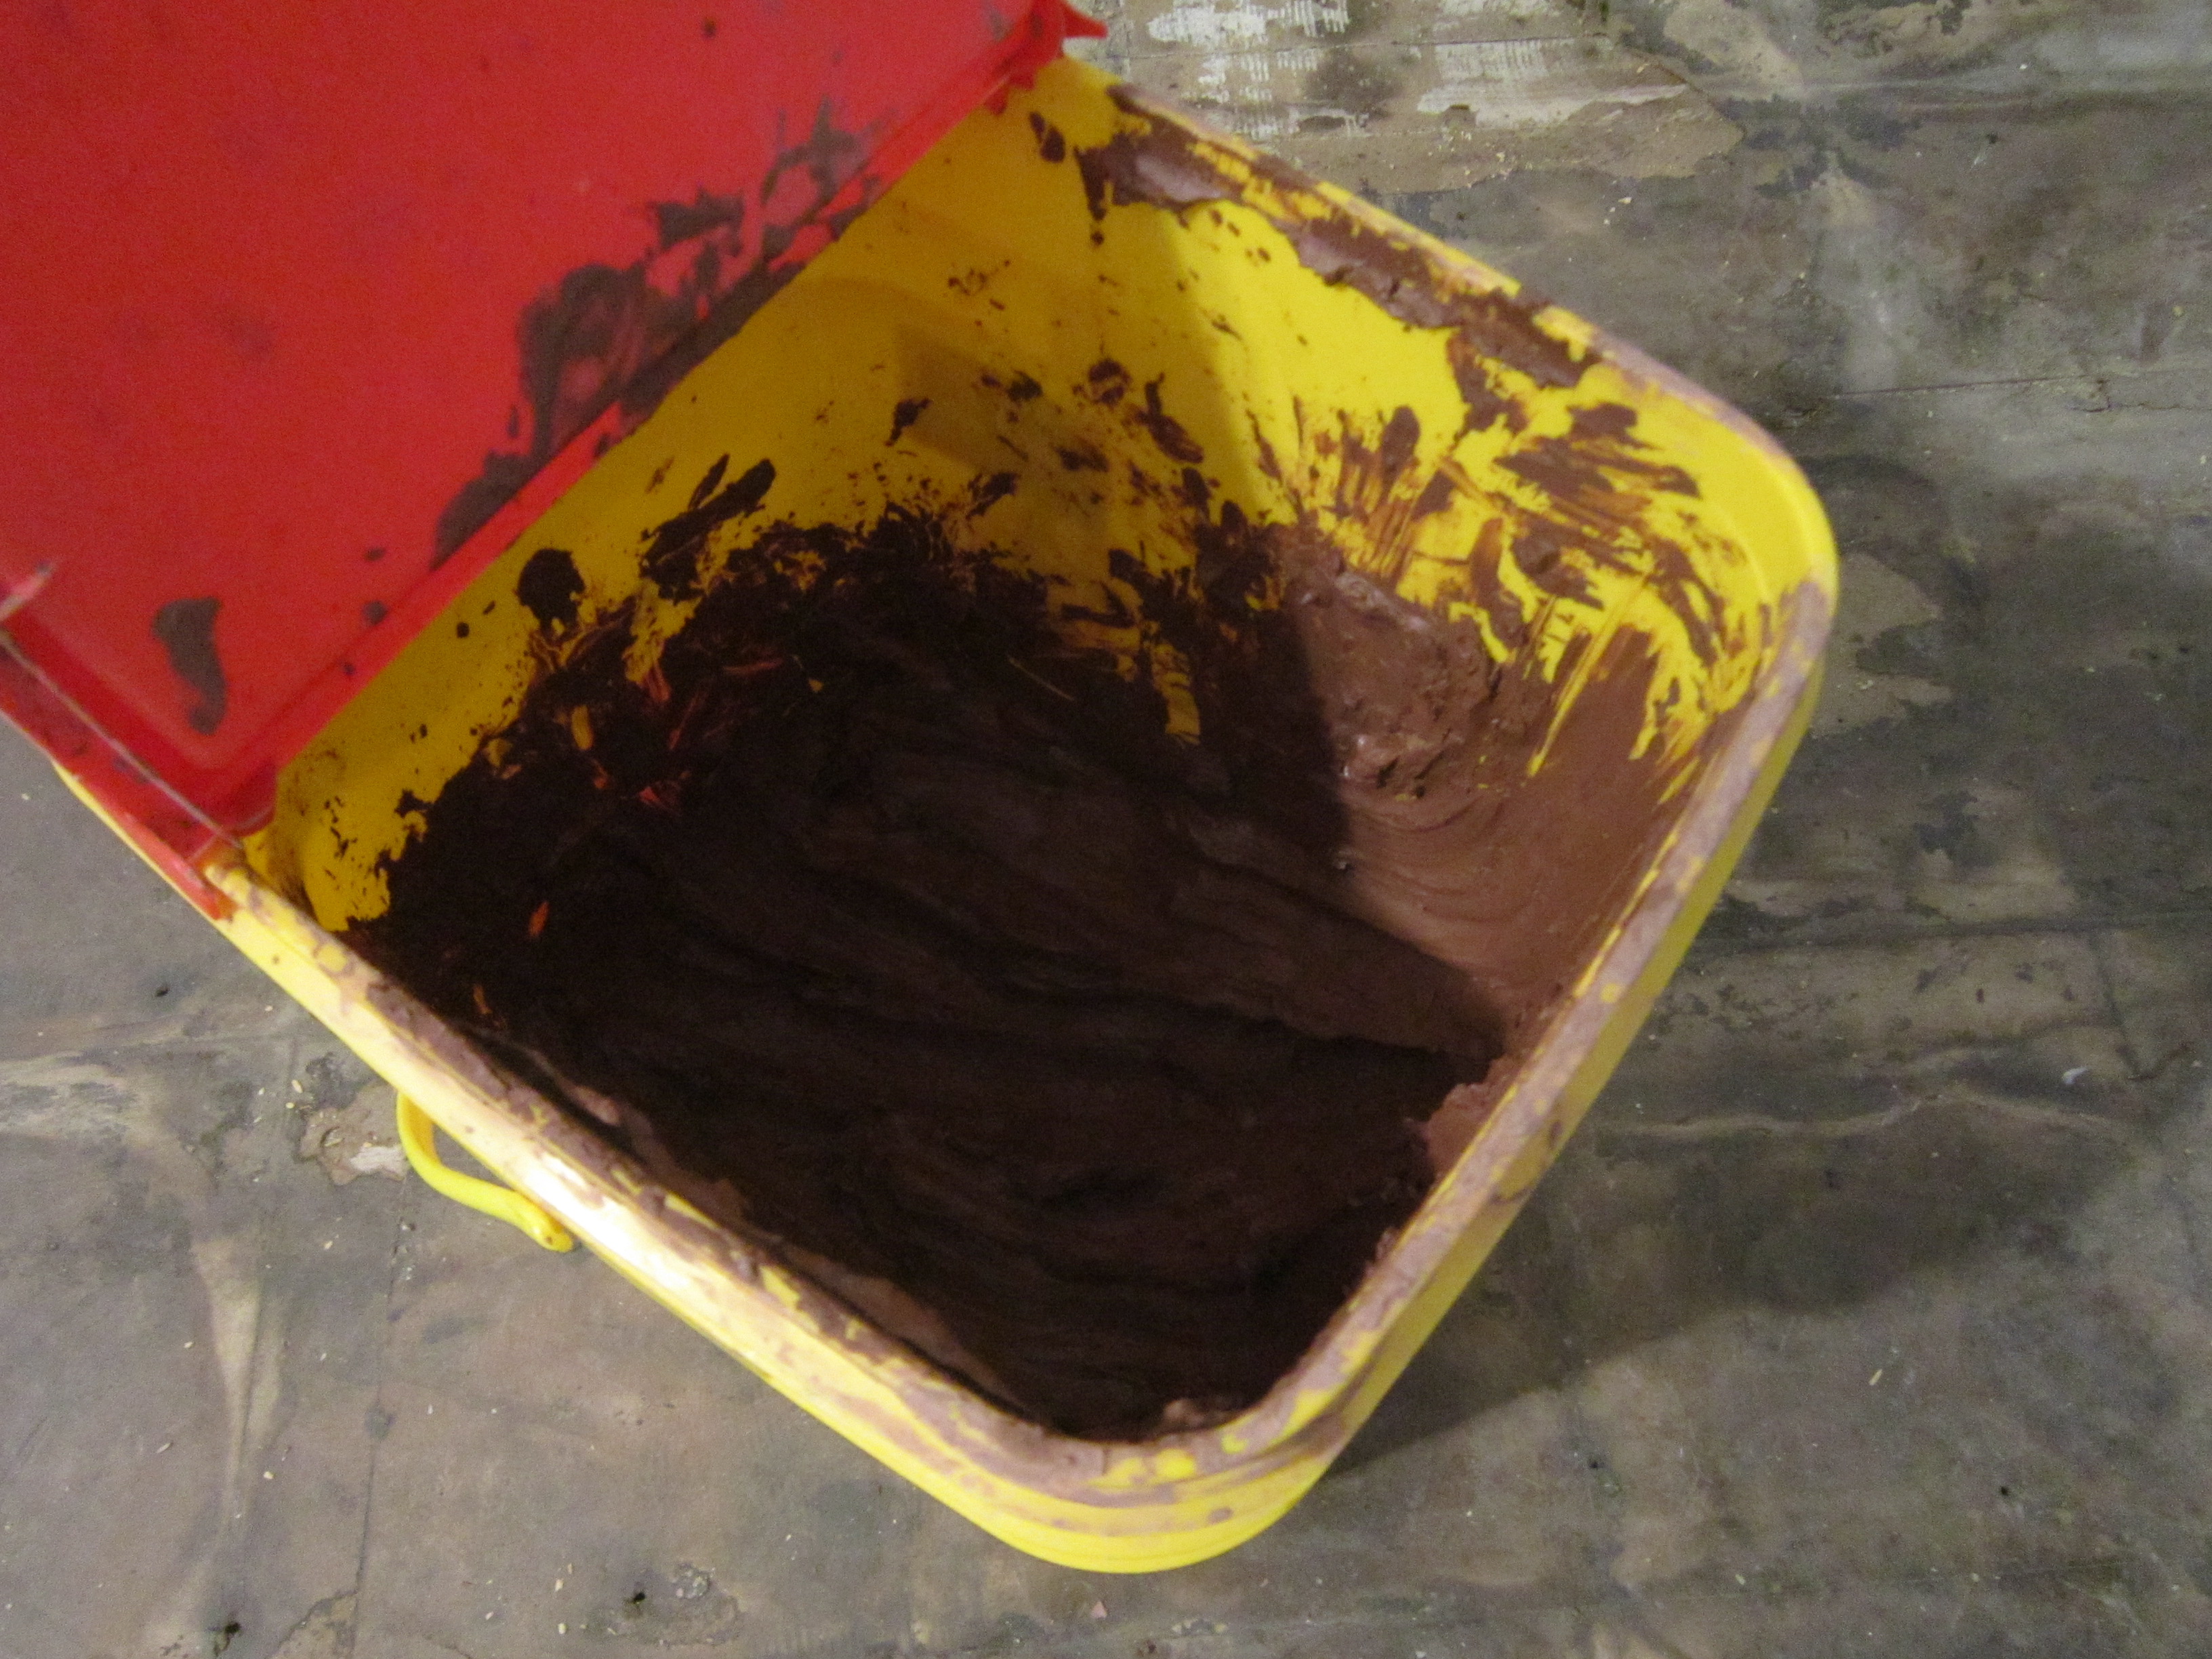 We placed several handfuls of clay into empty buckets, poured some water in and gave ourselves hand massages. Actually, we were working out little lumps and blending in colors so that we had a smooth, creamy paint. The face masks you see are only because there was dust flying around from the crushing of the discarded clay bits. Generally, you would already have powdered clay to work with.
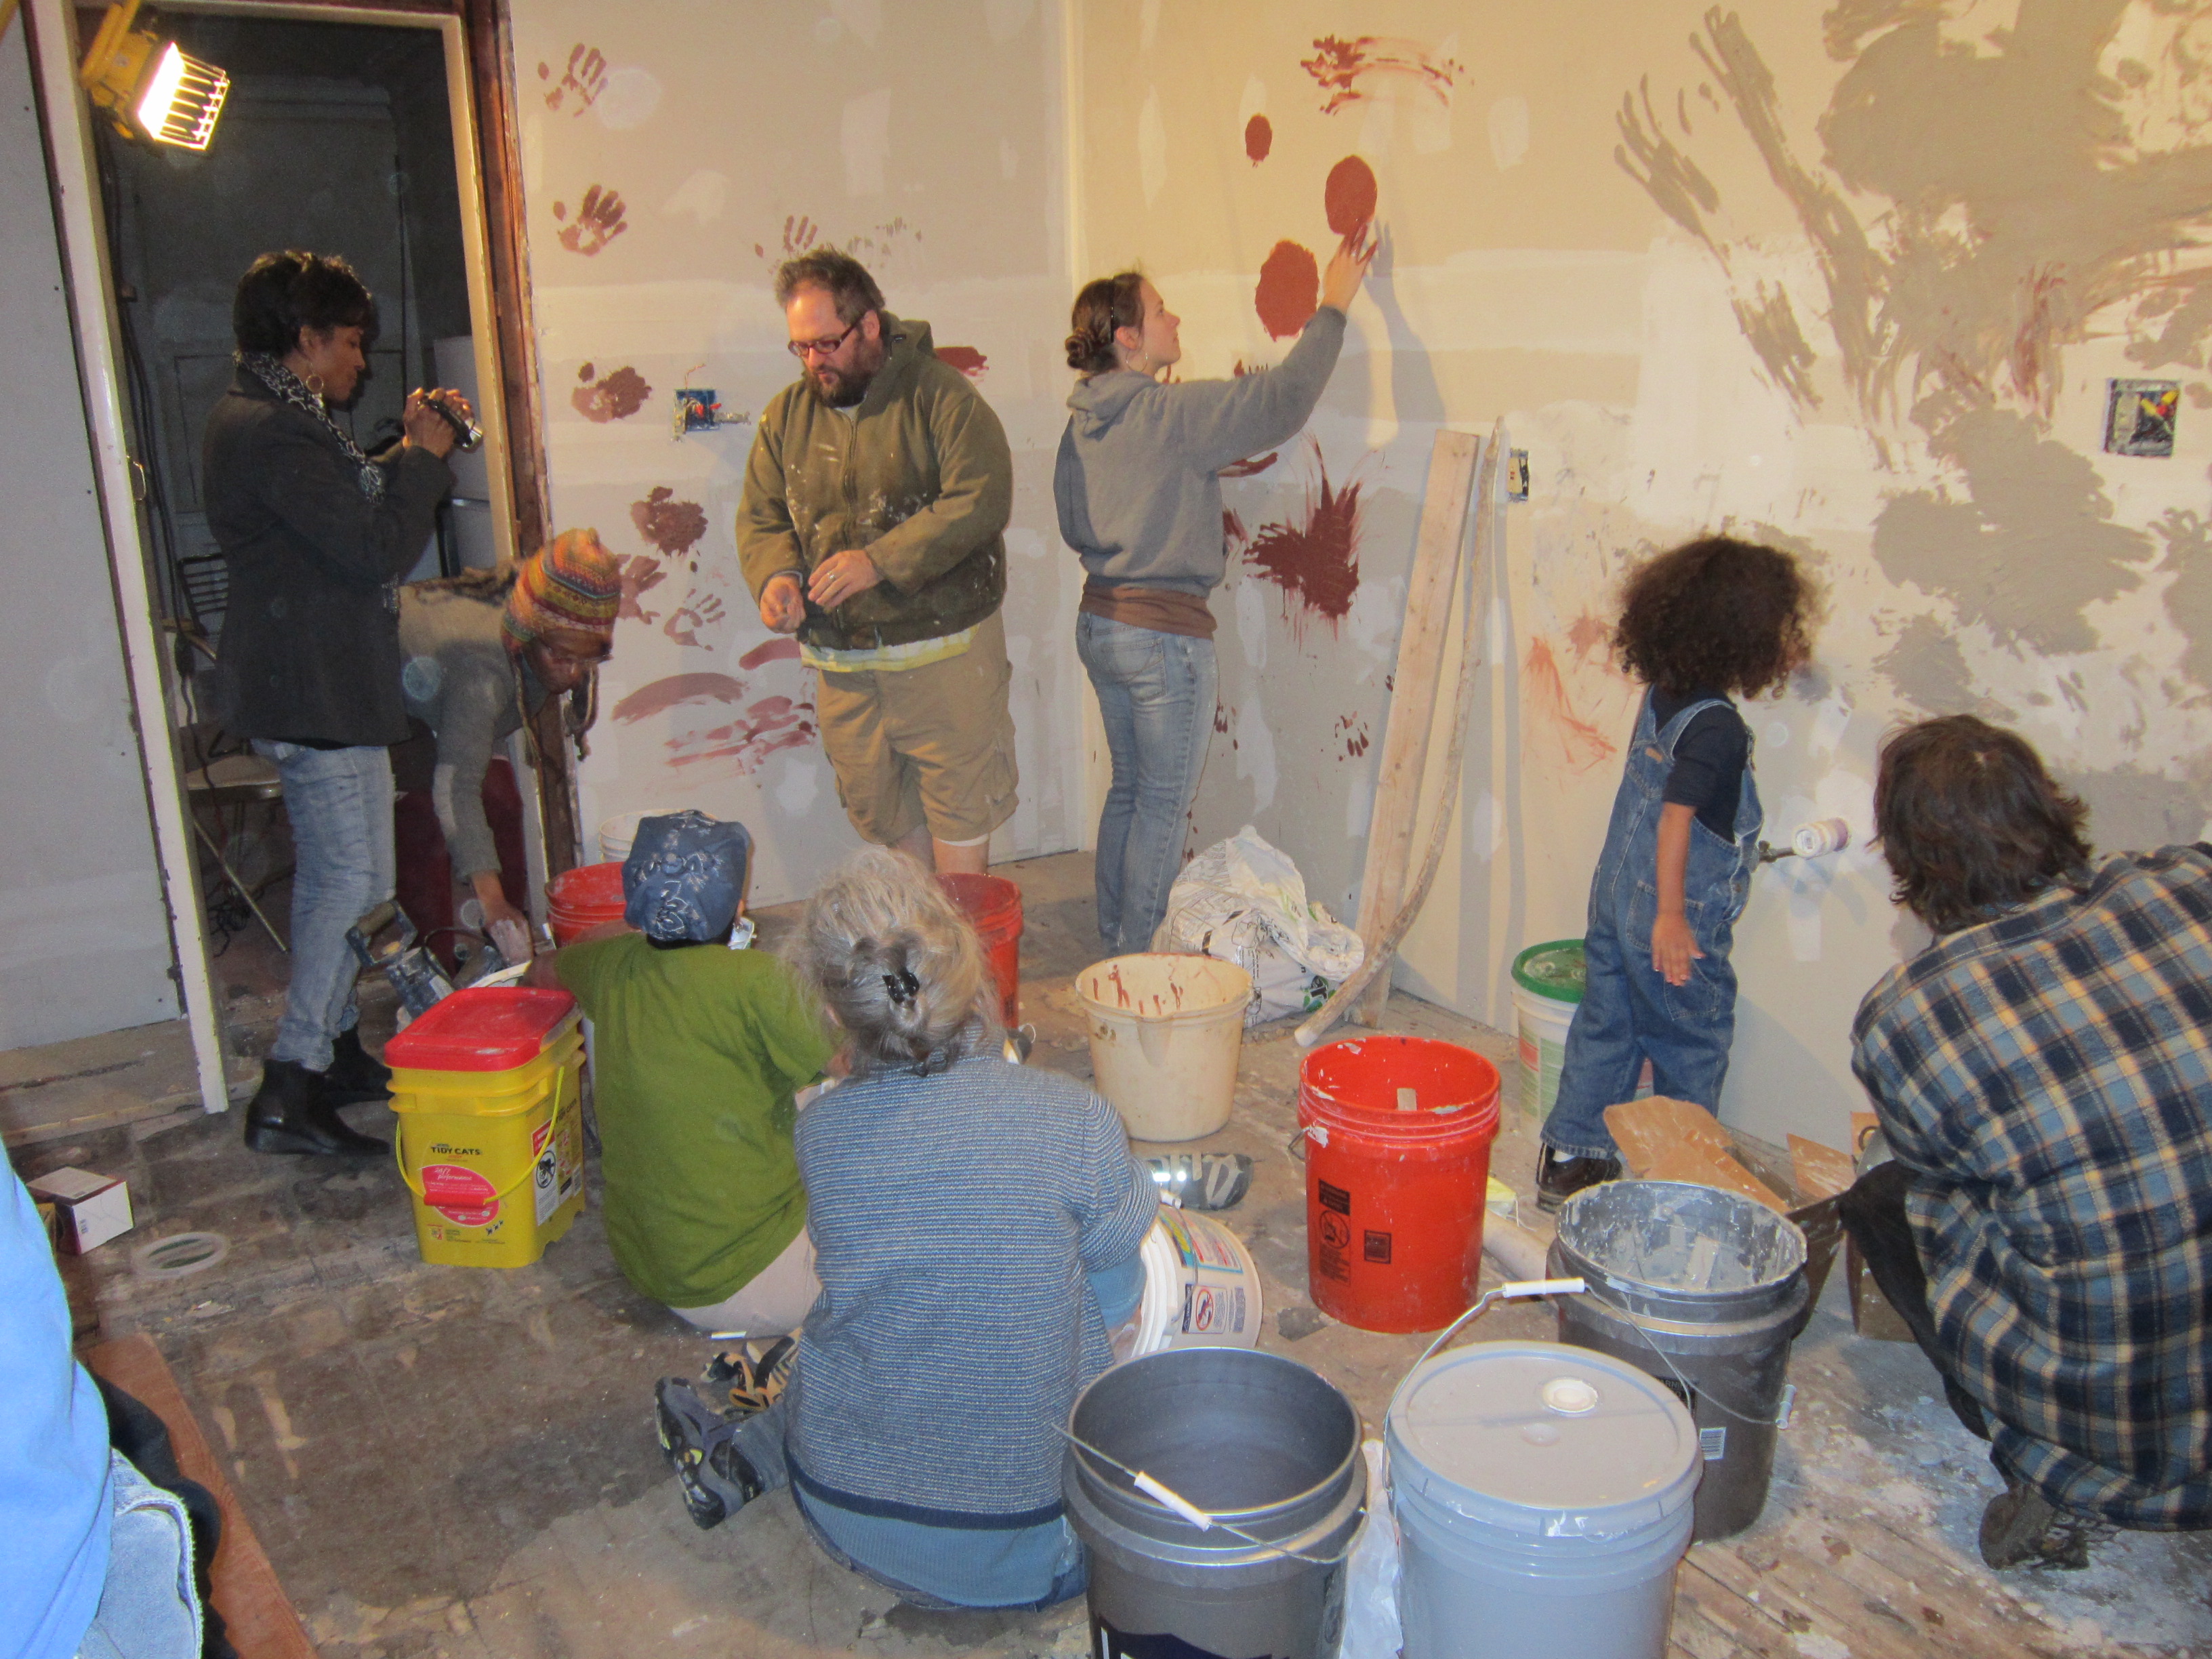
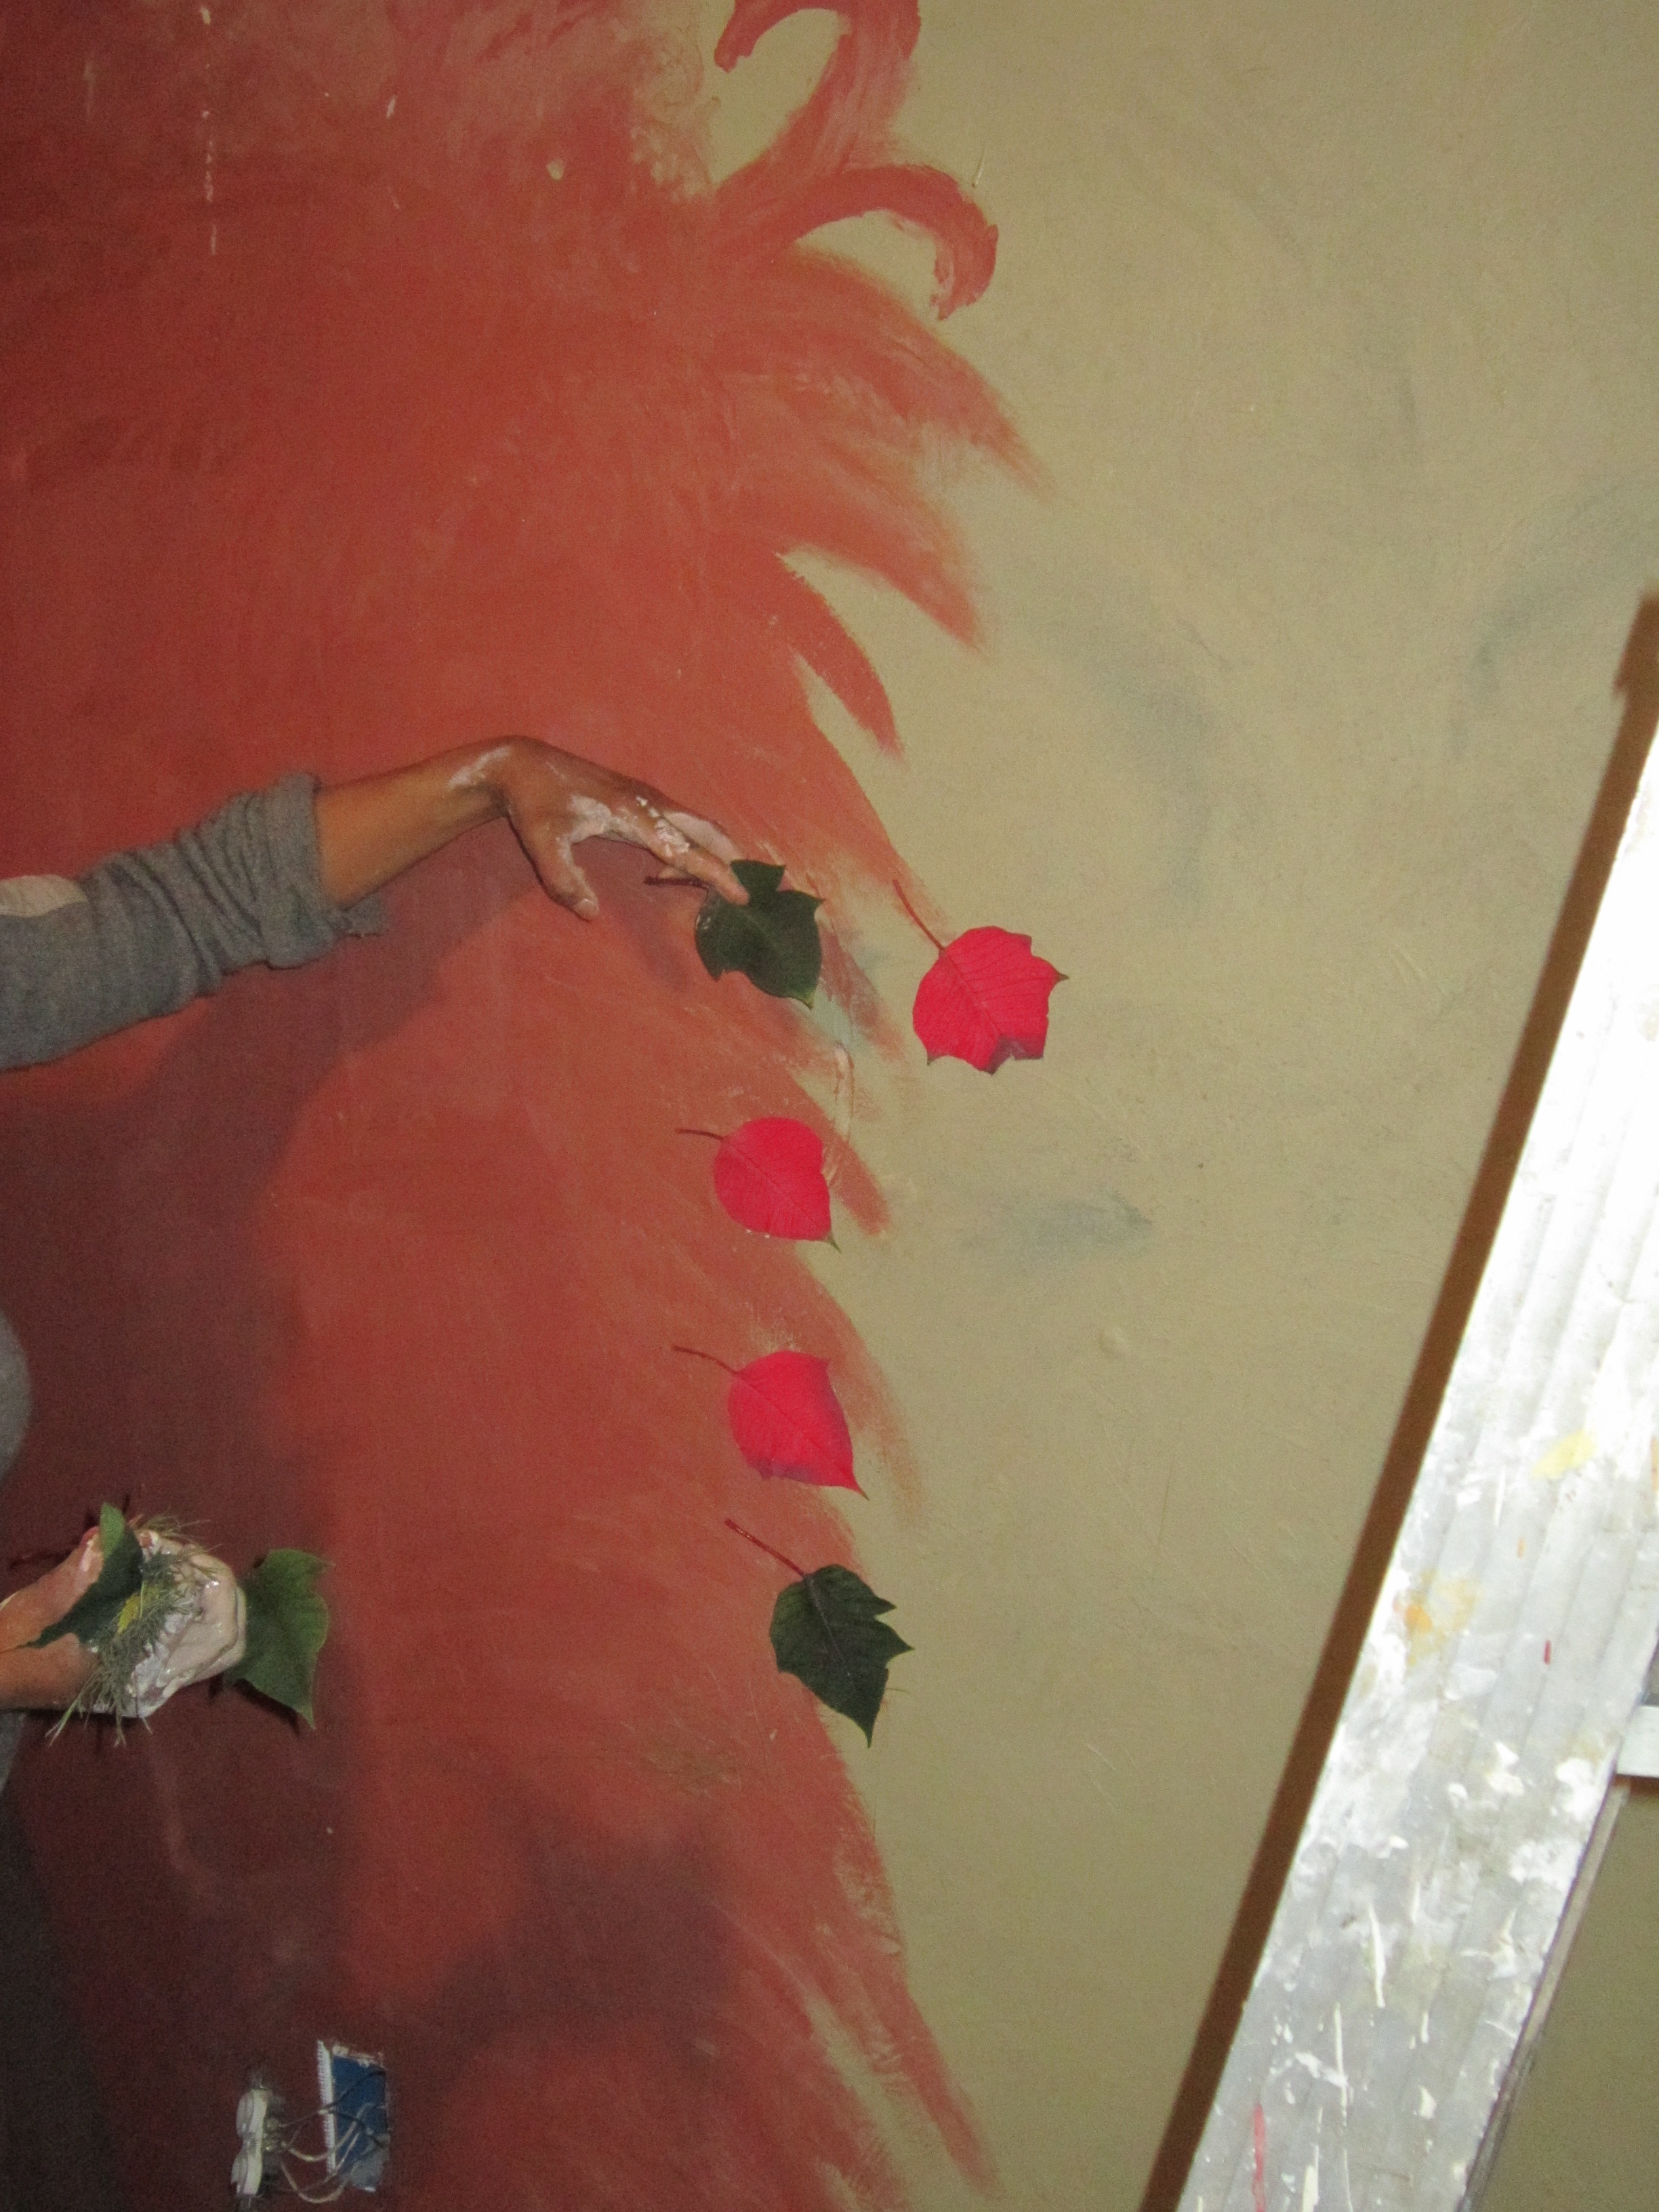
There was a lot of pre-painting artwork going on, too!
We added sand and tempera paint (from a craft store) for coloring. Ideally, you’d have natural pigments to add to the paint mixes, but we were surprised by how well tempera paint worked for coloring!

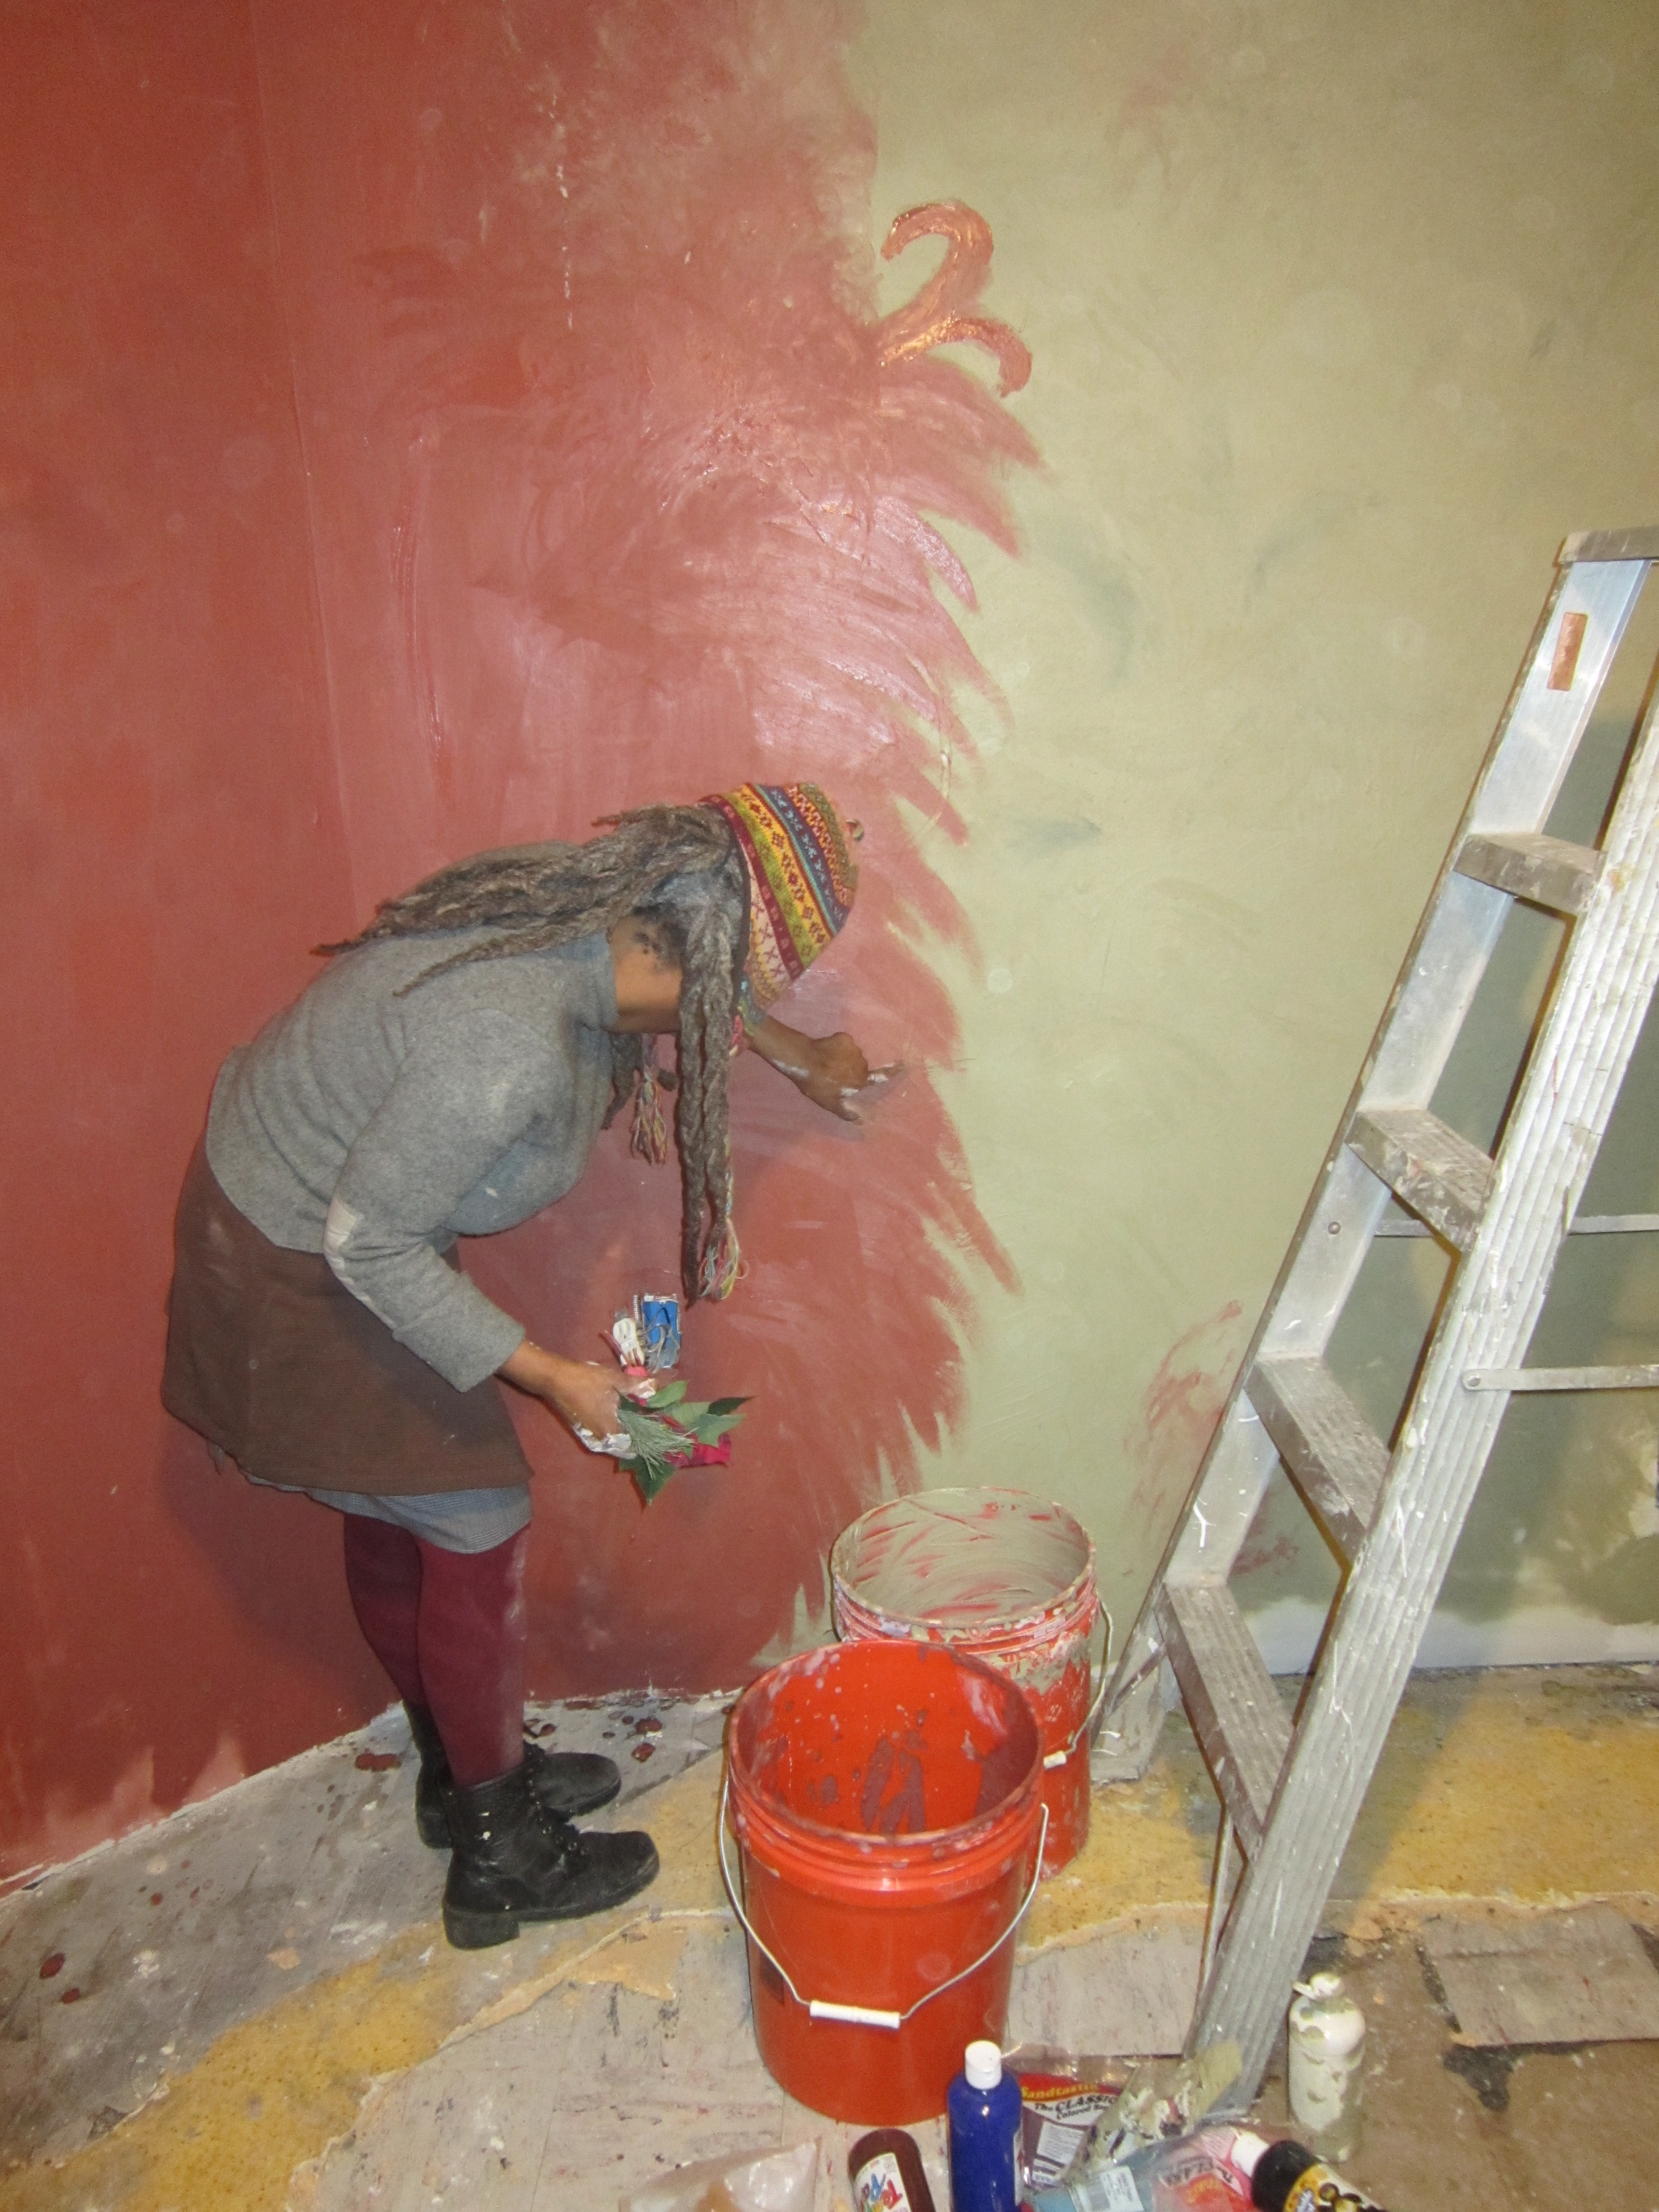
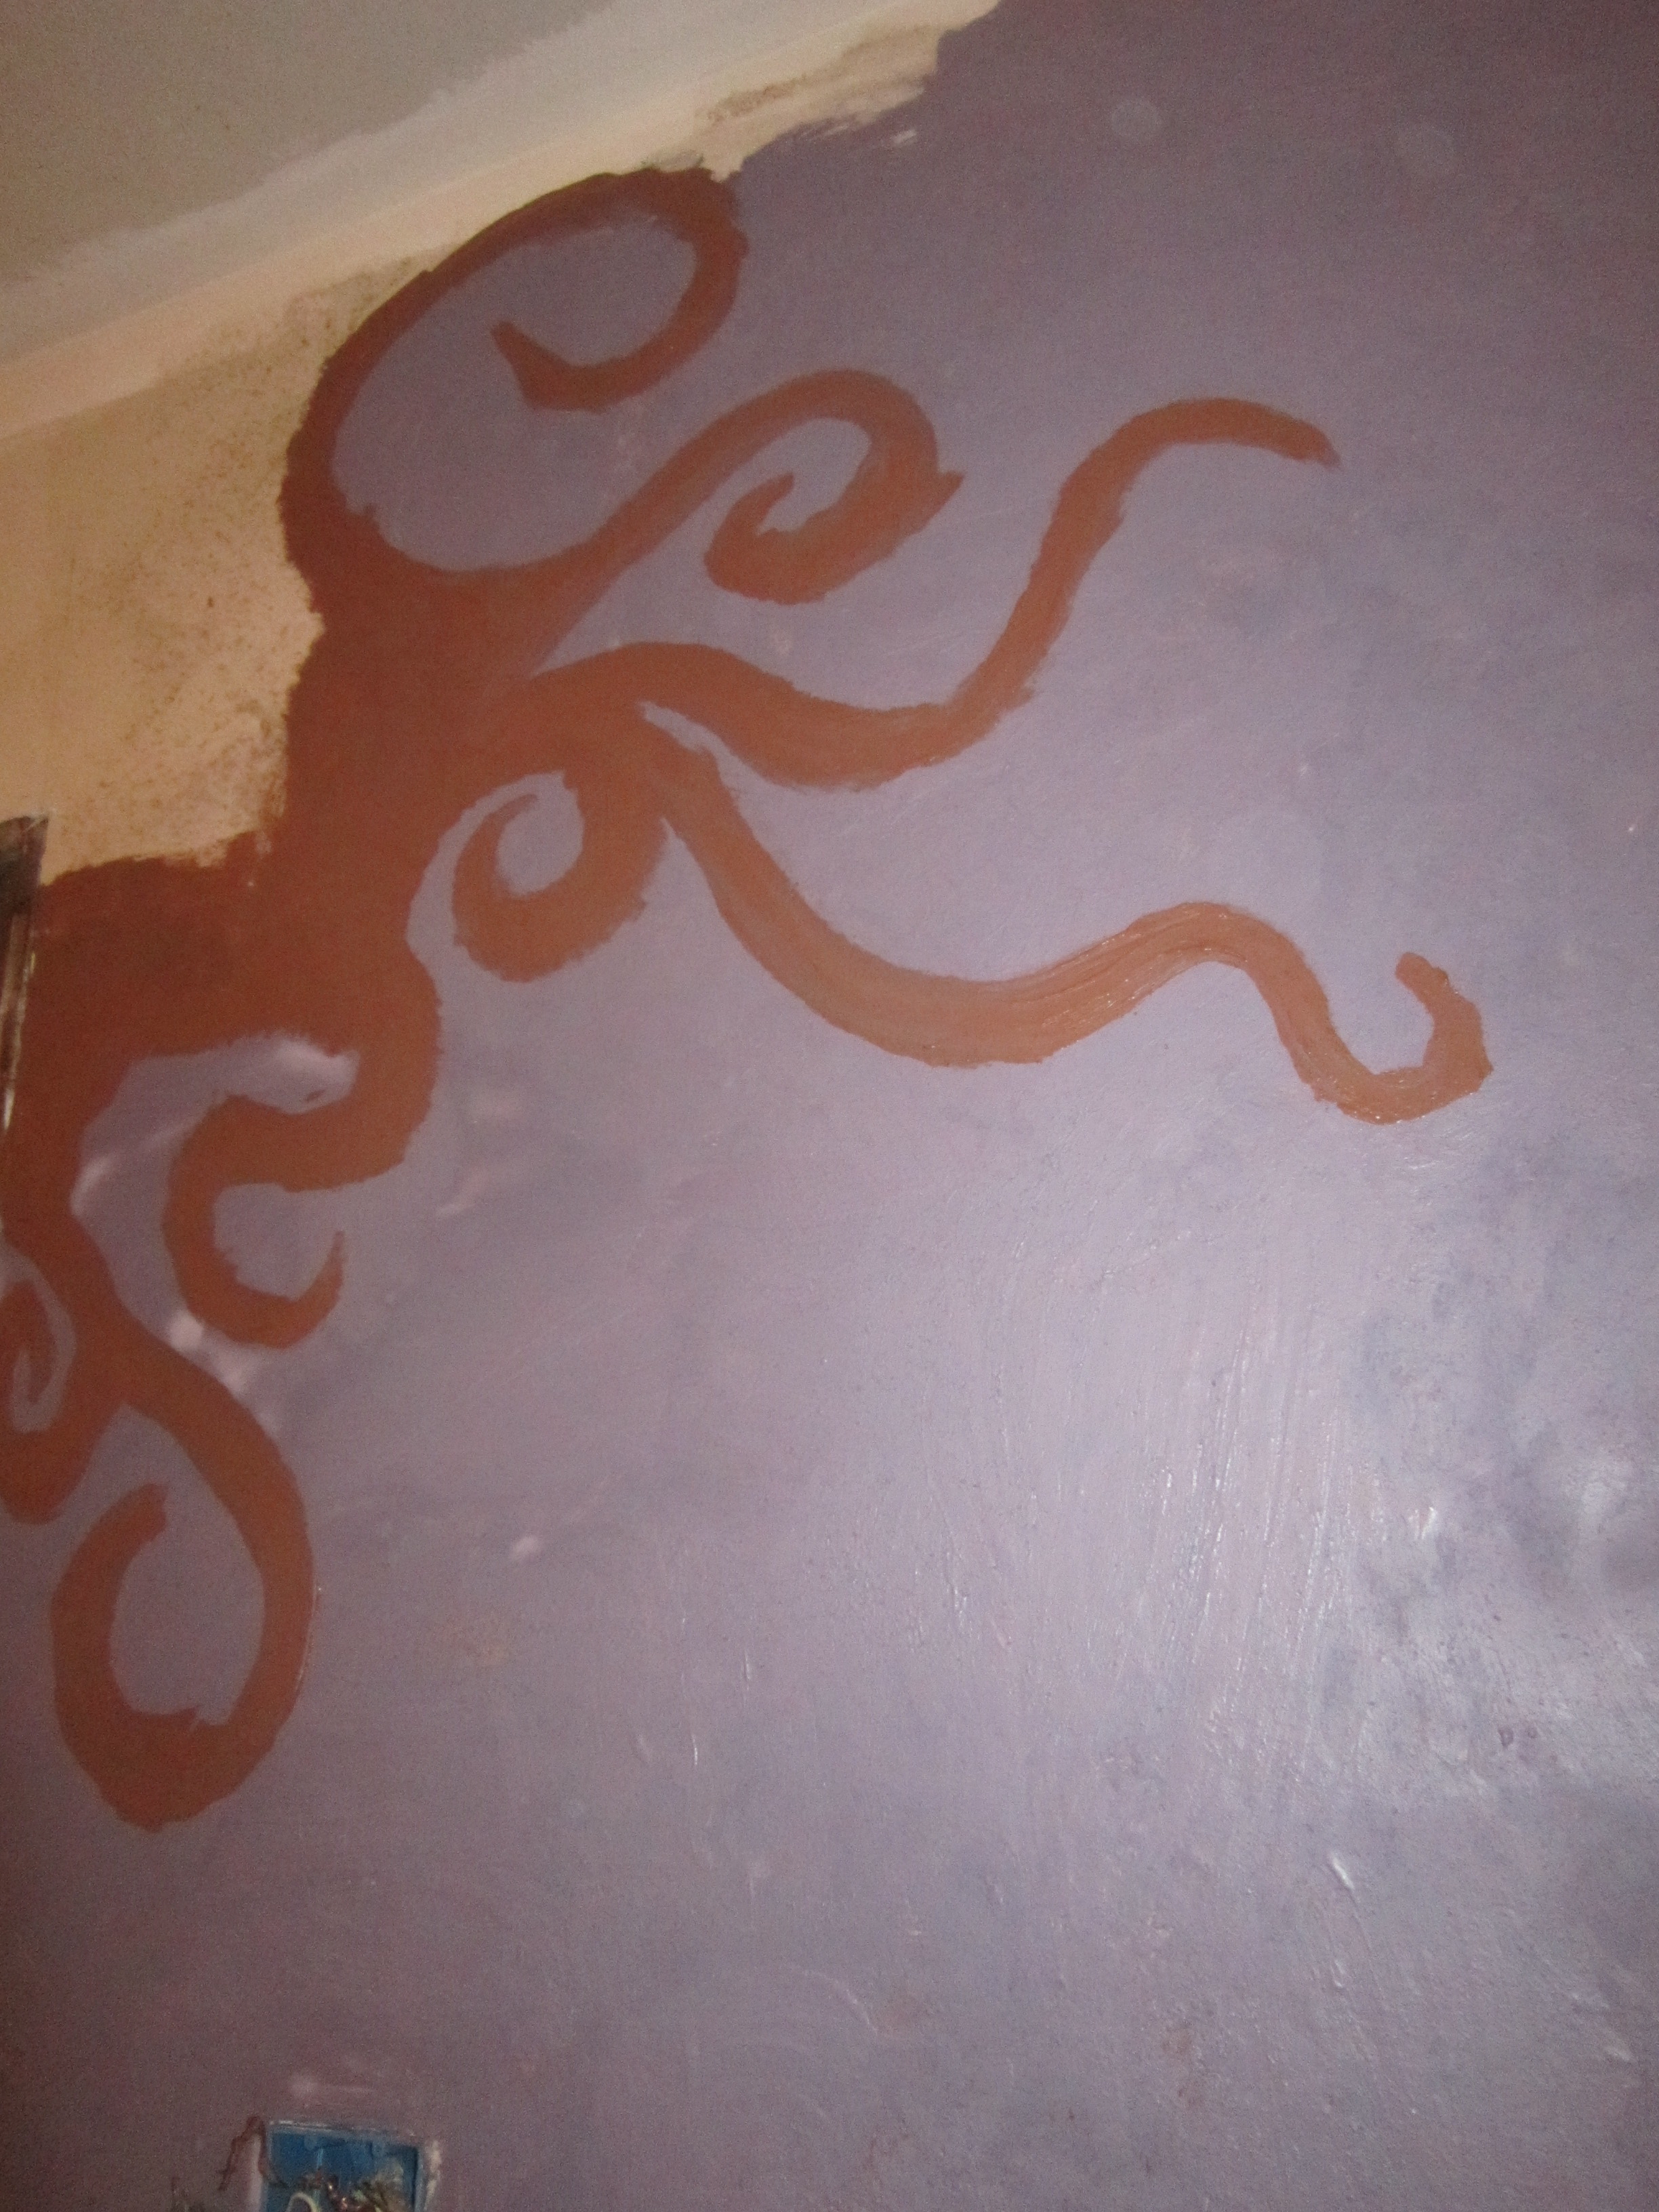
We created a lovely purple with red and blue tempera paint.
We applied a wheat and water paste (yes, just wheat and water heated for 30 minutes) on the walls before applying the paint to function as a binding agent.
And then we got busy! Although the purpose of this space is not entirely certain at this point, it’s likely that it will be used as a gathering place for artists and other creative individuals, so we were really able to experiment with our painting. Obviously, this is not a necessity with Earth-based paints and they can be used in the most conservative of homes, too!
Behold the next generation of natural building! Christina was absolutely integral in organizing all of this, and many other wonderful Earth-based projects around Cleveland! Thanks, Christina! You are awesome and I can’t wait to collaborate with you on our first Earth cottage!
Unfortunately, we ran out of purple paint too soon so I tried to find a way to lead it back into brown. Kind of fun, right?
Another benefit of using Earth-based paints is that even if you get a little dirty (which is part of the fun!), it will all wash right out!
Want more information about natural paint? Check out this article published in Mother Earth News.
Most importantly, don’t be afraid to experiment and get a little messy! It’s fun!
Shared on: Backyard Farming Connection
Related articles


Those colours are beautiful! As penniless student hippies a whole new world of paint just opened up for us! Experimentation is called for and our entire subsoil here is rock and clay so sourcing clay shouldn’t be a problem 😉 Cheers for this wonderful tutorial, we really appreciate it 🙂
Wow! So interesting! I’ve moved a lot through rental apartments in the last few years and always wondered about what kind of paint they’re using, and the damage it might be doing! I can’t wait to find a place to start experimenting with more natural paints, like these ones.
Thanks so much for sharing this on Waste Not Want Not Wednesday 🙂
I would love to have you join The HomeAcre Hop at:
http://www.theselfsufficienthomeacre.com/2013/01/1213.html
I love to have environmentally friendly crafts and decor shared!
Thanks for the post Chritstine. I found you through the HomeAcre Hop. Earth based paints are something that I have read a little about and hope to utilize someday. I hope that you keep us posted on how the paint holds up over time. Was it easy to apply? Also, how did you make a powder out of the pottery pieces? I think you might be interested in what we are up to on http://www.wildbluebus.com please come visit!
Hi Colin! Thanks for your comment, and yes, the paint was VERY easy to apply. Just like “regular” paint!
To make the powder, we basically just smashed the heck out of the pottery pieces! We put them into a 5 gallon bucket and used a piece of metal (actually it was an old leg of a table) to pound them down. There were still a few larger chunks left, but we worked them out with our hands after adding a bit of water (and if it isn’t done perfectly, it adds a little extra texture that looks kind of cool in my opinion!). Also, we found that adding a touch of sand to the clay helped to create a bit of abrasion that worked more of the chunks out.
I’ll head on over to Wild Blue Bus now! Thanks for sharing.
This looks awesome! Thanks for sharing on the HomeAcre Hop 🙂
Pingback: The HomeAcre Hop!
Interesting post. Thanks for sharing…are you in the Cleveland area?
Sure am! Are you?
Thanks so much for sharing this link on Wildcrafting Wednesday! I really enjoyed reading about your painting project 🙂
Pingback: First Cob of the Season | These Light Footsteps