This winter, I ran into a problem that I’ve experienced before — my outdoor compost pile is filled to the top, but I still have more scraps!
It’s not the right season to start a new pile (nor do I have the room to start a new pile at the urban house that I rent), and it’s not time to start hauling out the compost that is accumulating on the bottom for use in my garden. What’s a person to do?

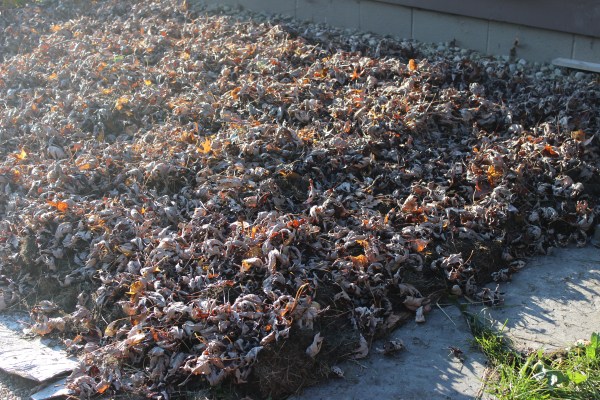
Compost from my outdoor pile ready to be put in the garden!
Start to vermicompost, of course!
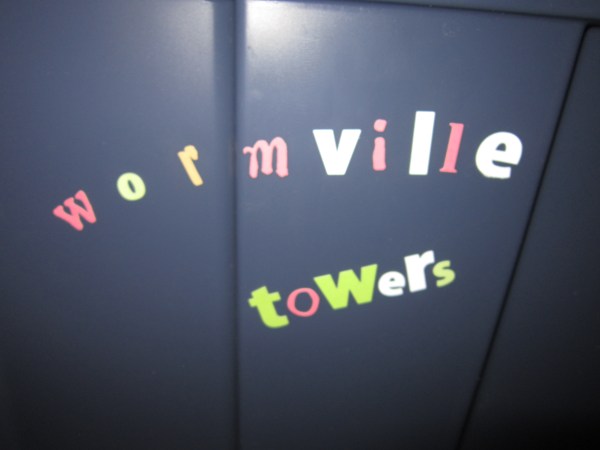
I don’t have much experience with worm bins, but I’ve seen a fair number of the commercially available ones and have also explored some that are set up as singular bins. I decided to try a mix. I call this worm home, Wormville Towers, because it is much more fun to live with worms that have a named community.

Here’s how the community moved in with me:
- I acquired three bins — two large 10 gallon bins that fit inside one another (and a lid) and a smaller see-through bin (with a lid). The general idea is that the two large bins are going to be stacked and rotated with the worms and composting material while the see-through bin always remains on the bottom and is just to catch any “worm tea” that drains out during the composting process.

The three bins
- We started by drilling 1/4″ holes into the lid of the bottom bin to allow worm tea to drain in. We liked the idea of getting a clear bottom bin so that we can see if/when this bin needs to be changed. We also measured out some screen to screw onto this lid so that no worms could fall into this bin.

Drilling holes into the lid.

Holes on the lid.

3. Then we started working on the larger bins. We drilled air holes around the perimeter of the top and drainage holes along the bottom. We also drilled some larger holes in the bottom so that the worms have an easier time of migrating upward when the bins are rotated. The idea with the double bins is that we will start one bin, and when that bin is full, it is moved to the bottom, and a new bin is started on top. As the worms continue to compost the remaining matter on the bottom, they will gradually move up to the top bin when there is more to eat. After about 3 weeks, the bottom bin should be fully composted and ready to be used. It is my understanding that the worms will not be tempted to move down and out of the bin as long as there is a yummy environment for them. However, they should move on up when living conditions become better there. Sounds like we could create a TV show.


Drainage and migration holes
4. Next, we improved the living conditions — we added some interior decorating, if you will. Many people use paper shredded by a paper shredded or other forms of fibrous material (coconut fiber), but my worms are a little thriftier and like paper ripped by hand. This serves as the worms’ bedding. We put a little soil on top of this and moistened everything. Worms should not dry out, but they can drown and do not like to be soaking wet so make sure to go easy on the water. They might try to escape if they feel like they’re living in a lake.

What a lovely bedroom!
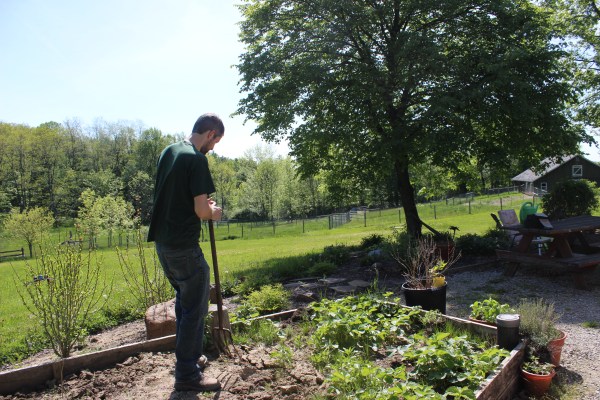
5. Time for the residents! We raided my outdoor compost pile that has attracted a great many wigglers. It’s pretty easy to find worms outside, but if you just Google “buy red wigglers” it’s easy to find them for sale. Remember to thank them and tell them that they are going to a place where there is always good food.

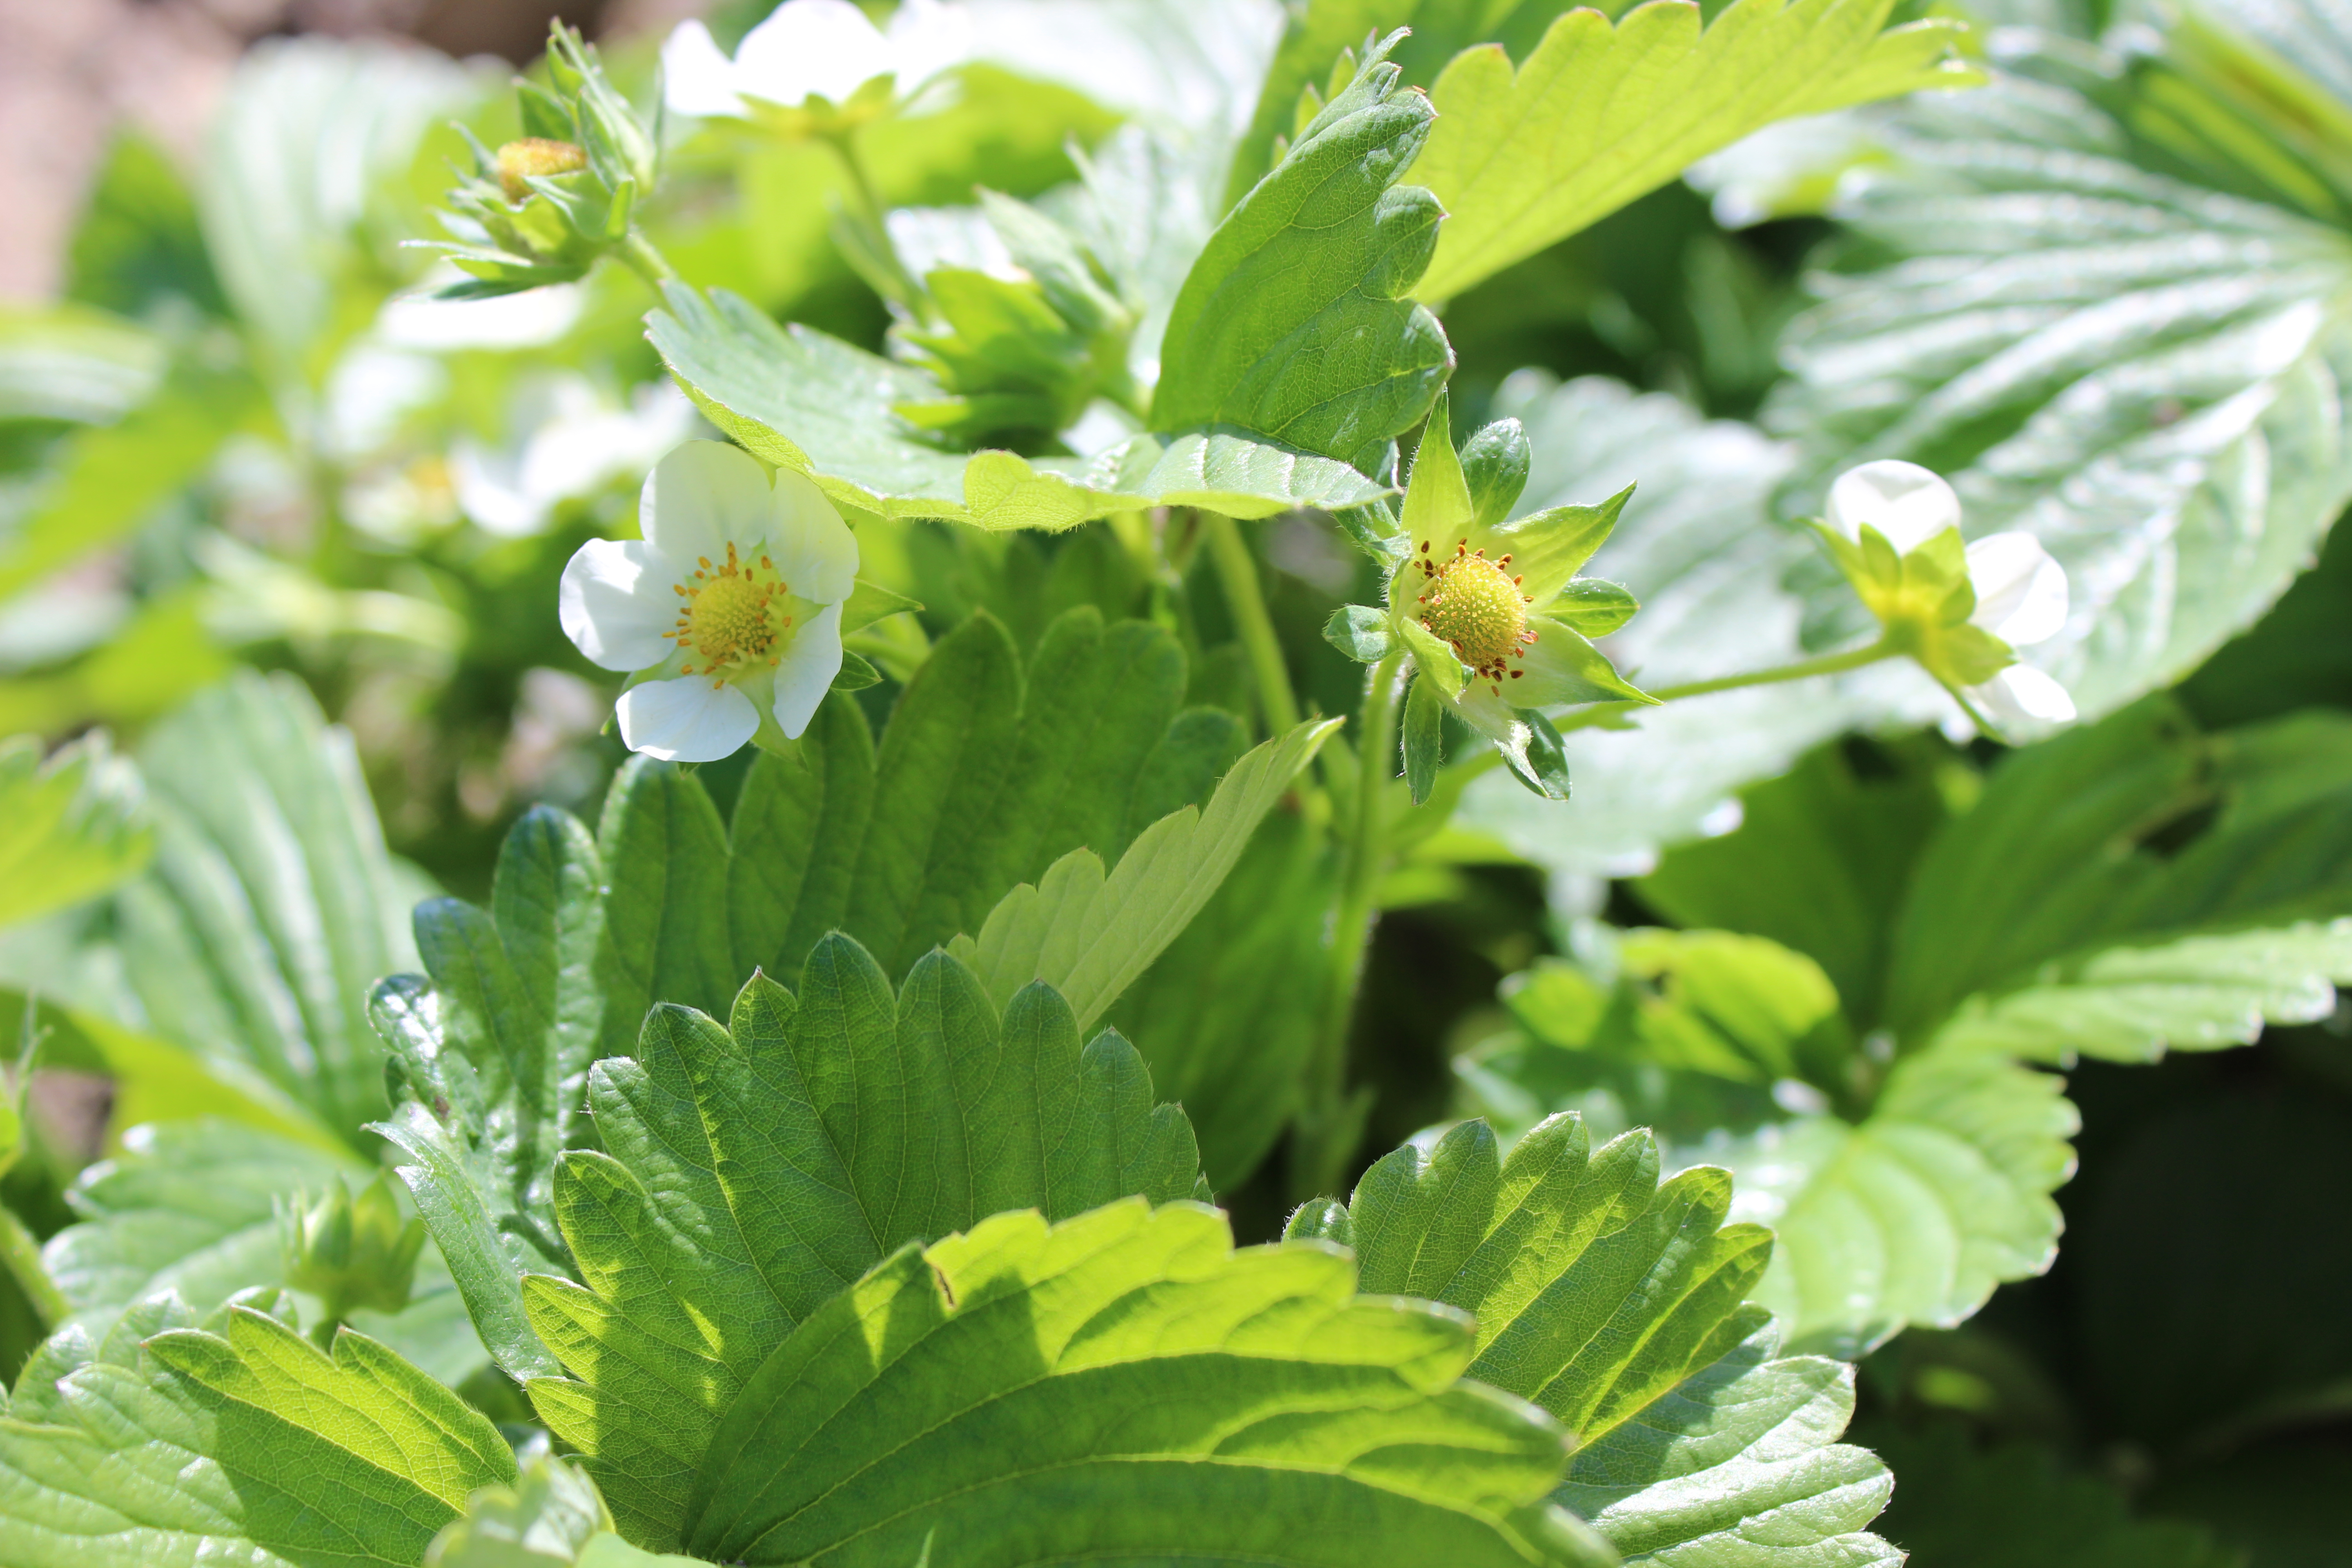
Look at all those wigglers in my outdoor pile!
6. We added more soil, a few kitchen scraps, and covered everything up with more paper. We assembled the stack and welcomed the worms to their new hang-out in the basement. In a few days, I’ll start adding more kitchen scraps.

Stacked towers
Once this bin seems full, I’ll switch the bins so that the one shown here (now on top) is on the bottom. I’ll have new bedding and some soil ready for the worms in the (new) upper bin, take a couple of them from the bottom bin up there to get things established, and start adding new scraps. The worms should migrate and reproduce so that the top bin is the “working” bin again while the bottom bin is “ripening”.
So far the worms have been in the basement for a few days and everything seems to be going well! This will be a great way to continue my composting and be a better participant in the cycle of life!
Shared on:
Small Footprint Friday
Help others step lightly!