Wow. My brain’s pleasure neurons are still lighting up after discovering this one. Ramp + Oregano pesto, you have won over my heart and my mouth.

Ramp + Oregano Pesto Goodness
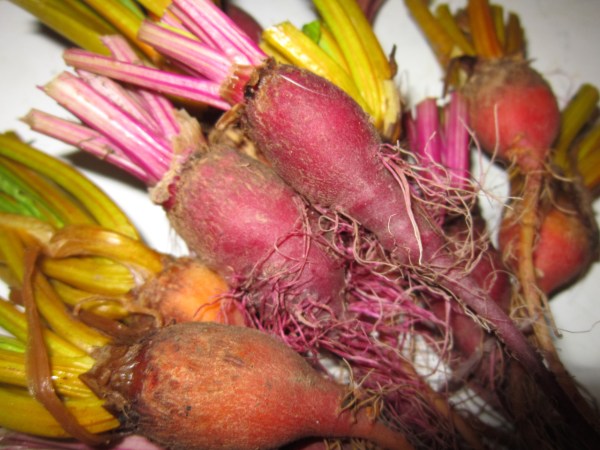
This week at the Tremont farmers’ market, one of my favorite farmers (from Por-Bar Farms) had a deal on ramps and oregano with the suggestion of making a pesto. I hesitated for a moment as I’ve been collecting so many of my own ramps, but I haven’t gathered any for a few days so I went ahead and got the deal. I am happy that I did as this makes a fantastic pesto!!
I looked around at quite a few recipes today, but didn’t find anything quite perfect enough for me, so I took what I learned and developed my own.
To make something similar, you will need:
- 15 ramps
- a bunch of oregano (mine was about 1 packed cup)
- 1/3 cup olive oil (and I added about a Tbs extra when blending)
- 1/4 cup toasted nuts (I thought I had some local nuts in the cupboard, but I ended up using pine nuts)
- 1/4 cup hard cheese (something like parmesan)
First, you’ll need to chop the ramps.

Chopped ramps
Then you’ll need to pull off the oregano leaves and tightly fill a cup.

Bunch of oregano.

1 Packed cup of Oregano.
Measure out a heaping 1/4 cup of nuts and toast them. Pine nuts need to be toasted for about 5 minutes.

Heaping 1/4 cup of pine nuts.

Toasting pine nuts.
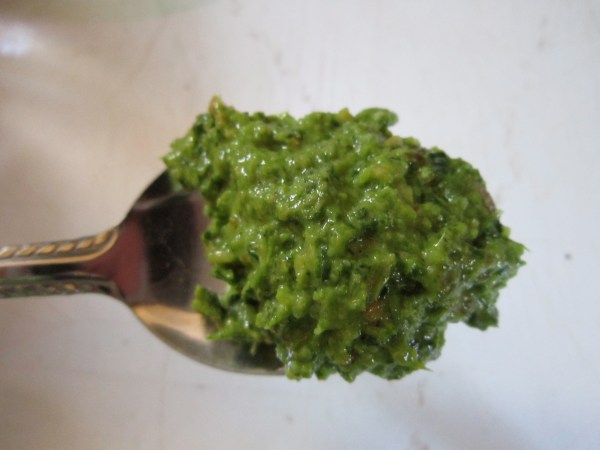
Add these ingredients plus the olive oil and cheese in a blender or food processor, and mix it all together! But don’t go for too long because it’s best to still have some texture in the pesto.

Pesto!
And then you can use this anywhere you desire an intensely awesome pesto! I tossed some of mine in a bit of tri-color pasta. Mmm. Depending on how much pesto you use at a time, I’d say this makes about 5 or 6 servings. It’s about 1 cup of finished pesto product (I have a lot leftover and even was able to freeze some).

Pesto Pasta
My only warning is that it is a bit strong. You can’t really give me too much onion/garlic, but if you’re sensitive to that taste, you may want to skip this recipe, or leave out some of the white bulbs of the ramps and focus on the green parts.
Also, I have to share that my salads are becoming increasingly exciting as the Spring picks up! This 100% local side salad included lettuce, radish, mushroom, carrot, and cheese (not yet grated for this picture) all gathered from the farmers’ market. Perfection!

Spring salad.
Also on ‘these light footsteps’:
- Roasted baby beets in quinoa with feta cheese!
- Wandering on the Last Day of March: Impermanence & Wild Ramps
- Steps Back to Nature: Harvesting Wild Chives